")


Employees are the greatest asset of any organization. Because they are the main driving force behind all productivity. So, to manage them well, it’s mandatory for HR managers to maintain well-structured employee profiles so they have access to crucial information for better decision-making whenever needed.
An ERP (Enterprise Resource Planning) is an integrated software that enables business organizations to manage various operations, like HR, finance, supply chain, customer relations, and more, from one single dashboard. Today, you’ll hardly find any business organization not using an ERP software.
Years ago, people used to maintain their employee profiles in paper files or spreadsheets, which could lead to many problems, including inefficiencies. But today, most organizations love to do it with ERP software for better management. So, in the post, we’ll present to you a step-by-step guide on how to create an employee profile with the WP ERP plugin.
What Is an Employee Profile?
An employee profile is a digital repository covering essential details about an employee within an organization. It contains his/her various personal and professional information, like job title, department, contact details, payroll data, performance history, project management, previous employment history, and more.
HR managers usually use this profile as a centralized database to manage his/her tasks, roles, and progress more efficiently. When the employee profile is created with an ERP tool, it enhances data security, reduces administrative workload, and guarantees error-free decision-making.
Why Creating Employee Profiles with ERP Solution Is Crucial
Managing employee profiles on paper or spreadsheets is possible, as it was done in the past. But when you have to manage a large workforce, regularly onboard new people, and let go of old ones, there’s no alternative to using an ERP solution. Take a look at some use cases and how they could be effective.
- Reduced Errors and Inconsistencies – Manual data entry increases the chances of mistakes and duplicate information. Using an ERP solution can automatically detect duplicate entries and many potential errors.
- Automate Onboarding Process – Most ERP solutions come with various pre-made templates. So, whenever a new employee is recruited, a new profile could be created for him quite instantly.
- Payroll and Benefits Management – With the ERP solution, you can ensure accurate salary processing, tax deductions, and benefits without delays or errors. Here’s a complete payroll user guide.
- Scalability and Integration – Best ERP solutions can help you handle lots of activities that can aid you in scaling up your business.
- Performance Tracking – With the ERP system, HR teams can easily track employee performance, share necessary documents, and assign training to the employees.
What Is WP ERP?
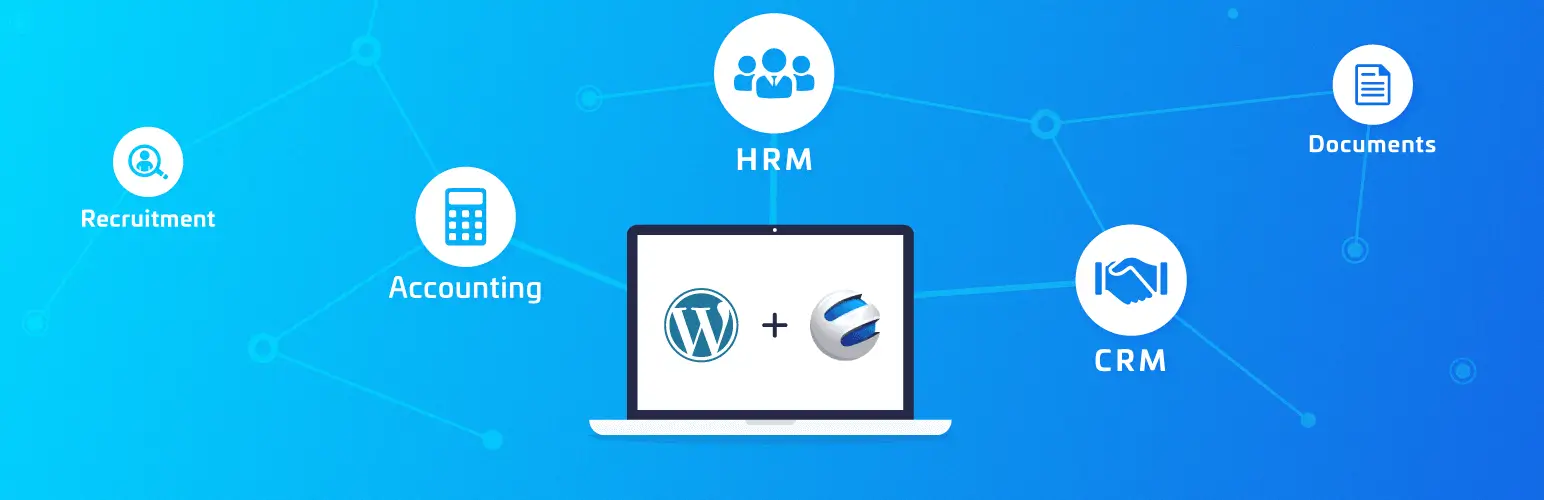
WP ERP is a feature-rich Enterprise Resource Planning software designed specifically for WordPress. It comes with three core modules – Human Resources (HR), Customer Relationships (CRM), and Accounting from a single dashboard. No matter how big the plugin is, you can activate only the features you need and keep others deactivated.
With the plugin, you can create and manage employee profiles, track their attendance, handle payroll, and more. You can also manage customer interactions, automate invoicing, and manage expense management. The following parts of the tutorial will be explained using this plugin.
How to Create an Employee Profile with WP ERP
WP ERP has both a free and a premium plugin. You need both of them to begin the tutorial. Install and activate them on your site by clicking the links attached below.
Once they are installed and activated on your site, start following the tutorial explained below.
Step 01: Go to WP ERP
After the plugin is installed and activated, you’ll see the WP ERP menu is added to the admin bar. Go to WP ERP.

Step 02: Add New Employees to WP ERP
Navigate to HR > People > Employees. After that, click the Add your first employee! button.

Once the button is clicked, a popup will appear where you will get numerous fields to add information about the new employee.

Now, add your desired information about the employee into the respected fields on the popup.

By scrolling the popup, you will find the Show Advanced Fields. Tick mark this to enable the option. This will show you more fields on the popup.

Once the advanced fields have been added, fill them with the necessary information. You fill each of them or only the essential ones. Do it as you want.

When you have done adding information about the employee, click the Create Employee button at the bottom of the popup.
To know in detail about the options on the popup, visit this documentation.

You’ll see the profile of your employee has been created. You can edit the profile anytime by clicking the Edit button under the Actions section on the top-right corner.
In the same way, to create a new employee’s profile, click the Add New button.

Learn how to train employees for better efficiency.
Step 03: Edit the Employee’s Profile
Come a bit below by scrolling through the employee profile page. You’ll find many more details (personal, work experience, education, and dependents) you can display about your employee.

Come to the top of the profile and click the Edit button.

The same popup will open up again. Fill up the remaining unfilled fields and click the Update Employee button.

You’ll see the personal details of the employees have been updated.

Step 04: Add Work Experience
You’ll get the Work Experience section below Personal Details. Click the + Add Experience button.

A popup will open up. Add information about your previous work experience and details about it in the respective fields. Then, click the Create Experience button.

You can see the experiences have been added to the section. You can add more experiences by clicking the + Add Experience button.

Step 05: Add Education to the Employee’s Profile
In the same way, click the + Add Education button.

You’ll get almost a similar kind of popup. Fill the respective fields with the educational information about your employee. Once done, click the Add Education button.

You can see that the educational information about the employees has been added to the profile.

Explore how to use WP ERP for CRM reporting.
Step 06: Add Job Information to the Profile
Next, come to the Job tab.
Here, you’ll get options to update the Employee Status, Employment Type, Compensation, and Job Information.
Do the changes as necessary.

Step 07: Update Leave Information
In the same way, land on the Leave tab. How many leaves your employee has taken in the span of his job life will be displayed under this tab.

Learn more about WP ERP’s Advanced Leave Management.
Step 08: Update Performance Information
Land on the Performance tab. In this section, you can add Performance Reviews, Performance Comments, and Performance Goals.

Step 09: Update Permission Management
Finally, come to the permission tab. You can enable the managers of the particular departments who can manage this employee.

Thus, you can create an employee profile using WP ERP and manage him comprehensively.
Closing Up!
Creating and managing employee profiles is more than just storing information. It’s a mandatory part of HR management to enhance efficiency, accuracy, and employee engagement. However, to get the most out of this, ensure that your ERP solution allows you to cover every single important detail of the employees.
Plus, don’t forget to regularly update the profiles whenever any important event occurs to keep the data accurate. This not only can improve decision-making but also prevent inconsistencies in workforce management. Good news is that you can do all these things with the WP ERP plugin.
Get the plugin by clicking the links attached below.