Creating and Importing Holidays
You can create holidays and import holidays (iCals/CSV) very easily within the HR module of WP ERP.
Creating or adding holidays
To do so, navigate to WP Admin Dashboard → WP ERP → HRM → Leave Management → Holidays → Add New.

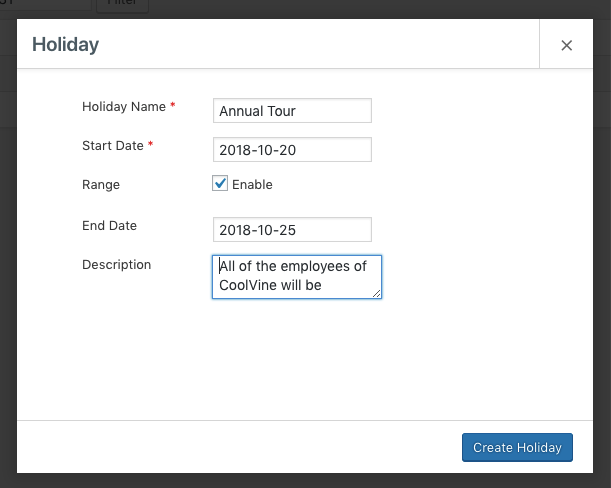
After hitting the “Add New” button, you will get a pop-up form to create a holiday.

- Holiday Name: Give a holiday name in this field. This is mandatory.
- Start Date: Choose the day from when the holiday starts. This field is also compulsory.
- Range: Checking this field will bring another field named “End Date” where you can insert the end date of the holiday plan.
- Description: Write the description of the holiday in the textbox area.
Finally hit the “Create Holiday” button to add this holiday to the calendar. Here is how it will look after creating the holidays.

You will be able to edit, delete and view the title, start date, end date, duration and the description of the holiday.
Importing Holidays
You can also import holidays. There are two ways to import holidays.
- iCal
- CSV
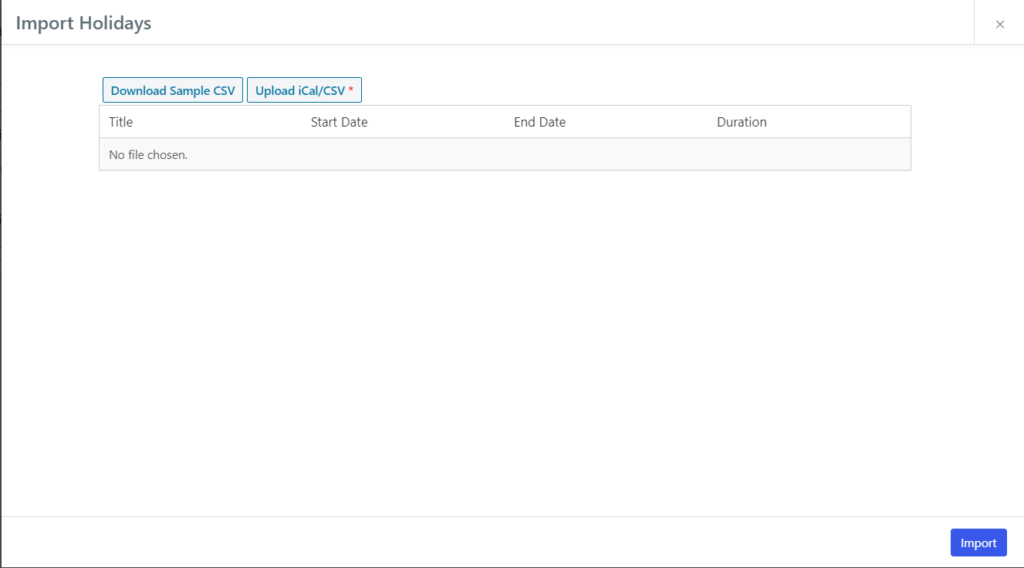
When you are importing the CSV file remember the Title, Start Date and End Date, these three fields are mandatory. Or else the system will not copy the fields and will show you an error message.

Hit the “Import iCal/CSV” button to import holidays.

You can either download sample CSV or Upload ICAL/CSV.

That’s all about creating and importing holidays in the HR module of WP ERP.


