
Change the Status of an Employee
The status tells if an employee works for your company now. Change the status when an employee goes on long leave, resigns, or leaves the company.
The statuses
| Status | When to use it |
|---|---|
| Active | The employee works for the company now. |
| Inactive | The employee does not work for a period, for example during a long leave or a long illness. |
| Terminated | The company ended the employment. |
| Deceased | The employee died. |
| Resigned | The employee decided to leave the company. |
Before you start
- You must be a WordPress administrator or an HR manager.
Change the status
- Go to WP ERP → HR → People → All Employees.
- Click the name of the employee.
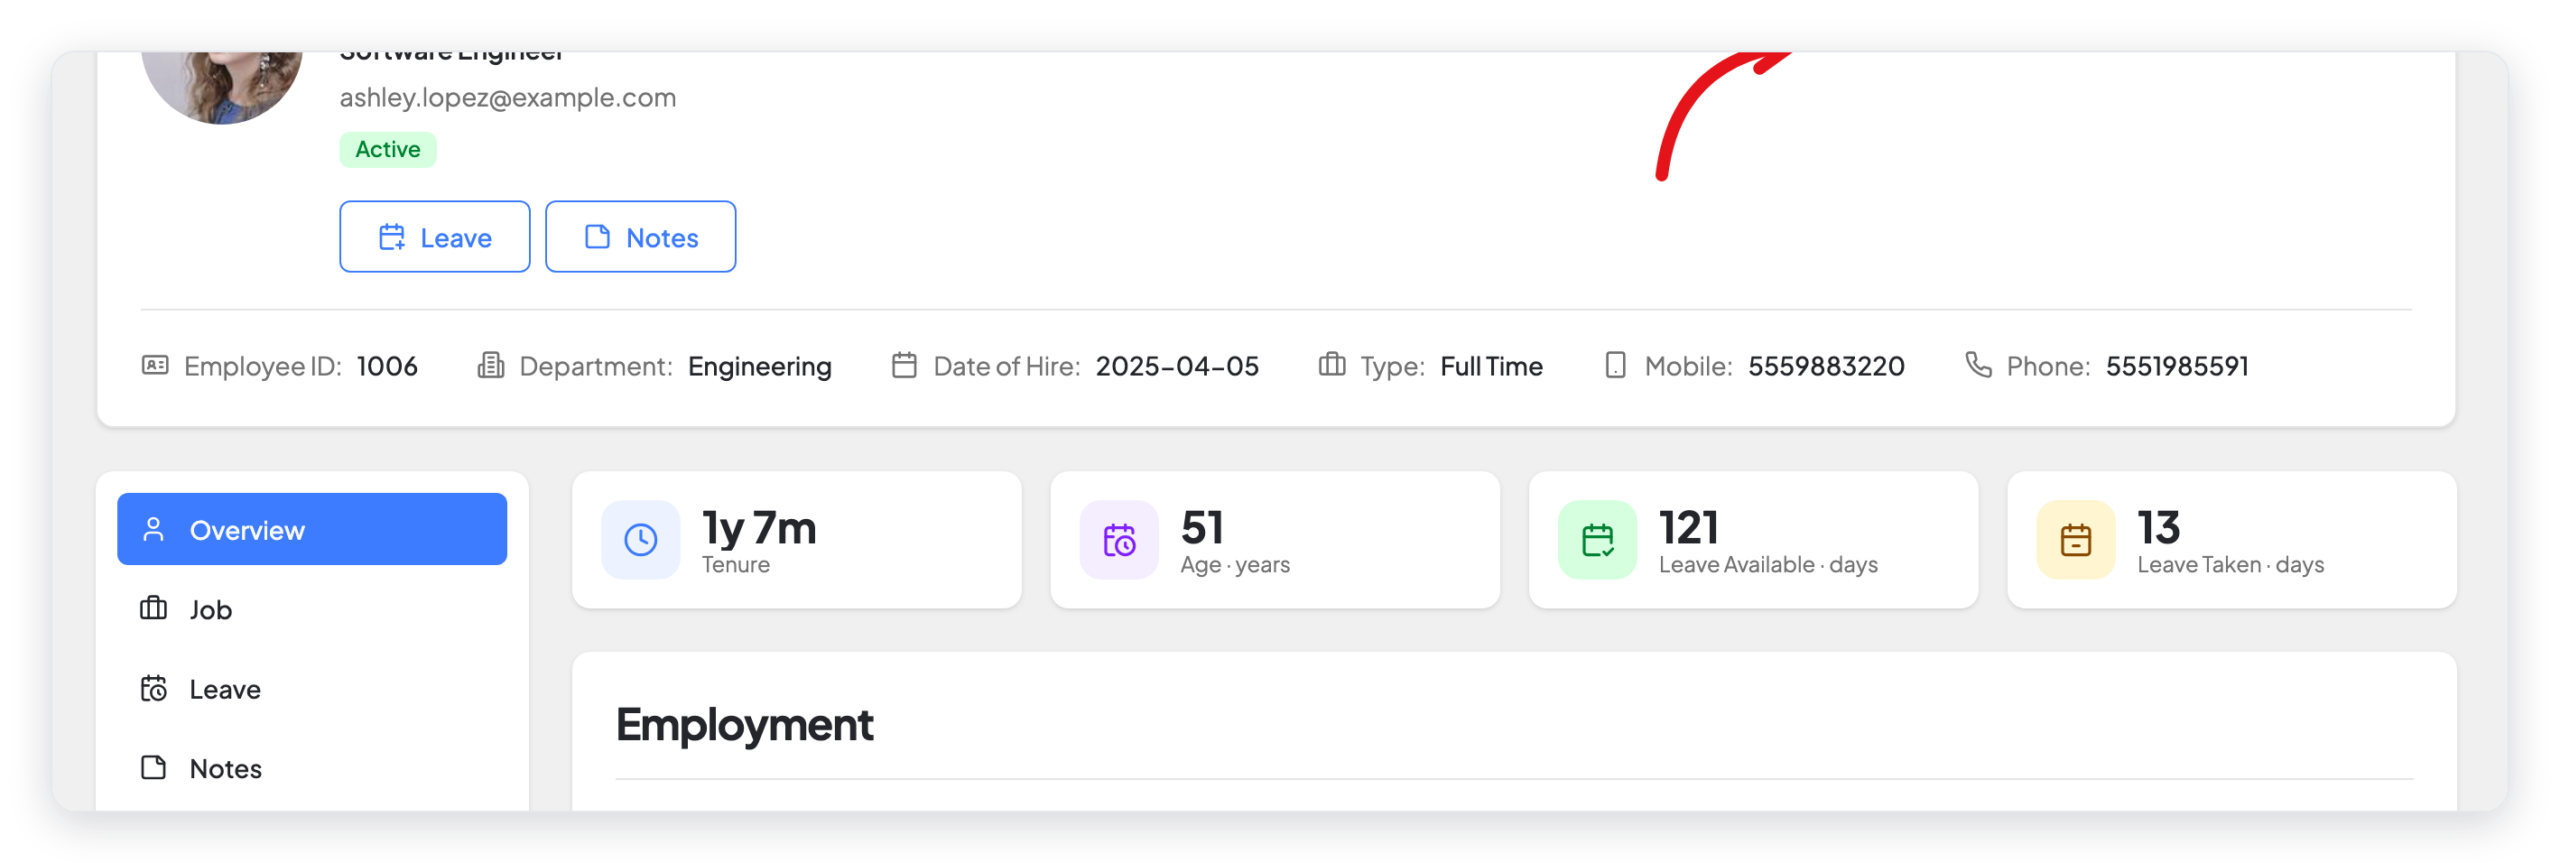
- Click Edit at the top of the profile.

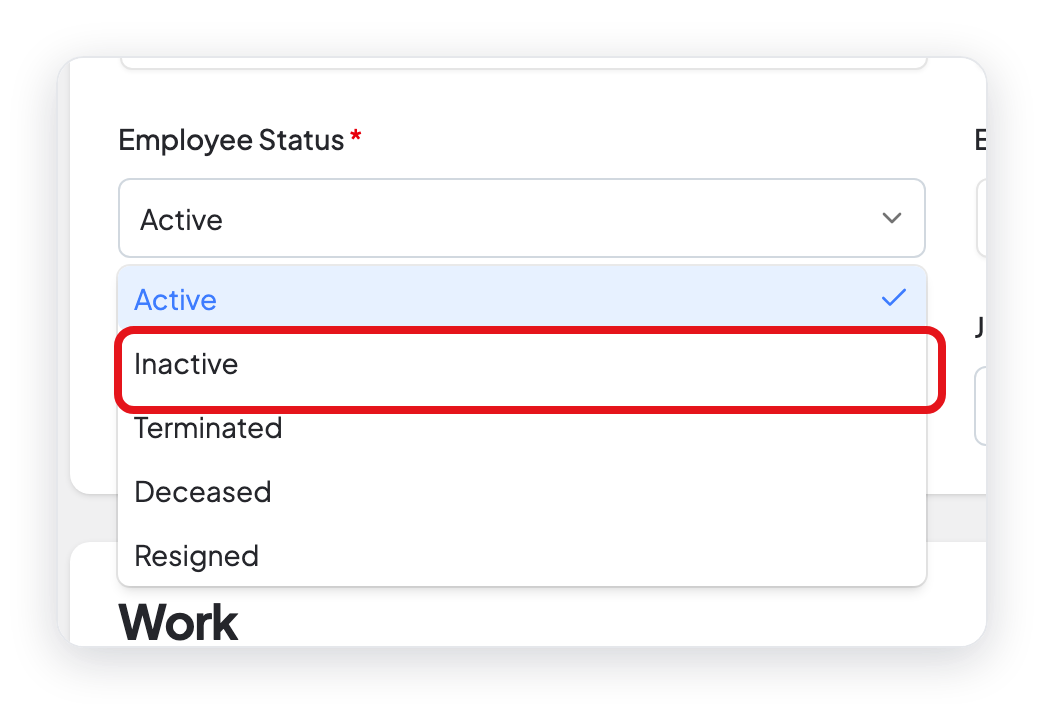
- In Employee Status, select the new status. For example, select Inactive.
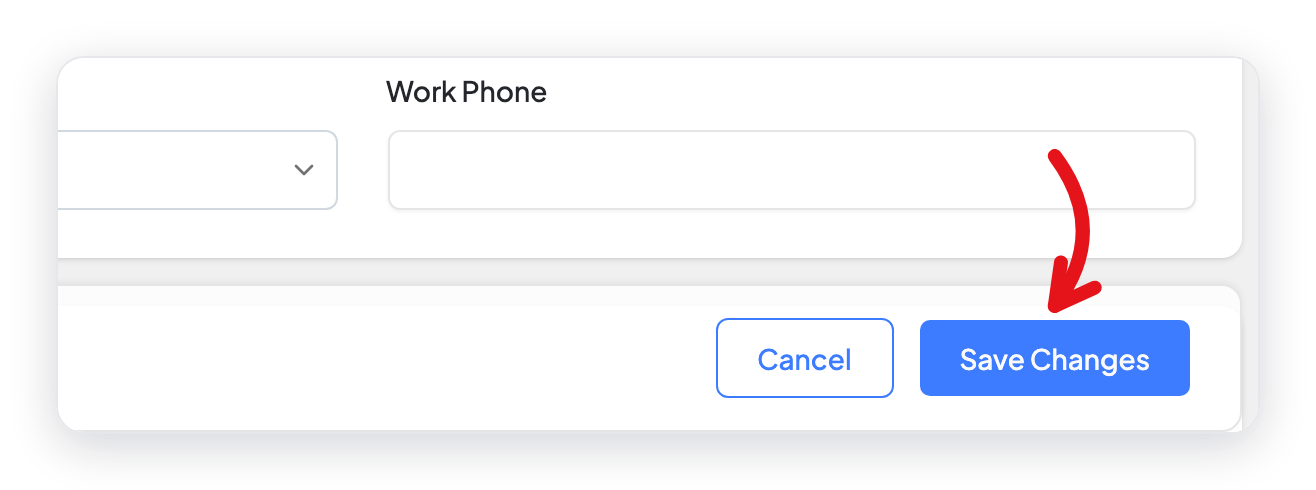
- Click Save Changes at the bottom of the page.
Result
The profile shows the new status in a colored label below the name of the employee.
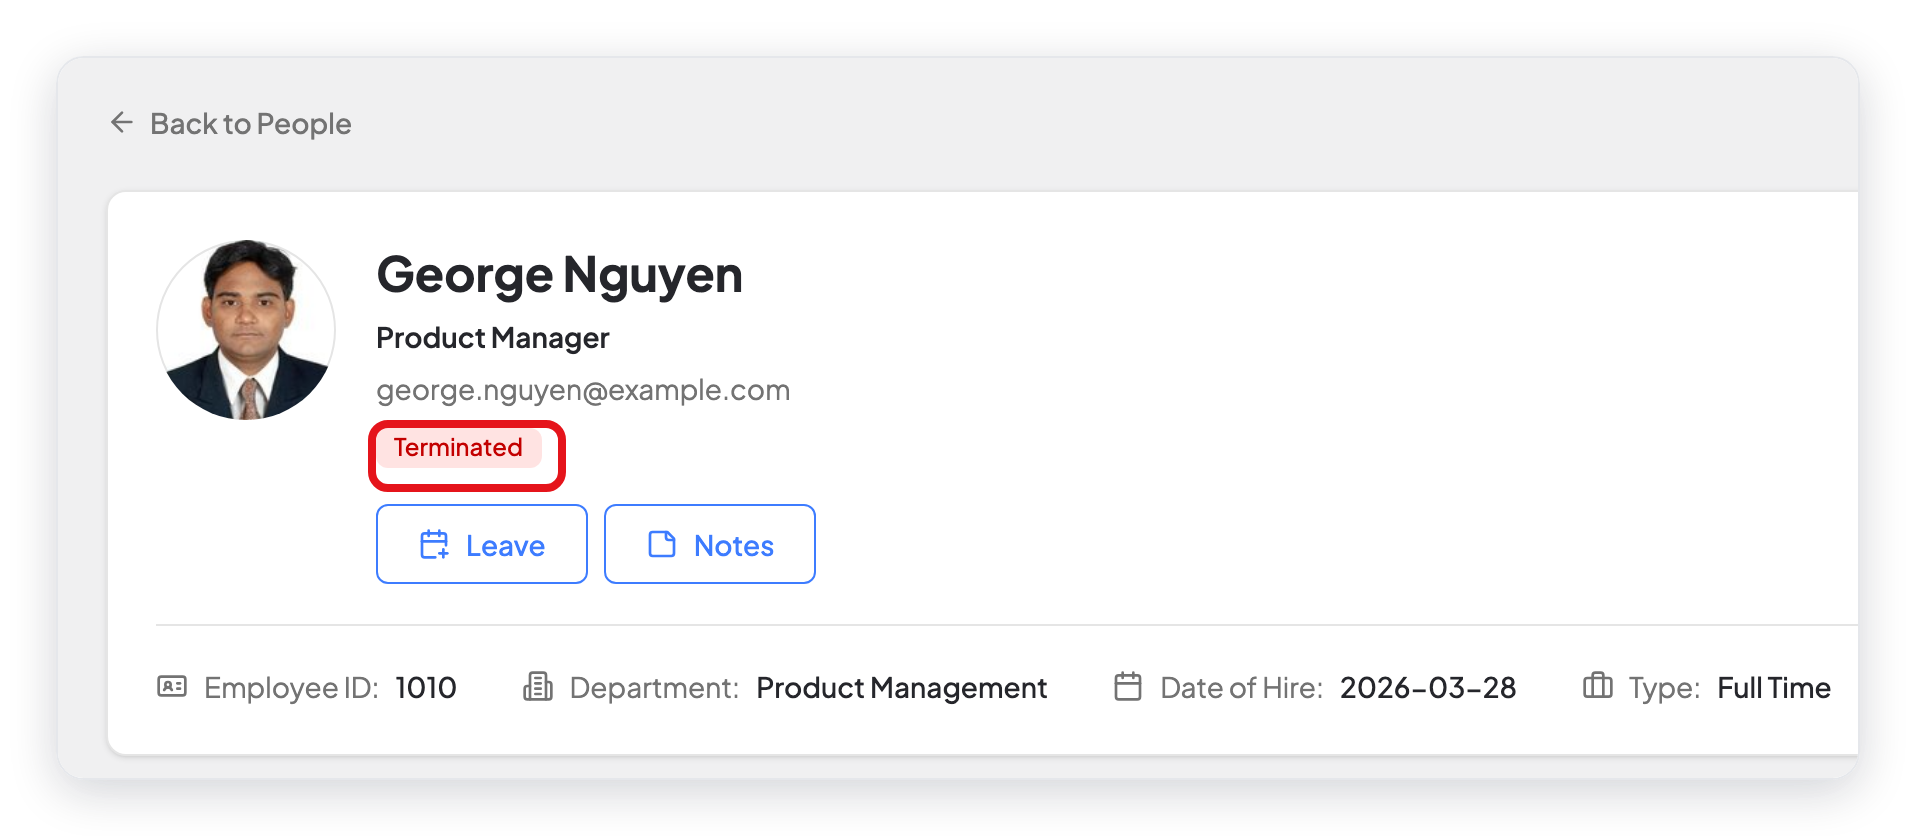
The employee also moves to the tab of the new status on the Employees list. For example, an inactive employee shows in the Inactive tab.

Other ways to change the status
- Keep a dated record: On the Job tab of the profile, click Update Status. Select the date, the status, and add a comment. The change then shows in the Employment Status history.
- Terminate an employee: Click Terminate at the top of the profile. Fill in the termination date, type, and reason, and select if the employee is eligible for rehire.
- Make an employee active again: On the profile of a terminated employee, click Reactivate.
What changed from older versions
- In older versions, the profile photo showed a stamp, for example "Inactive". In WP ERP 2.0, a colored label below the name shows the status.
- The Update Employee button is now Save Changes.