
Tools
The Tools page has five tabs. Use them to hide WordPress menus, send a test email, get a system report for support, read the audit log, and reset WP ERP.
Before you start
- You must be a WordPress administrator.
- To open the page, go to WP ERP → Tools.
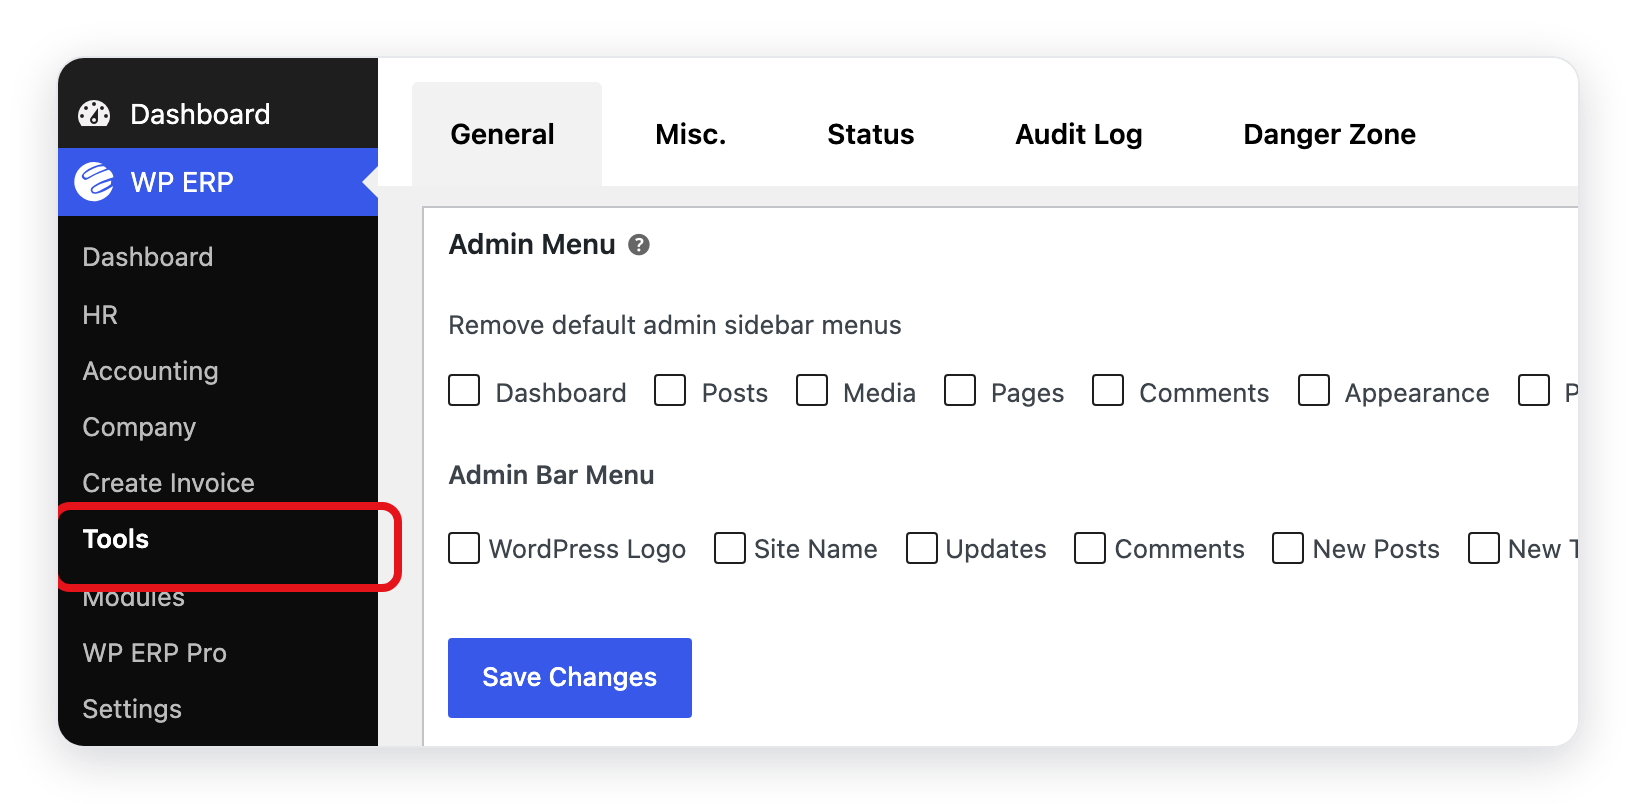
General: hide WordPress menus
Use this tab to hide the WordPress menus that you do not use every day.
- Open the General tab.
- Under Admin Menu, select the menus that you want to hide from the left sidebar. For example, select Posts and Comments.
- Under Admin Bar Menu, select the items that you want to hide from the black bar at the top of the screen.
- Click Save Changes.
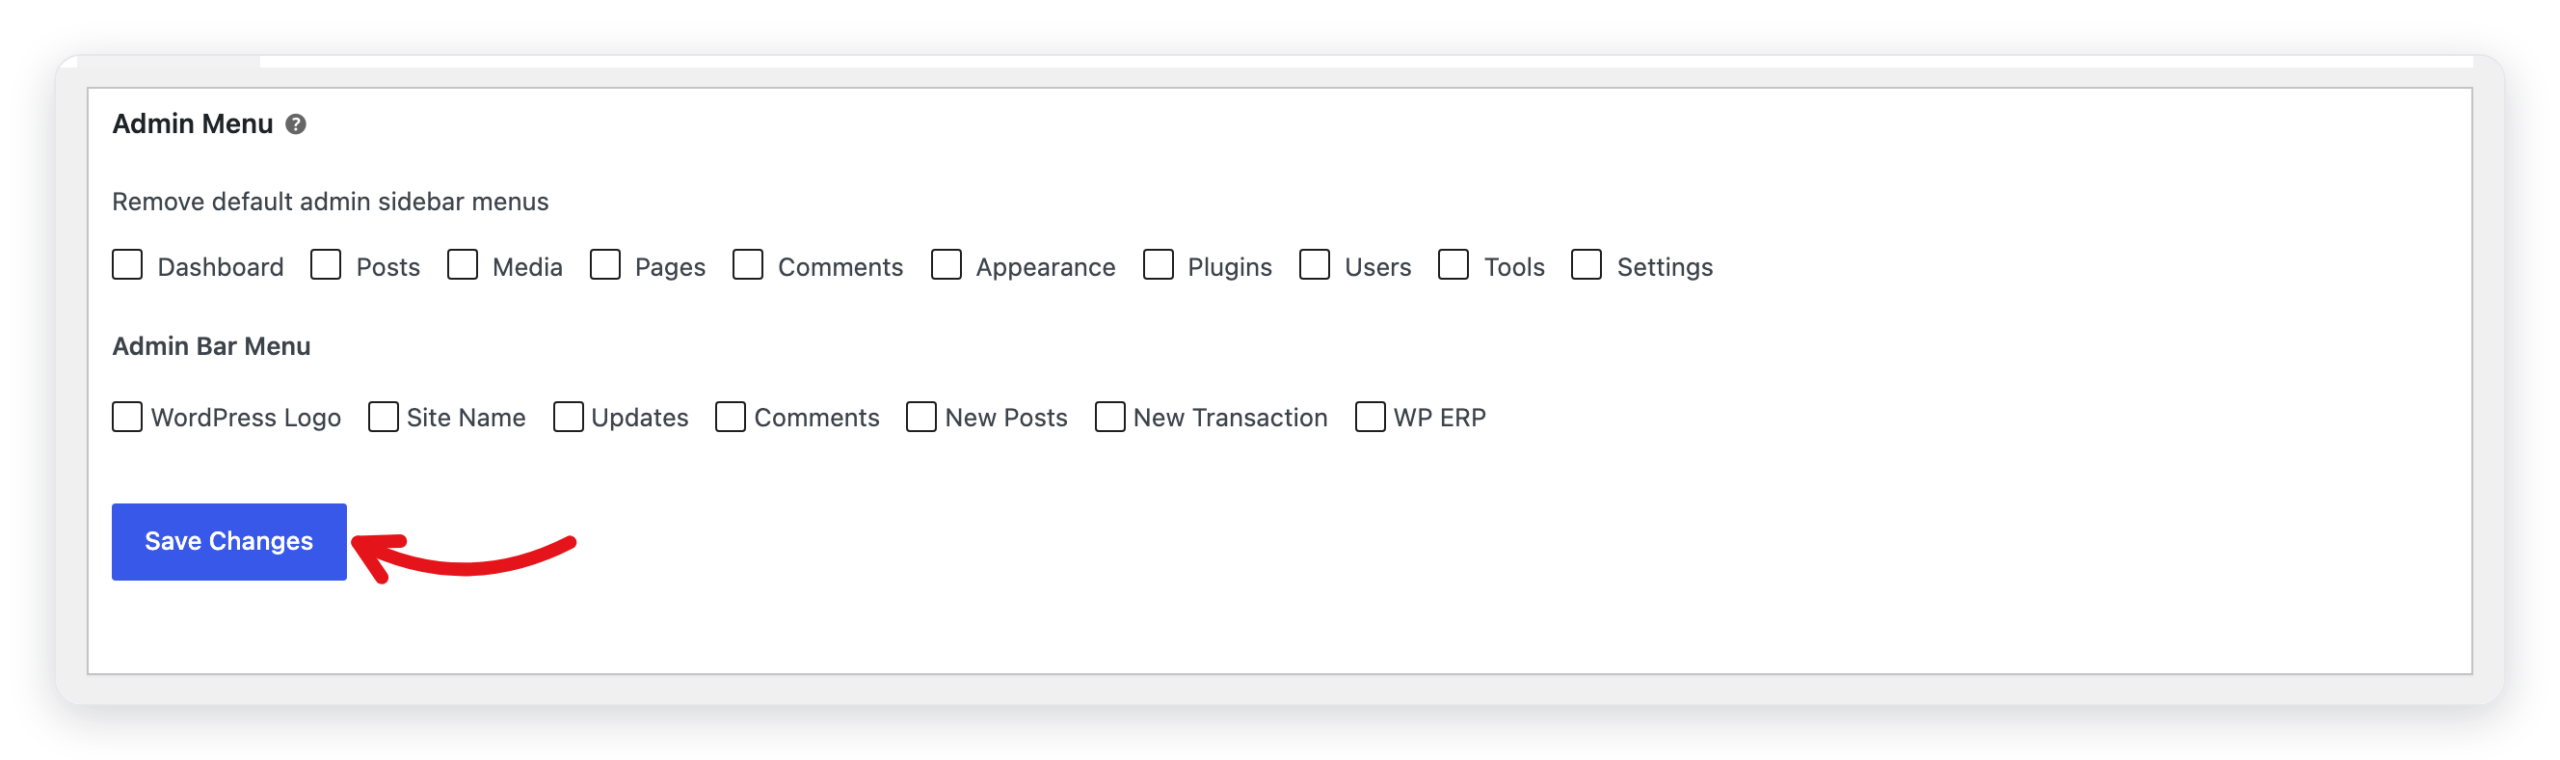
To show a menu again, clear its check box and click Save Changes.
Misc.: send a test email
Send a test email to make sure that your site can send emails. WP ERP sends emails for leave requests, welcome emails, and announcements.
- Open the Misc. tab.
- In To, type the email address that gets the test email. By default, it is your own email address.
- Optional: type a Message. If you keep it empty, WP ERP sends a default text.
- Click Send Email.
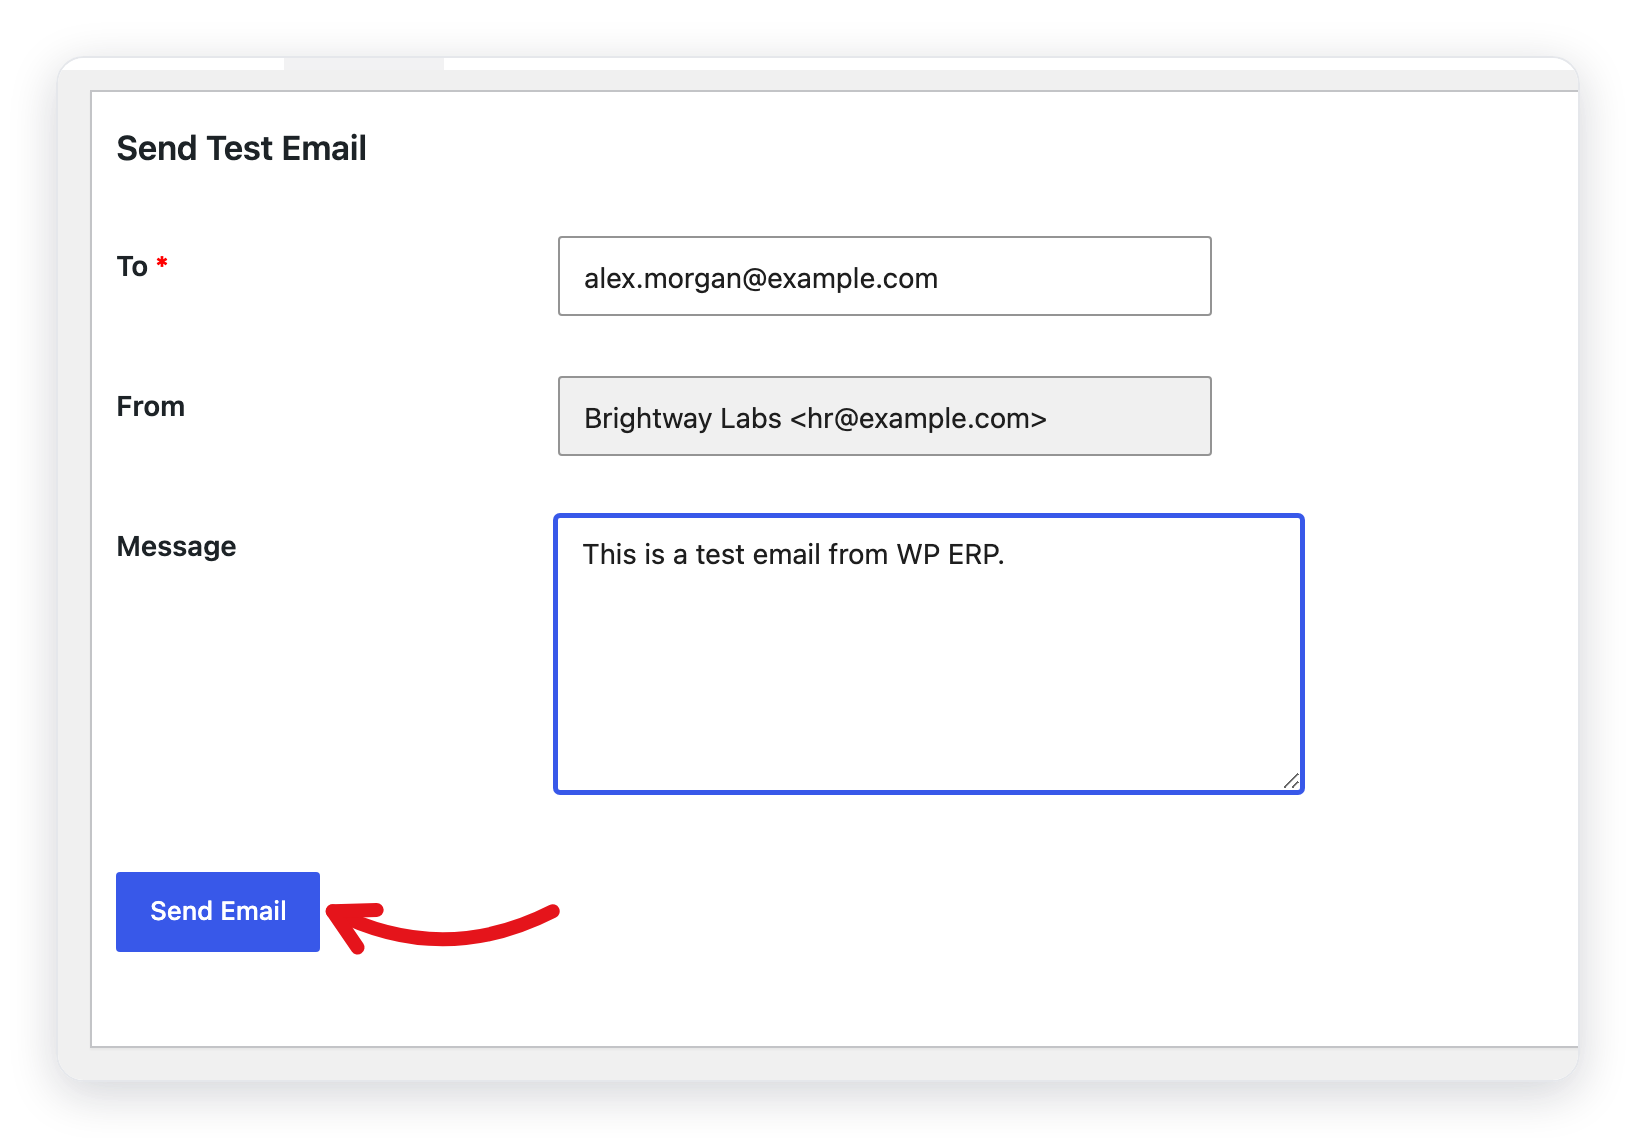
The From field shows the sender name and address. To change them, go to WP ERP → Settings → Emails → General and edit Sender Name and Sender Address.
WP ERP then shows "The test email has been sent by WordPress." This message does not prove that the email arrived. Look in the inbox, and in the spam folder too. If the email does not arrive, set up SMTP in WP ERP → Settings → Emails → Email Connect, or use an SMTP plugin.
Status: get a report for support
The Status tab shows the setup of your site. It shows the WP ERP data counts, your WP ERP settings, the WordPress and server details, the database, the active plugins, and the theme. The support team uses this information to find problems faster.
- Open the Status tab.
- Click Get system report.

- A text box opens with the full report. Click Copy for support.
- Paste the report into your support ticket.
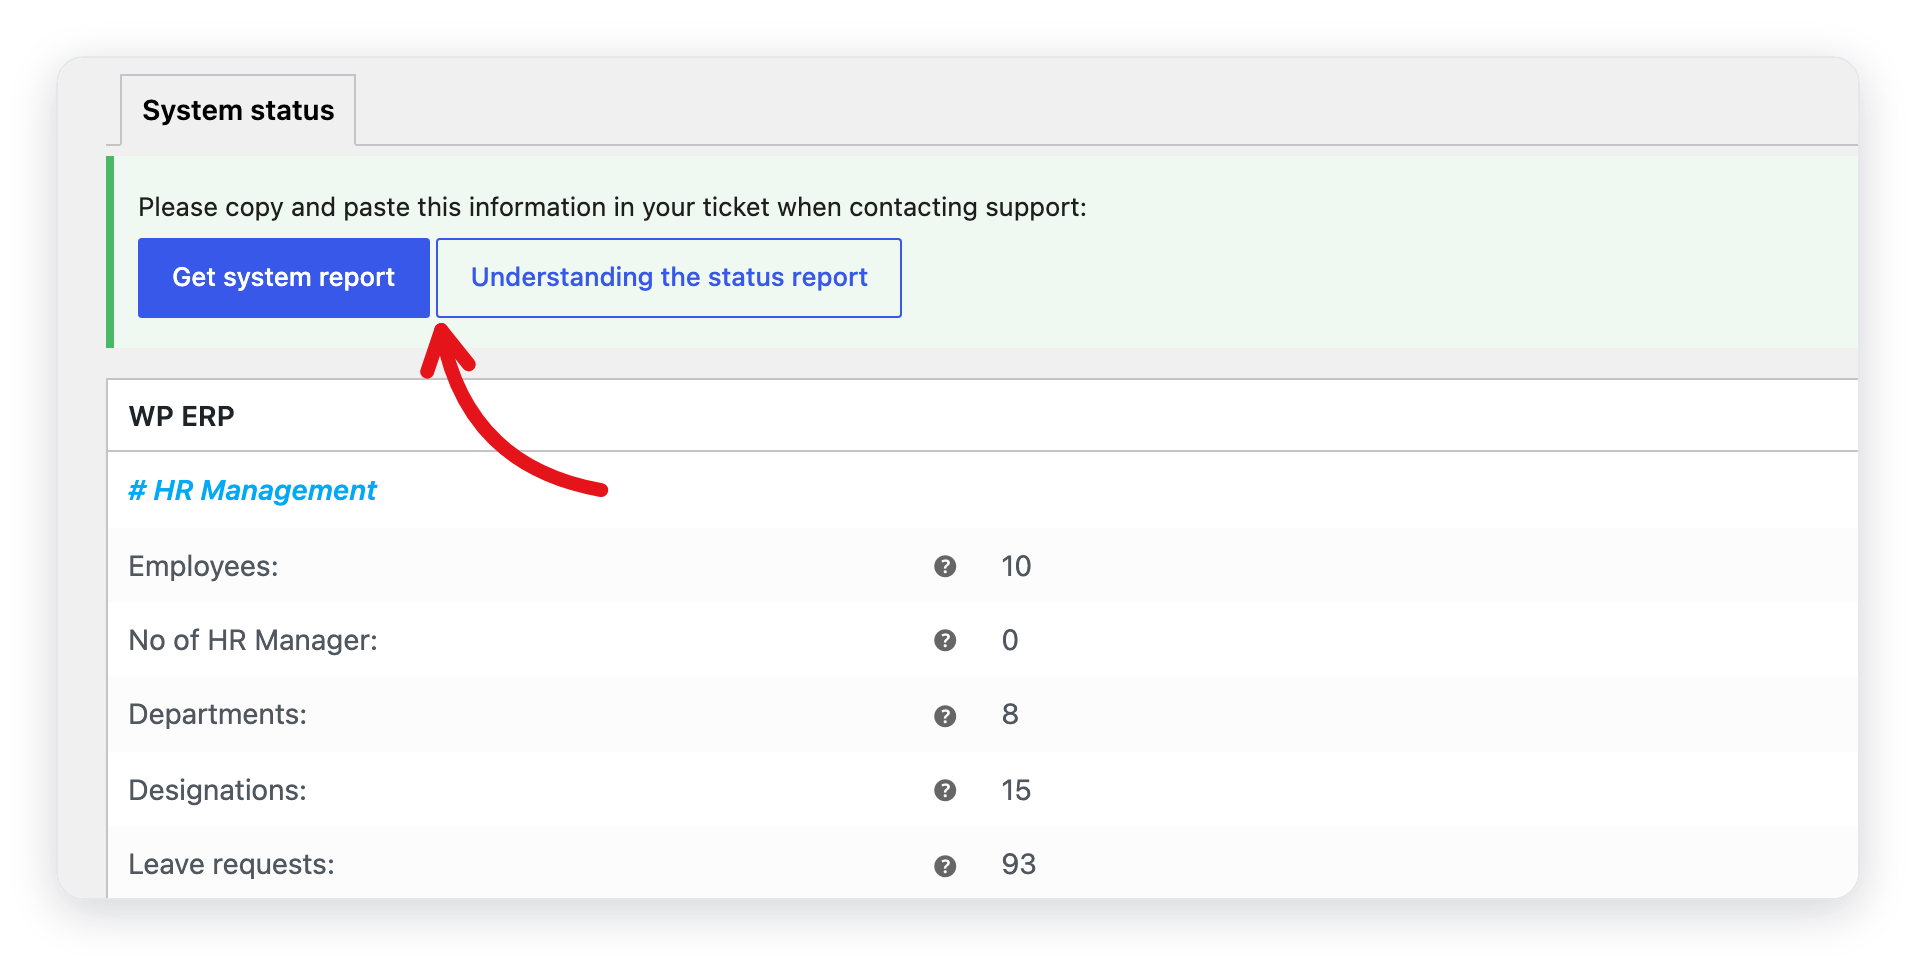
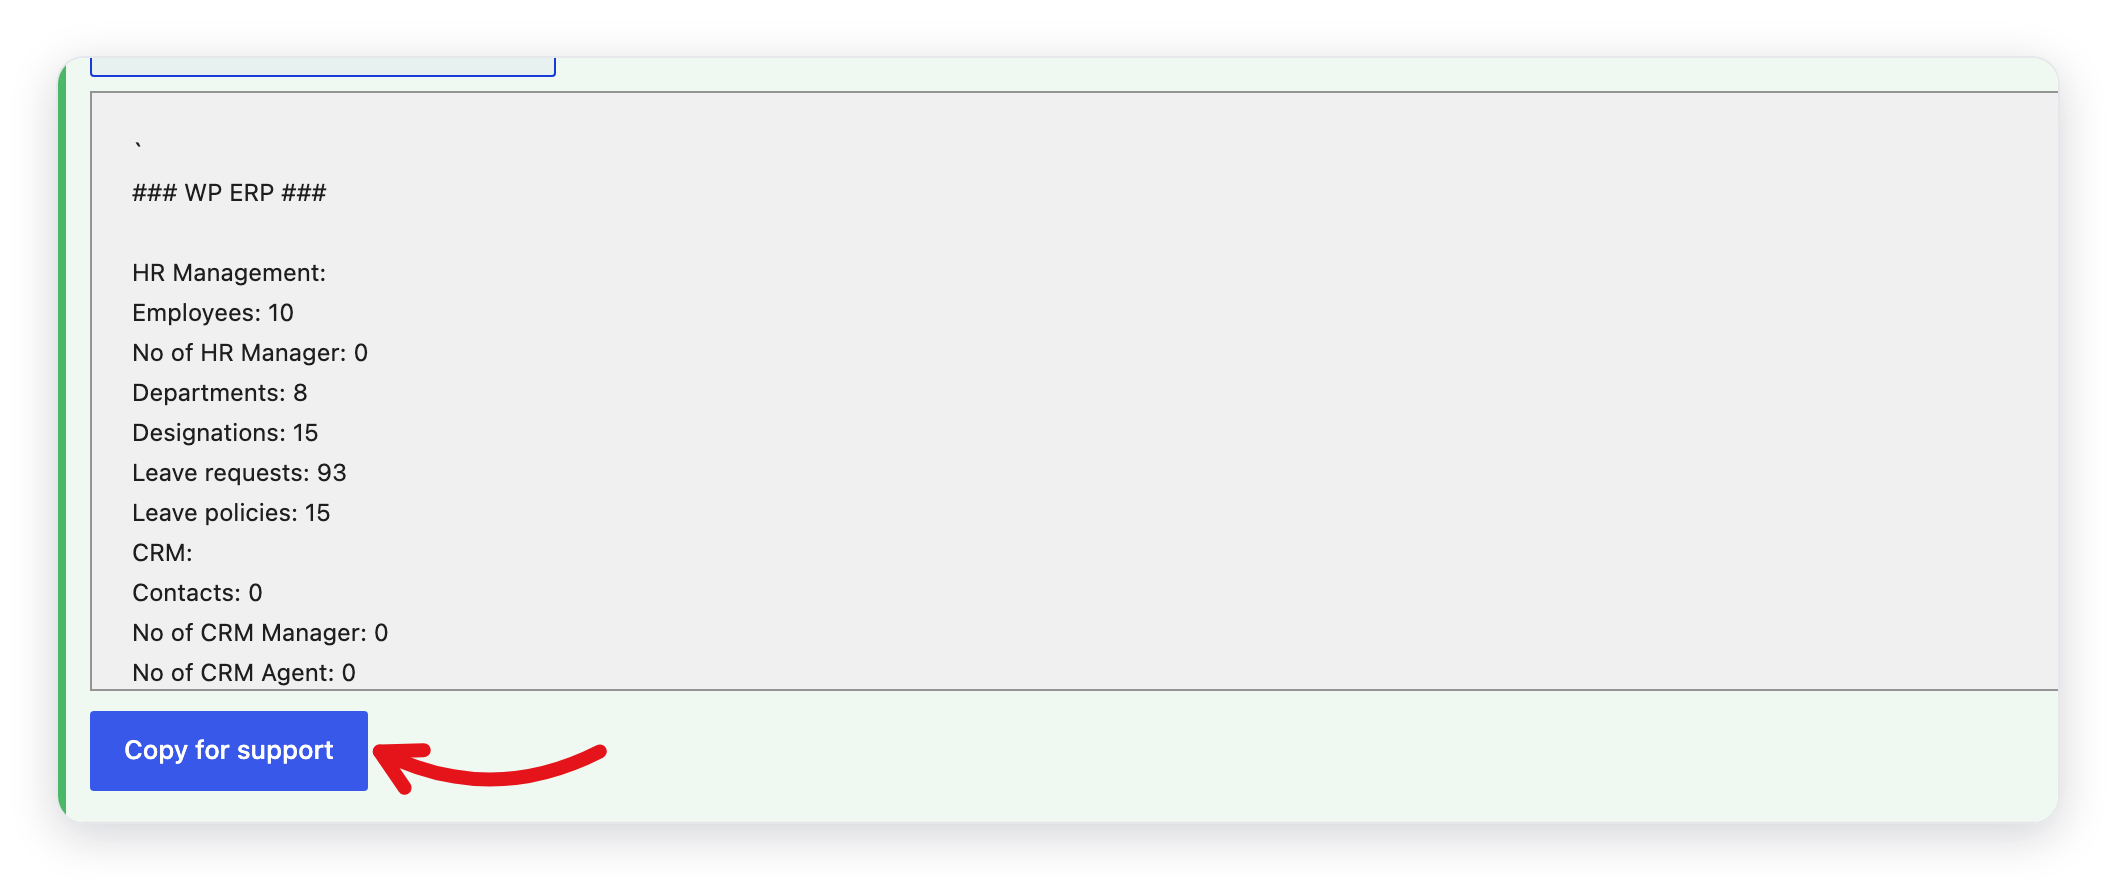
For the meaning of each line, click Understanding the status report, or read Understand the System Status Report.
Audit Log: see who changed what
The Audit Log tab shows the changes that users made in WP ERP. Each row shows the module, the section, a message, the user, and the date and time.
- Open the Audit Log tab.
- Select a module, for example HRM.
- Optional: select a section, for example Document or Leave.
- Optional: select a time range, for example This Month.
- Click Filter.
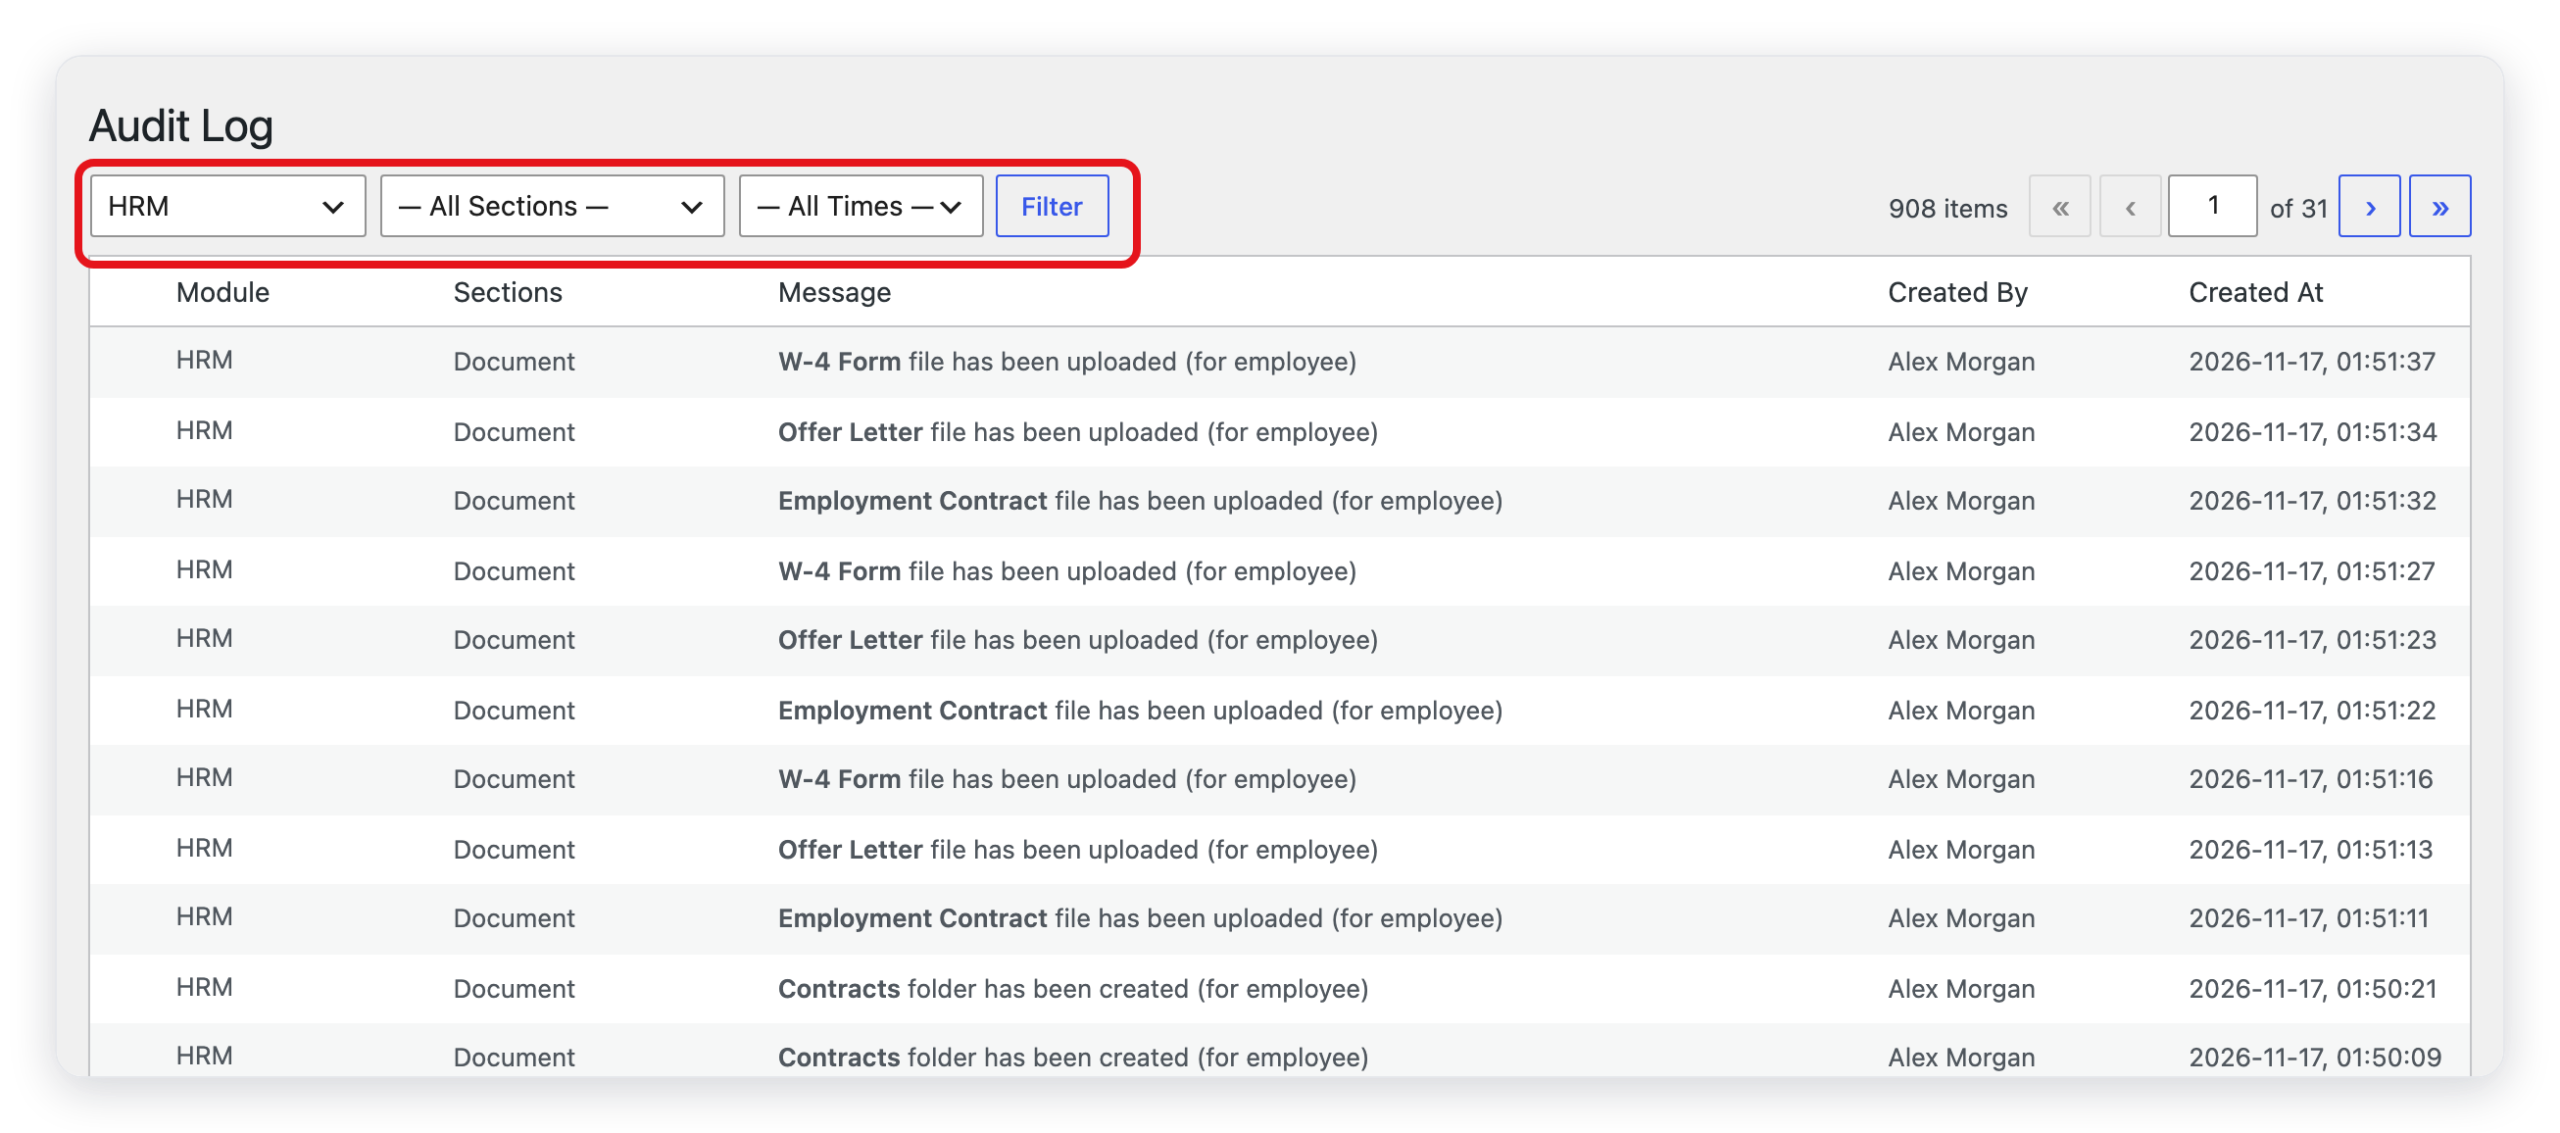
The time ranges are Today, Yesterday, This Month, Last Month, This Quarter, Last Quarter, This Year, Last Year, and Custom.
When a row shows (view changes), click it to see the old value and the new value.
Danger Zone: reset WP ERP
CAUTION: Do not reset WP ERP on a live site unless you want to start again with no data. The reset deletes all WP ERP data. You cannot undo it. Make a full backup of the site first.
Use the reset after you test WP ERP with sample data, before you add your real data.
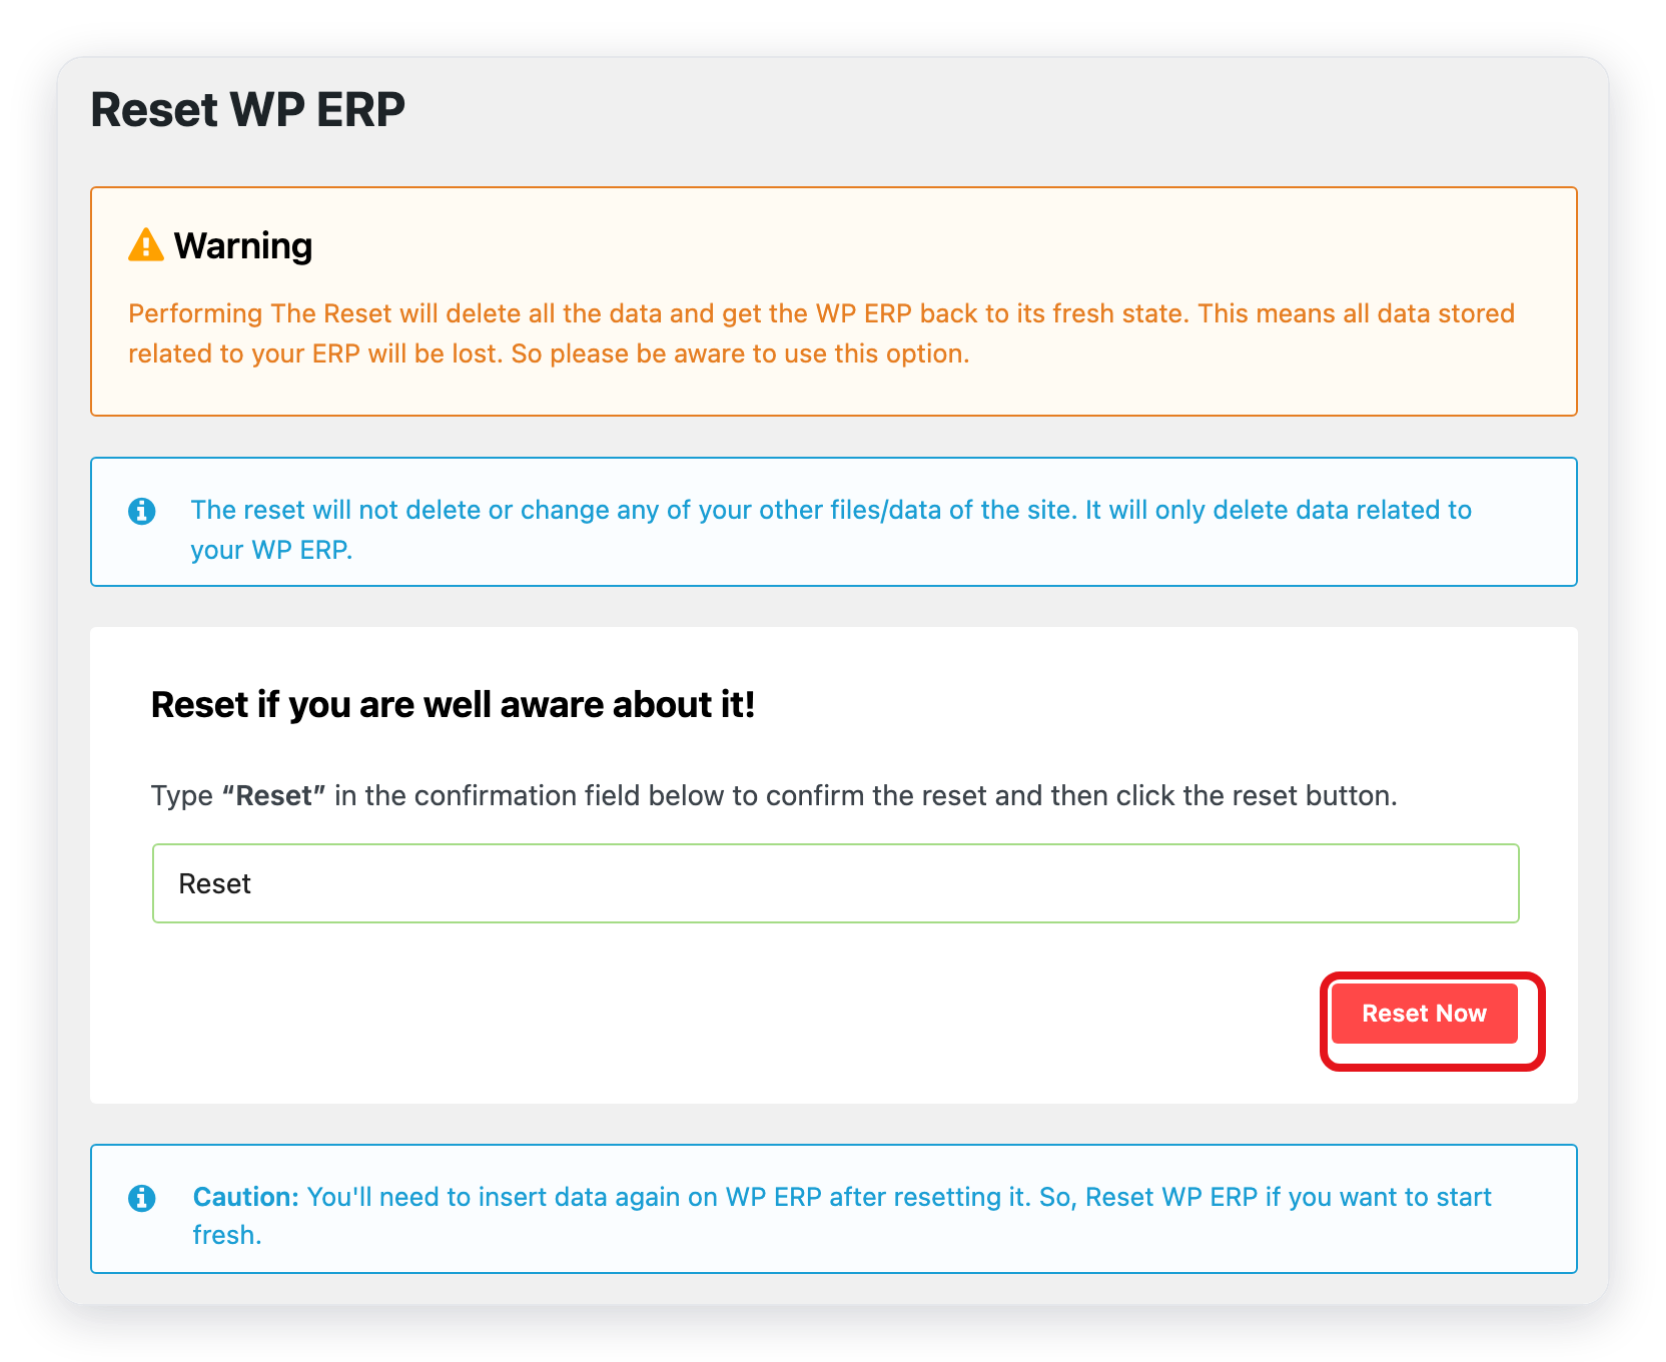
- Open the Danger Zone tab.
- Type
Resetin the field. The word must start with a capital R. - Click Reset Now.
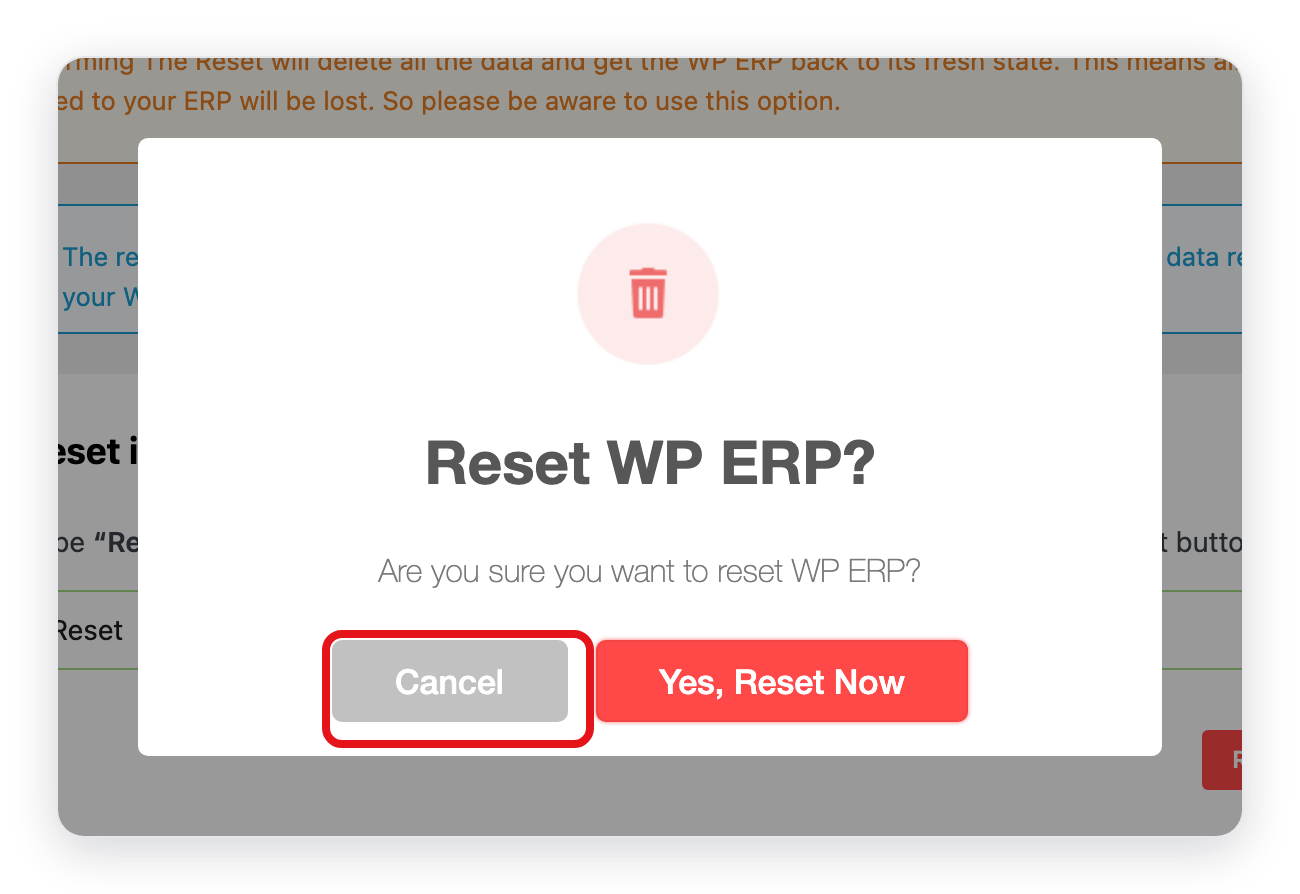
- A window asks "Are you sure you want to reset WP ERP?" To continue, click Yes, Reset Now. To stop, click Cancel.
What the reset removes
| Removed | Kept |
|---|---|
| All data in the WP ERP tables: employees, leave, departments, contacts, transactions, and more | The audit log |
| WordPress user accounts that only have WP ERP roles (for example, the Employee role) | User accounts that also have another role. WP ERP only removes its roles from them. |
| WP ERP announcements, trainings, questionnaires, and job openings | Your posts, pages, media, and other plugins |
What changed in 2.0
- The Tools page looks the same as in version 1.x.
- Tools does not import or export data. To import or export employees, see Import and Export Employees.
- On the Status tab, Copy for support shows after you click Get system report.