How To Create Subscription Forms
WP ERP CRM module allows you to create Subscription Forms and widget. This feature stores the contact information of the subscribers to the CRM module.
In this doc, we shall explain how to –
- Create subscription forms using simple shortcodes
- Customize the subscription forms
- Add widget to your web front
- Change the default life stage of the contacts
Videos Tutorial- How to Create Subscription Forms Using WP ERP
Getting Started
Here are some facts that you should consider while creating a subscription form.
- You must create a contact group for using the subscription forms. When your users submit details, it will be saved in the contact groups.
You can read this documentation to learn more about contact groups. - Contact Group ID is also important. You should identify the id of your contact group so that you can use the subscription forms for specific contact groups. When you open a contact group, you should notice URL in the browser. The last value in the URL is your contact group id. You must use that id inside the form shortcode to direct the submission to be added to that specific id means that specific contact group.
Short-codes for Creating Subscription Forms
Creating forms has never been easier with the help of short-codes. All you have to do is create a new page and insert your preferred short code.
Navigate to- WP Dashboard → Pages → Add New
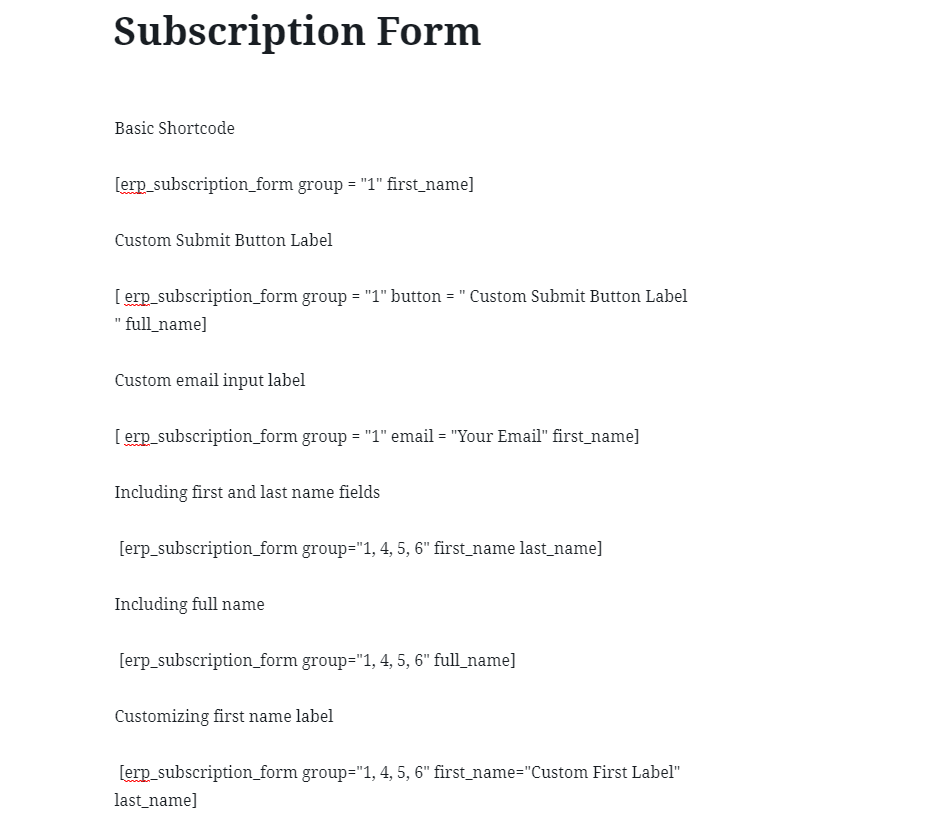
Now, you have to copy and paste one of the compatible short-codes that best suits your purpose. The following screenshot shows all compatible shortcodes. You have to paste only one that you have selected. Finally, click on the publish button.

Here are the shortcodes with some variations and a brief explanation.
Remember, you need to add “first_name” / ” full-name” after every shortcode. Otherwise, it will create an error. For example, like [ erp_subscription_form group = “1” email = “Your Email” first_name]
The basic shortcode
This is the basic shortcode and it will create a simple form with only email address field and subscribe button.
Customize the submit button label
With this shortcode, you can create a basic subscription form with custom button label. Just type the button label you want on the button attribute of the shortcode. For Example, if you want a custom label of “Subscribe Now”, just paste the following code-
Customize email input label
With this short code, you can create a basic subscription form with custom email input label. Just type the email input label you want on the email attribute of the short code. For Example, if you want a custom email input of “Your Email Address”, just paste the following code-
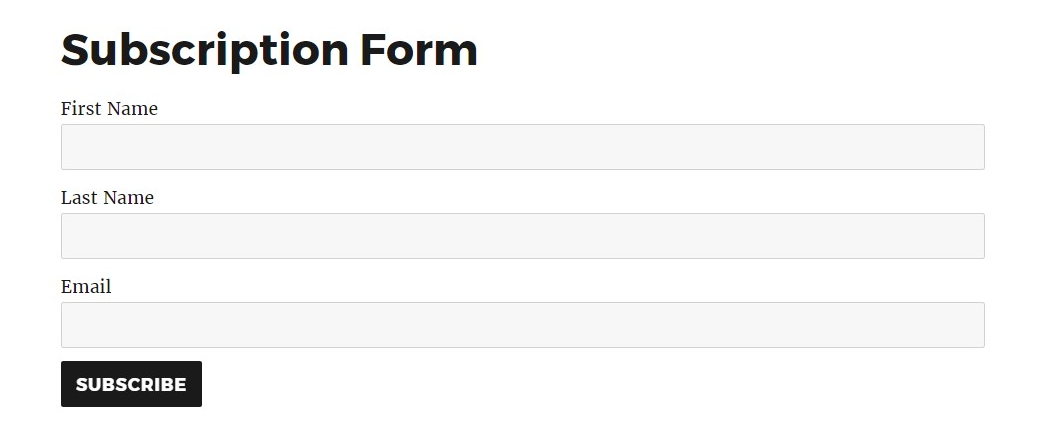
Including first and last name fields
With this short code, you can create a subscription form with Email, First Name and Last Name fields. Just use the following shortcode and publish the page.
Including full name
With this short code, you can create a subscription form with Email and Full Name fields. Just use the following shortcode and publish the page.
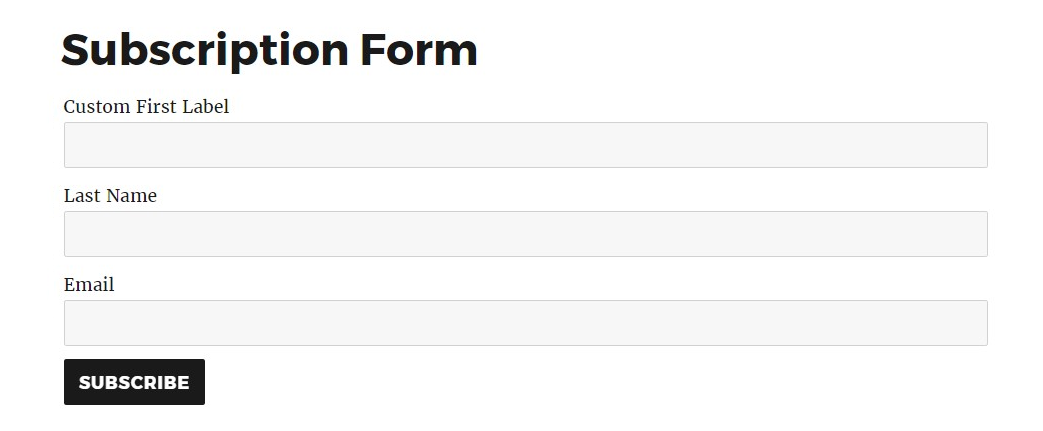
Customizing first name label
With this short code, you can create a basic subscription form with custom First Name label. Just type the custom label you want on the first name attribute of the short code. For Example, if you want a custom First Name of “Your First Name”, just paste the following code-
Adding Subscription Widget
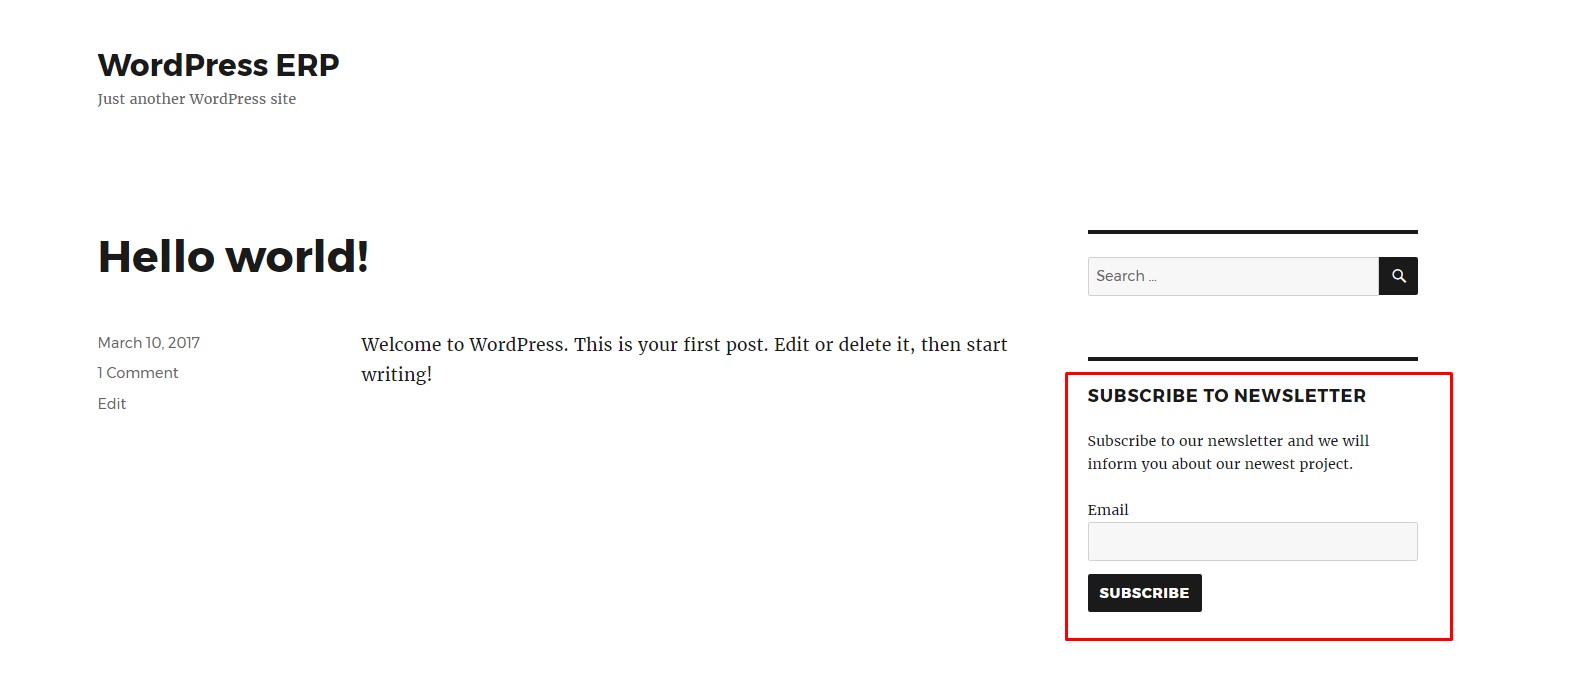
Besides a separate subscription form page, you can easily add a subscription widget. Just navigate to –
WordPress Dashboard → Appearance → Widgets
Now, drag the ‘ERP Subscription Form’ from the available widget list and drop it on the sidebar of your website.
You can change the title, description, add contact groups, add or remove name field, specify life stage and customize the button label. Finally, save the widget.
Change Life Stage of Your Subscribers
You can also specify life stage of your subscribers with a handy shortcode.
Just change “opportunity” with your preferred life stage and you are done. The subscribers from this form will be added as your specified life stage.


