Payment Gateway
ERP Payment Gateway Extension helps you to complete payments of your Accounting module using PayPal and Stripe.
In this documentation, we shall discuss-
- Installing & Activating
- Setup the Payment Gateway extension of WP ERP
- How it works with Accounting module
- Complete payments using ERP payment gateway
Installation and Activation
At first, you have to download the extension from your ‘My Account‘ page.
Navigate to- WP Admin Dashboard → Plugins → Add New → Upload Plugin.
Now, you have to install and activate it just like any other WordPress Plugin.
Payment Gateway Settings
After the installation, navigate to –
WP Admin Dashboard → WP ERP → Settings.
You will find a new tab called ‘Payment’.

ERP Payment Gateway General Settings
Now, click on the Payment tab and you will see the general settings of the payment gateway.

You can choose the payment account you want to use for all your payments.
There are two options available for you to choose from. You can choose either the Cash account or the Bank Accounts. After choosing your account click on the Save changes button.
PayPal Settings
You have to click on the PayPal tab to configure PayPal settings. You will find the following options –
- Enable or Disable PayPal Payments
- Provide a title for this payment option
- Give a short description
- PayPal Email you will be using to receive payments
- Enable or Disable PayPal Sandbox
After configuring the settings don’t forget to save changes.

Stripe Settings
At last, you will find the Stripe settings. From here, you will get similar options like PayPal, but instead of PayPal email, you have to enter the following-
- Live Secret Key
- Live Publishable Key
- Enable or Disable Test mode
- Test Secret Key
- Test Publishable Key

How it works with the Accounting module
Create Invoice
Using the accounting module, you can create invoices of your sales and select customers to complete the payments. Now, you can let the customers use PayPal or Stripe to complete their payments. To do so, first create an invoice.
Fill up the invoice details and click on the Save button.

Getting the Invoice Link
After saving the invoice, open the Invoice page by clicking on the voucher number from the Sales Transactions list.

From there, click on the copy link address to copy the link for the invoice:

The Payment Option on Frontend
Now, open the invoice link and you will find the frontend view of the invoice you have approved and created. At the top of the page, you will find a button titled Payment Options.
The Payment Options
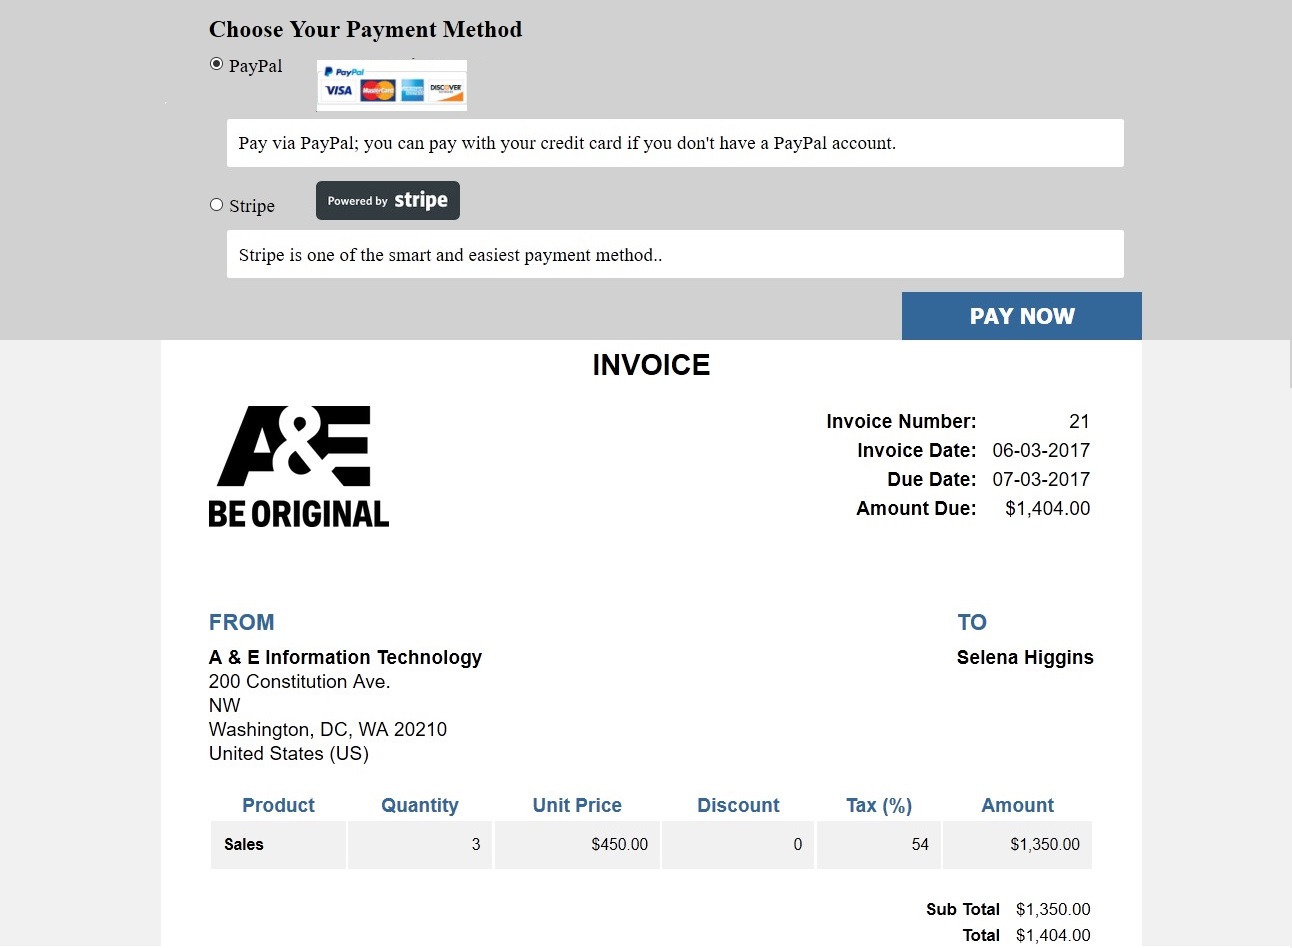
Now, click on the Payment Options button. You will find available payment methods – PayPal and Stripe.
PayPal Payment
If you choose PayPal and click Pay now, you will be redirected to the PayPal’s website. From there your order summary will be available and you can login to complete the payment.
Stripe Payment
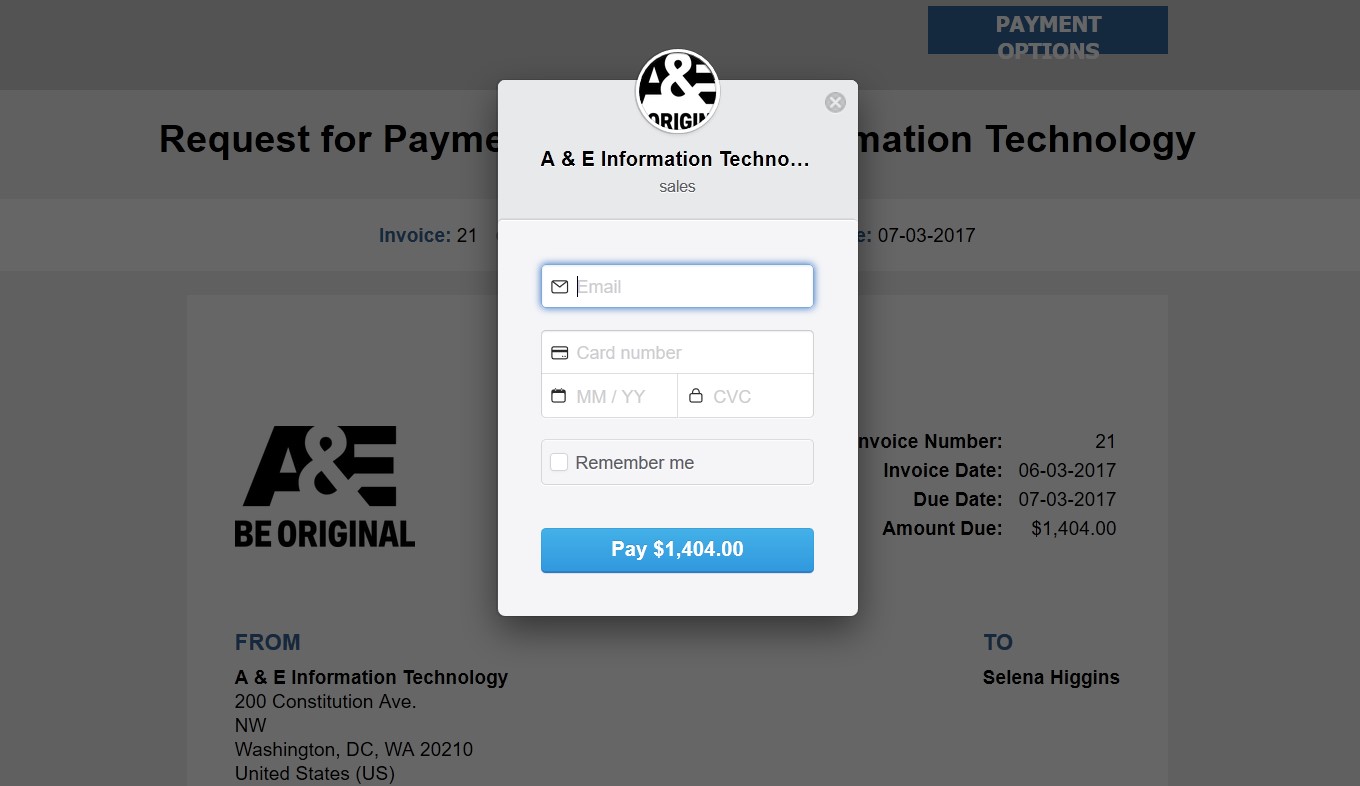
If you choose Stripe payment, a from will appear. Here, you have to input your stripe email, card number, expiry date and CVC. Finally, click on the Pay button to complete the payment.
Payment Completed
You can navigate to WP Dashboard → WP ERP → Accounting → Transactions → Sales and check whether the invoice amount is paid or not.
That’s how you can use the WP ERP payment extension.
Or you can check out this video,


