
Import and Export Employees
Import many employees at the same time from a CSV file. You can also export your employees to a CSV file, for example to use in a spreadsheet.
Before you start
- You must be a WordPress administrator or an HR manager.
- Each employee in the file needs a different email address.
- You can import up to 500 employees in one file.
Import employees
Step 1: Open the Import window
- In your WordPress admin, go to WP ERP → HR → People → All Employees.
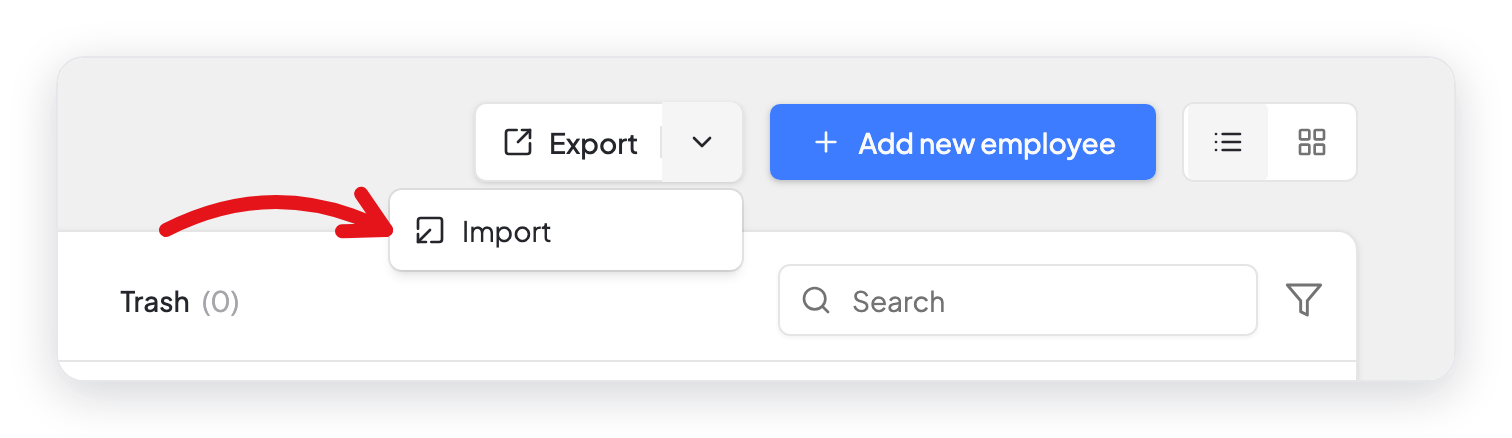
- Click the small arrow next to Export.
- Click Import.
Step 2: Get the sample file
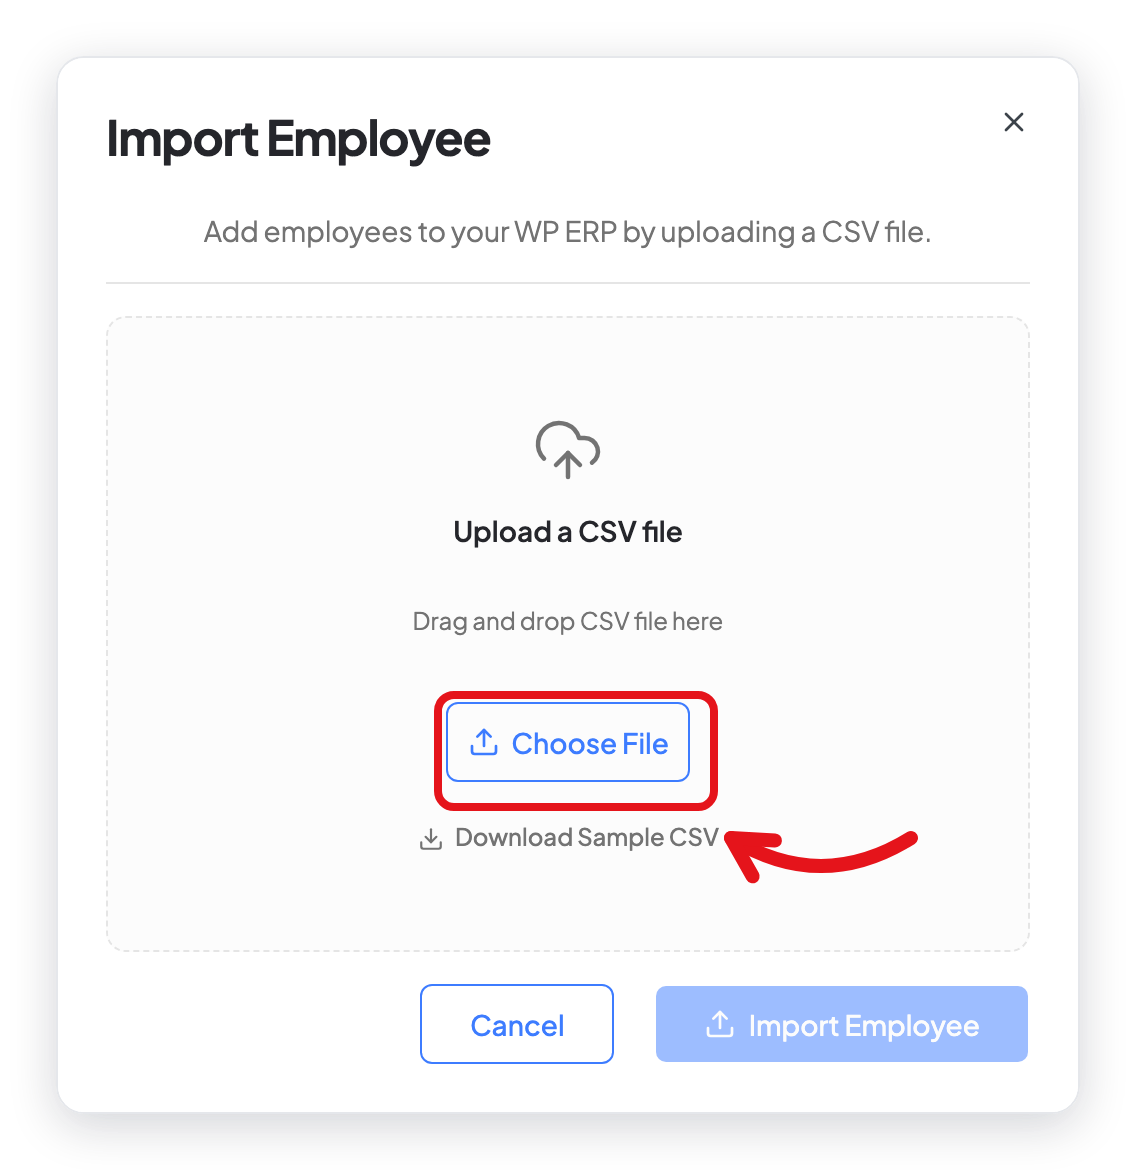
- Click Download Sample CSV. WP ERP downloads the file
employees-template.csv. - Open the file in a spreadsheet program.
- Add one employee on each row. Keep the column names in the first row.
- Save the file as CSV.
Step 3: Upload the file
- Click Choose File, and select your CSV file. You can also drag the file into the window.
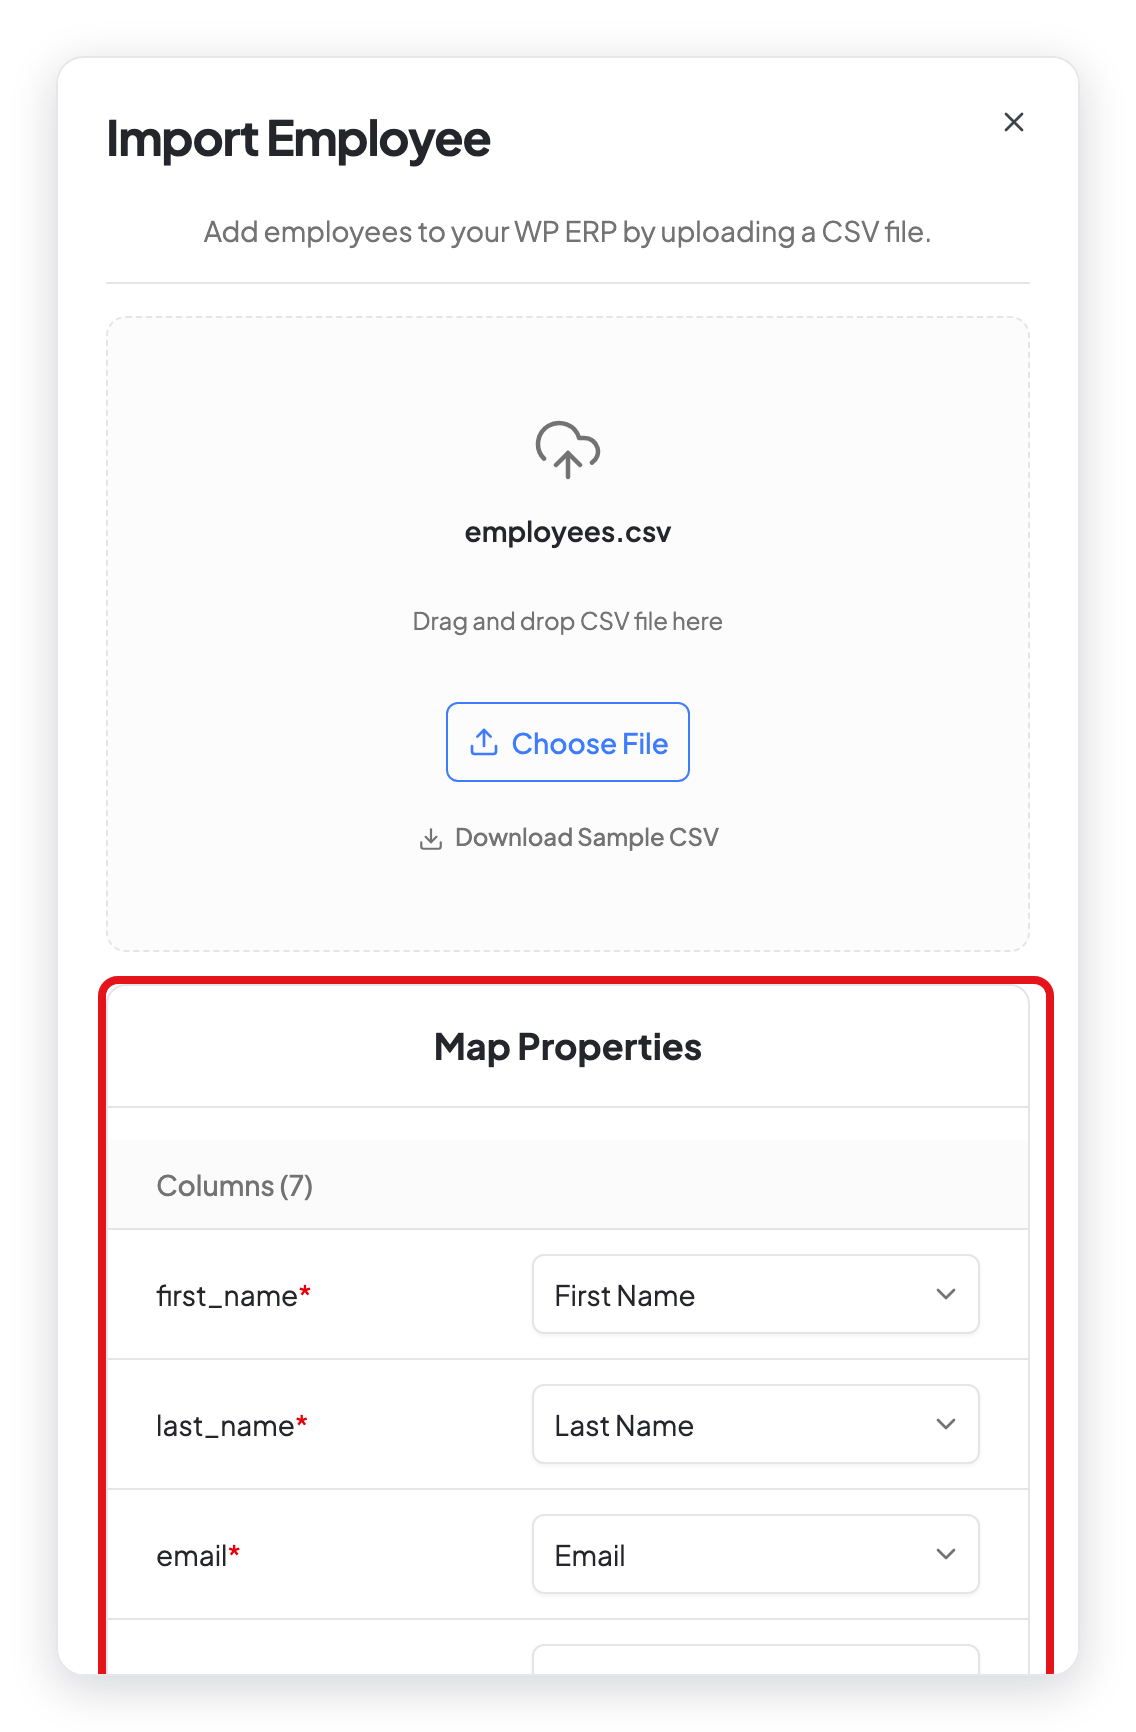
- Look at Map Properties. WP ERP matches each column in your file to an employee field.
- If a column has the wrong field, select the correct field in the list.
Step 4: Import
- Click Import Employee.
- When the import is complete, click Done. To import one more file, click Import another file.
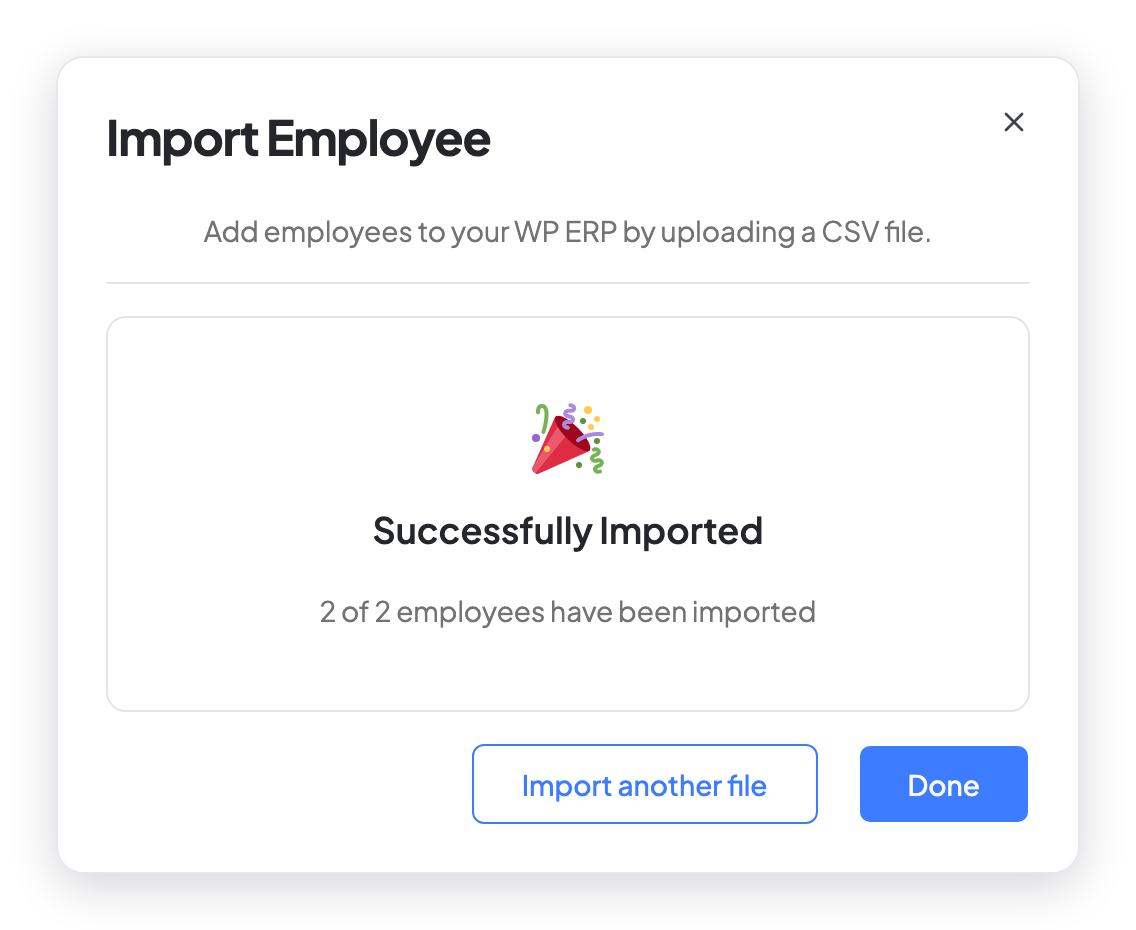
If some rows fail, the window shows "Import finished" and a list of the rows that failed, with the reason.
The columns in the CSV file
Only first_name, last_name, and email are necessary. All other columns are optional.
| Column | What to put in it |
|---|---|
| first_name, middle_name, last_name | The name of the employee. |
| The work email. It must be different for each employee. | |
| employee_id | Your own ID for the employee. |
| type | permanent (Full Time), parttime, contract, temporary, or trainee. |
| status | active, inactive, terminated, deceased, or resigned. |
| hiring_date, end_date, date_of_birth | A date in the format YYYY-MM-DD, for example 2026-11-23. |
| department, designation, location | The ID number of the department, job title, or location. See the note below. |
| reporting_to | The ID number of the manager. See the note below. |
| pay_rate | A number, for example 5800. |
| pay_type | hourly, daily, weekly, biweekly, monthly, or contract. |
| hiring_source, phone, mobile, gender, marital_status | Optional personal and work details. Use male, female, or other for gender. |
Note: In WP ERP 2.0.0, the import reads department, designation, location, and reporting_to only as ID numbers. If you type a name, the import adds the employee but keeps this field empty. Then you can set the field on the profile of each employee.
Each location must exist before you import. To add one, see Add an office location.
Export employees
- Go to WP ERP → HR → People → All Employees.
- Click Export.
- All fields are selected. To export fewer fields, clear the fields that you do not need.
- Click Continue.
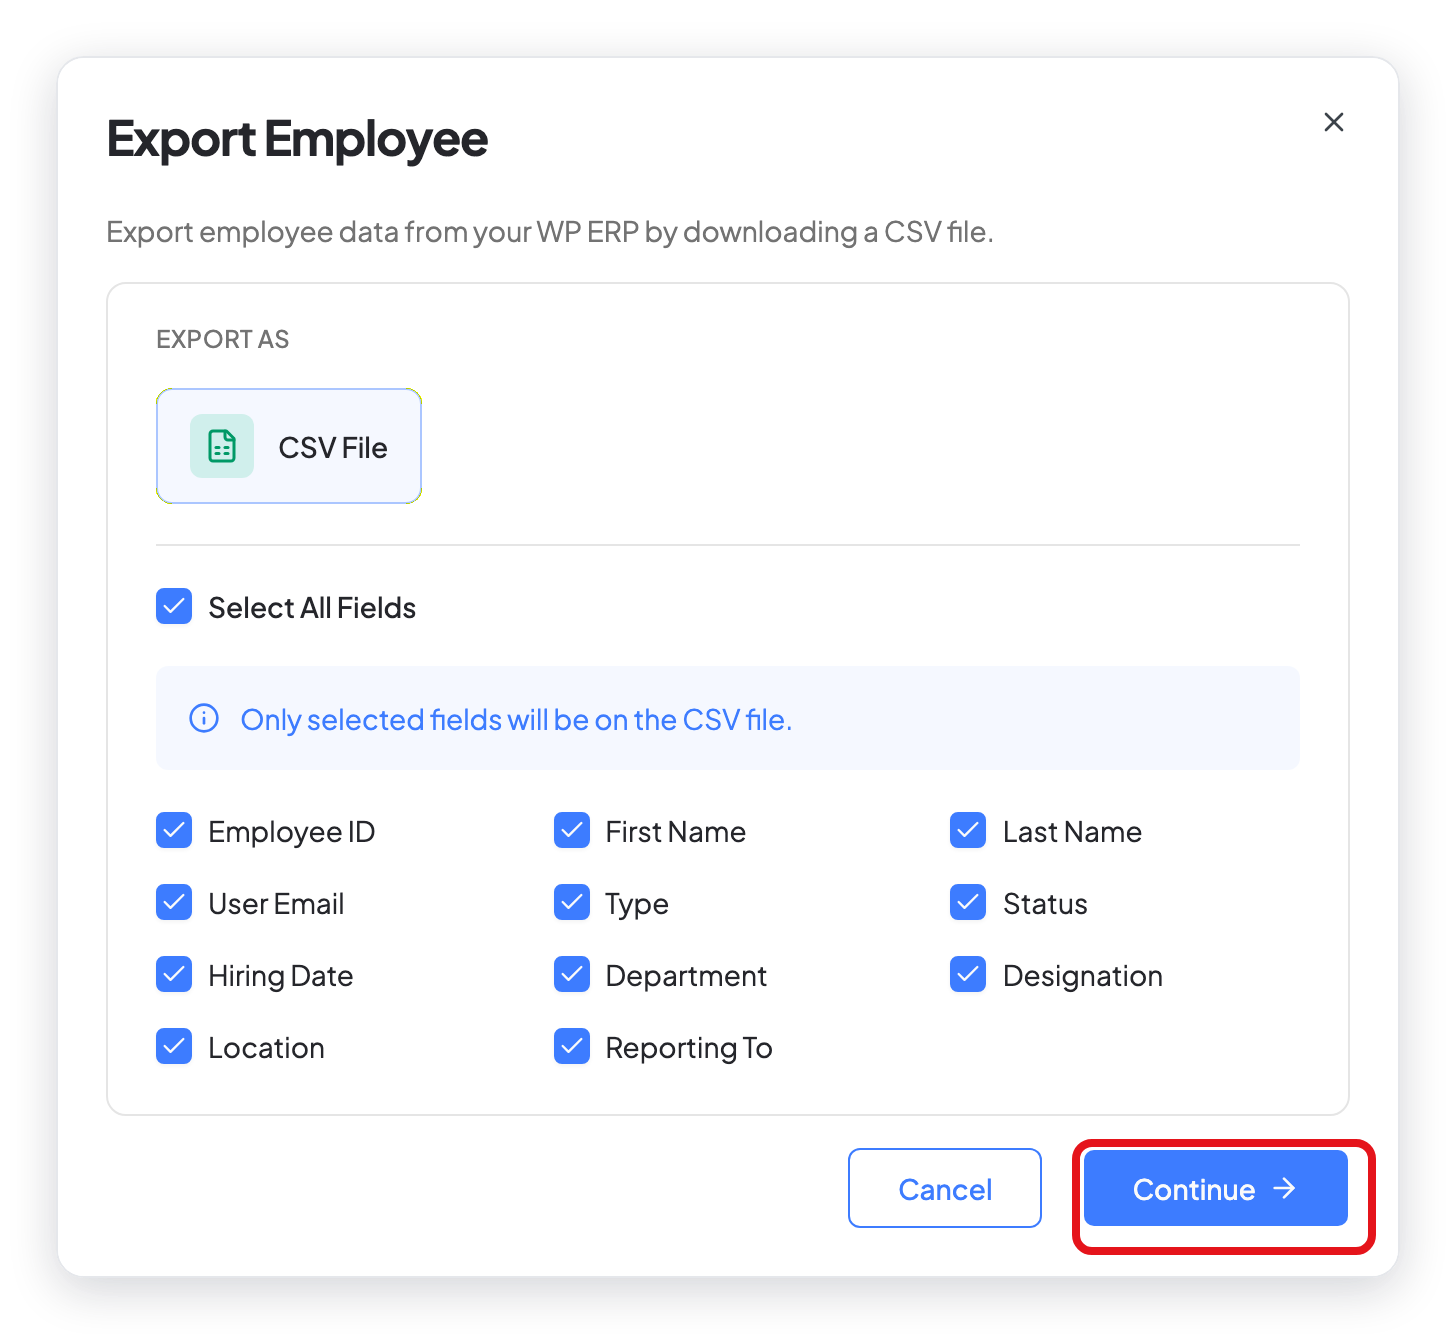
WP ERP downloads the file employees.csv and shows "Export ready. Check your downloads." The file has the active employees only.
What changed in WP ERP 2.0
- Import is now in the menu next to the Export button on the employee list.
- After you upload a file, a Map Properties step lets you match your columns to the employee fields.
- In earlier versions, the import matched departments, job titles, and locations by name, and made new ones if they did not exist. WP ERP 2.0.0 does not do this. It reads these columns as ID numbers only.
- In earlier versions, you added the manager by email in Reporting to. WP ERP 2.0.0 reads this column as an ID number only.