
Candidates
A candidate is a person who applied to one of your job openings. Use the Candidates page to review each application, move candidates through your hiring stages, and hire the right person.
Before you start
- You must be a WordPress administrator or an HR manager.
- You must have at least one published job opening.
Step 1: Open the candidates list
Go to WP ERP → HR → Recruitment → Candidates.
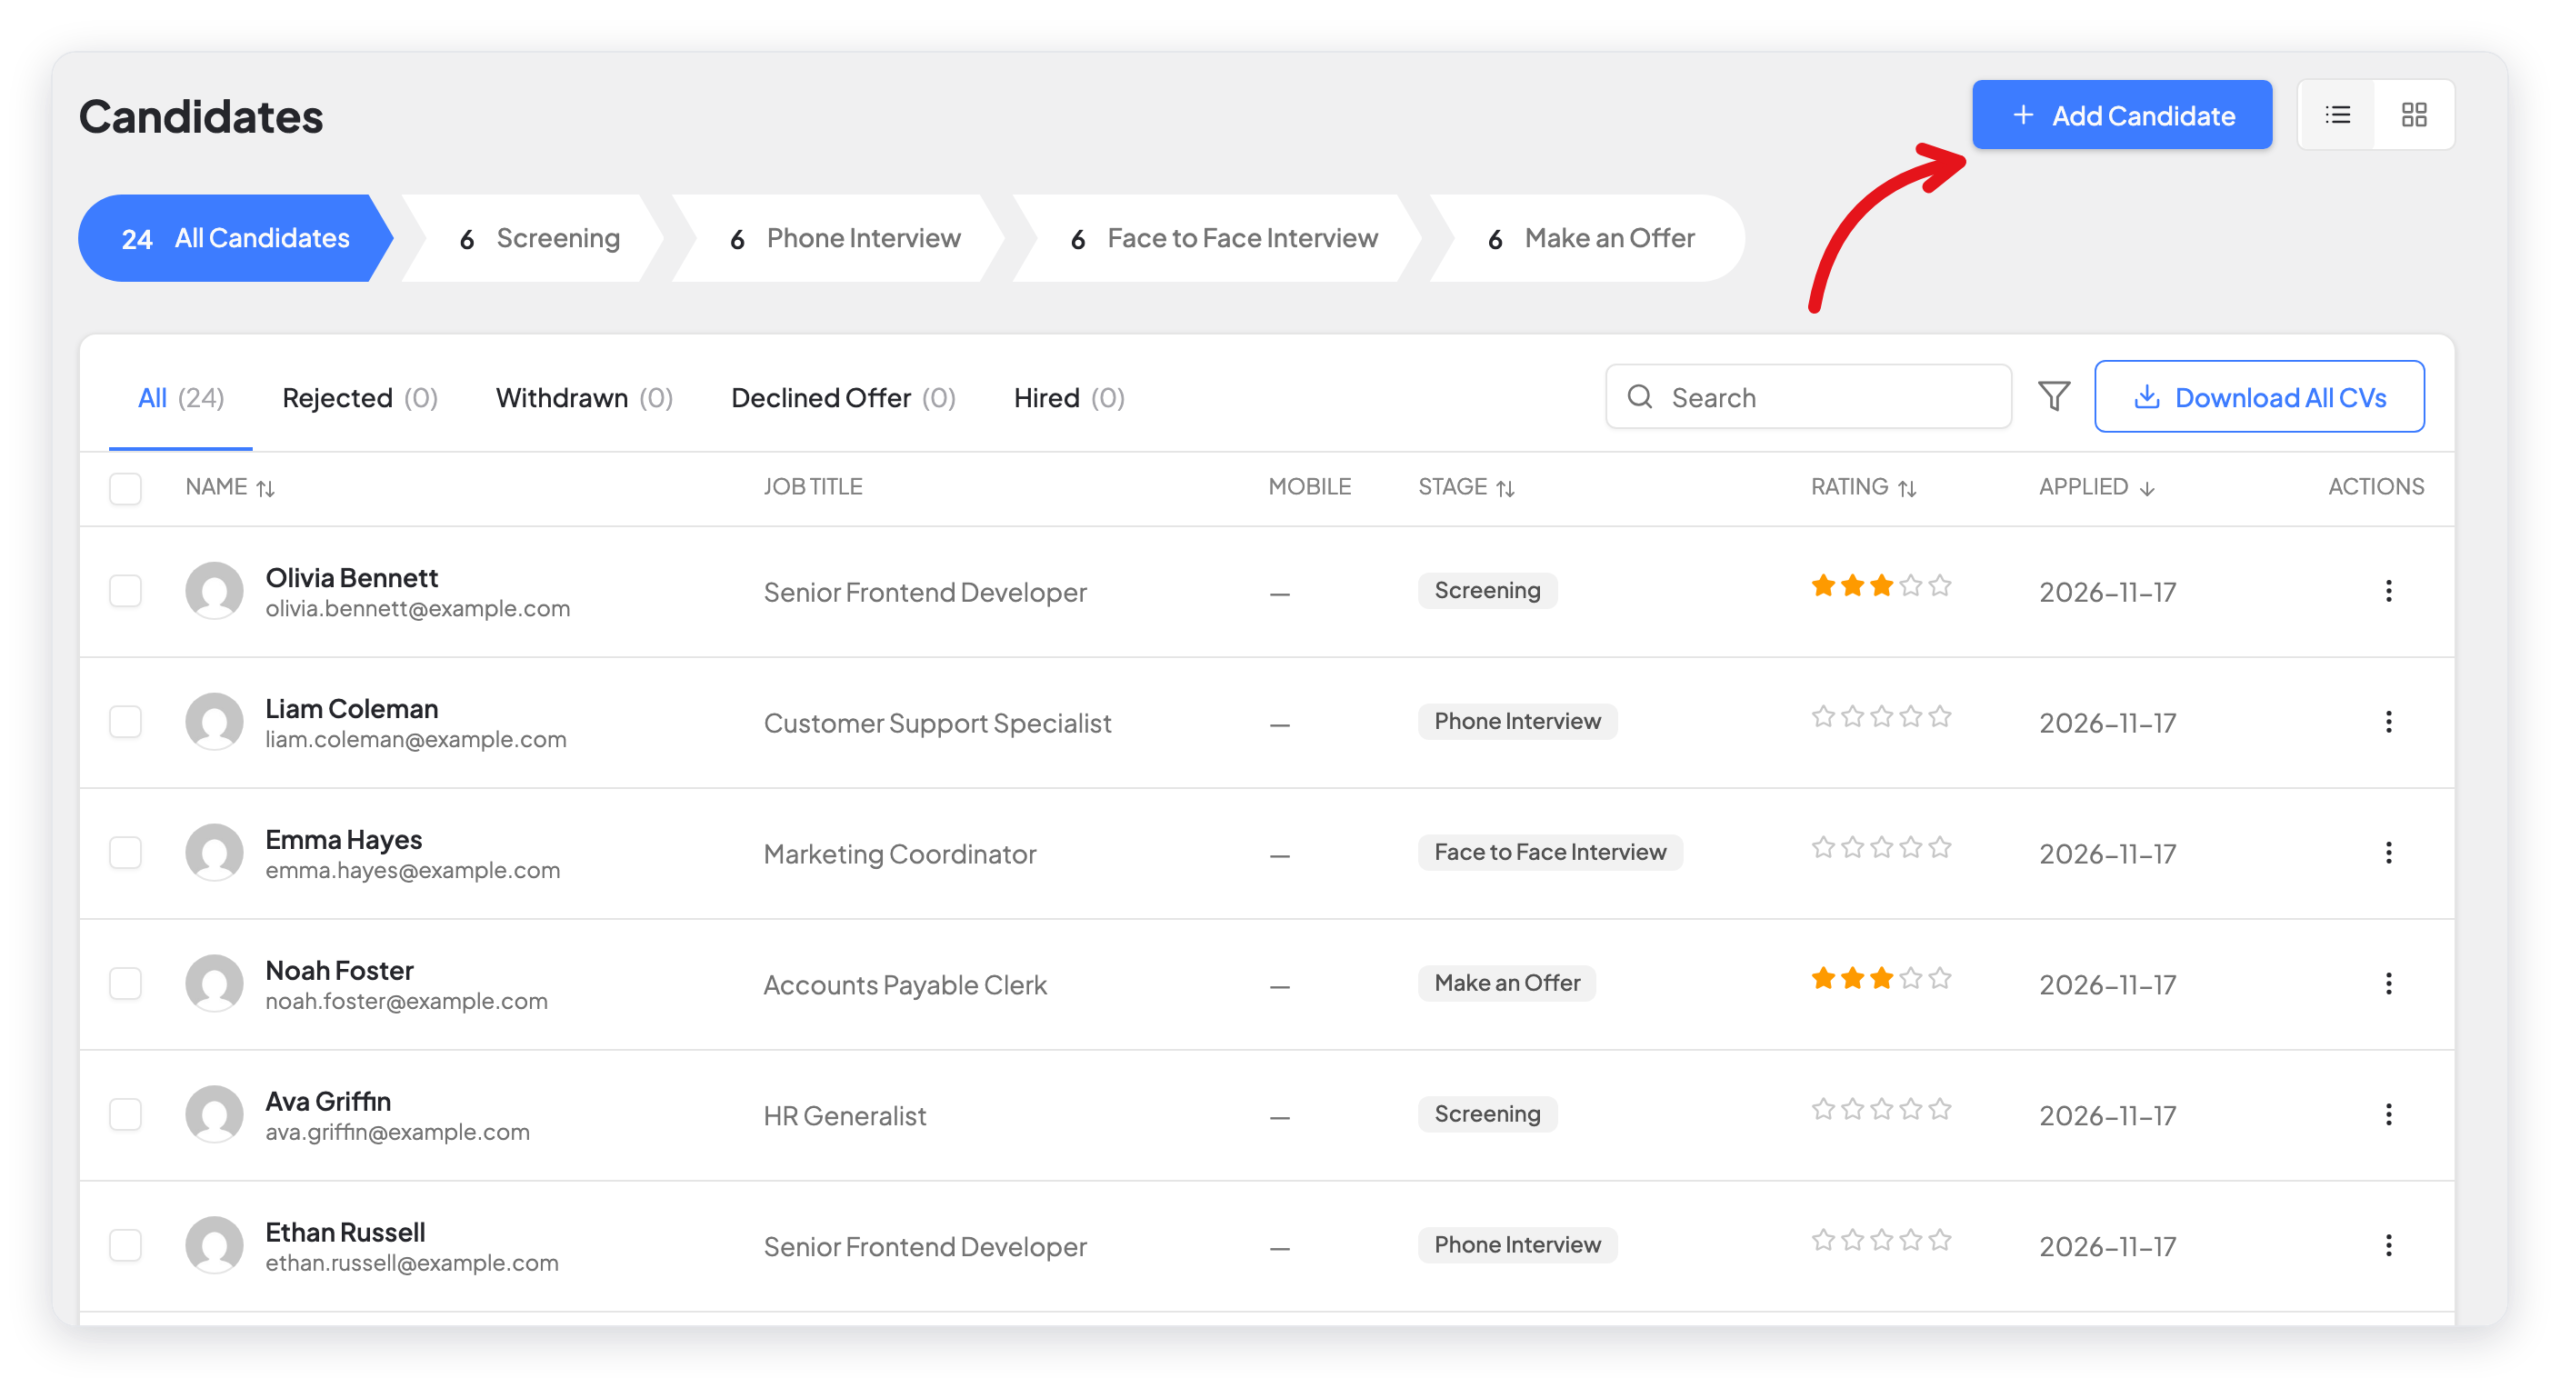
- The row of stages at the top shows how many candidates are in each stage. Click a stage to show only those candidates.
- The tabs show candidates by status: All, Rejected, Withdrawn, Declined Offer, and Hired.
- Use Search to find a candidate by name or email. Use the filter button to filter by job or by stage.
- Click Download All CVs to download the CVs of the candidates in the list.
Add a candidate yourself
Candidates usually apply on your website. You can also add an application yourself, for example when a person sends a CV by email.
- On the Candidates page, click Add Candidate.
- Select the Job Opening.
- Type the First Name, the Last Name, and the Email.
- Fill in the other fields of the job, if they show.
- Click Click to upload CV, and select the CV file.
- Click Add Candidate.
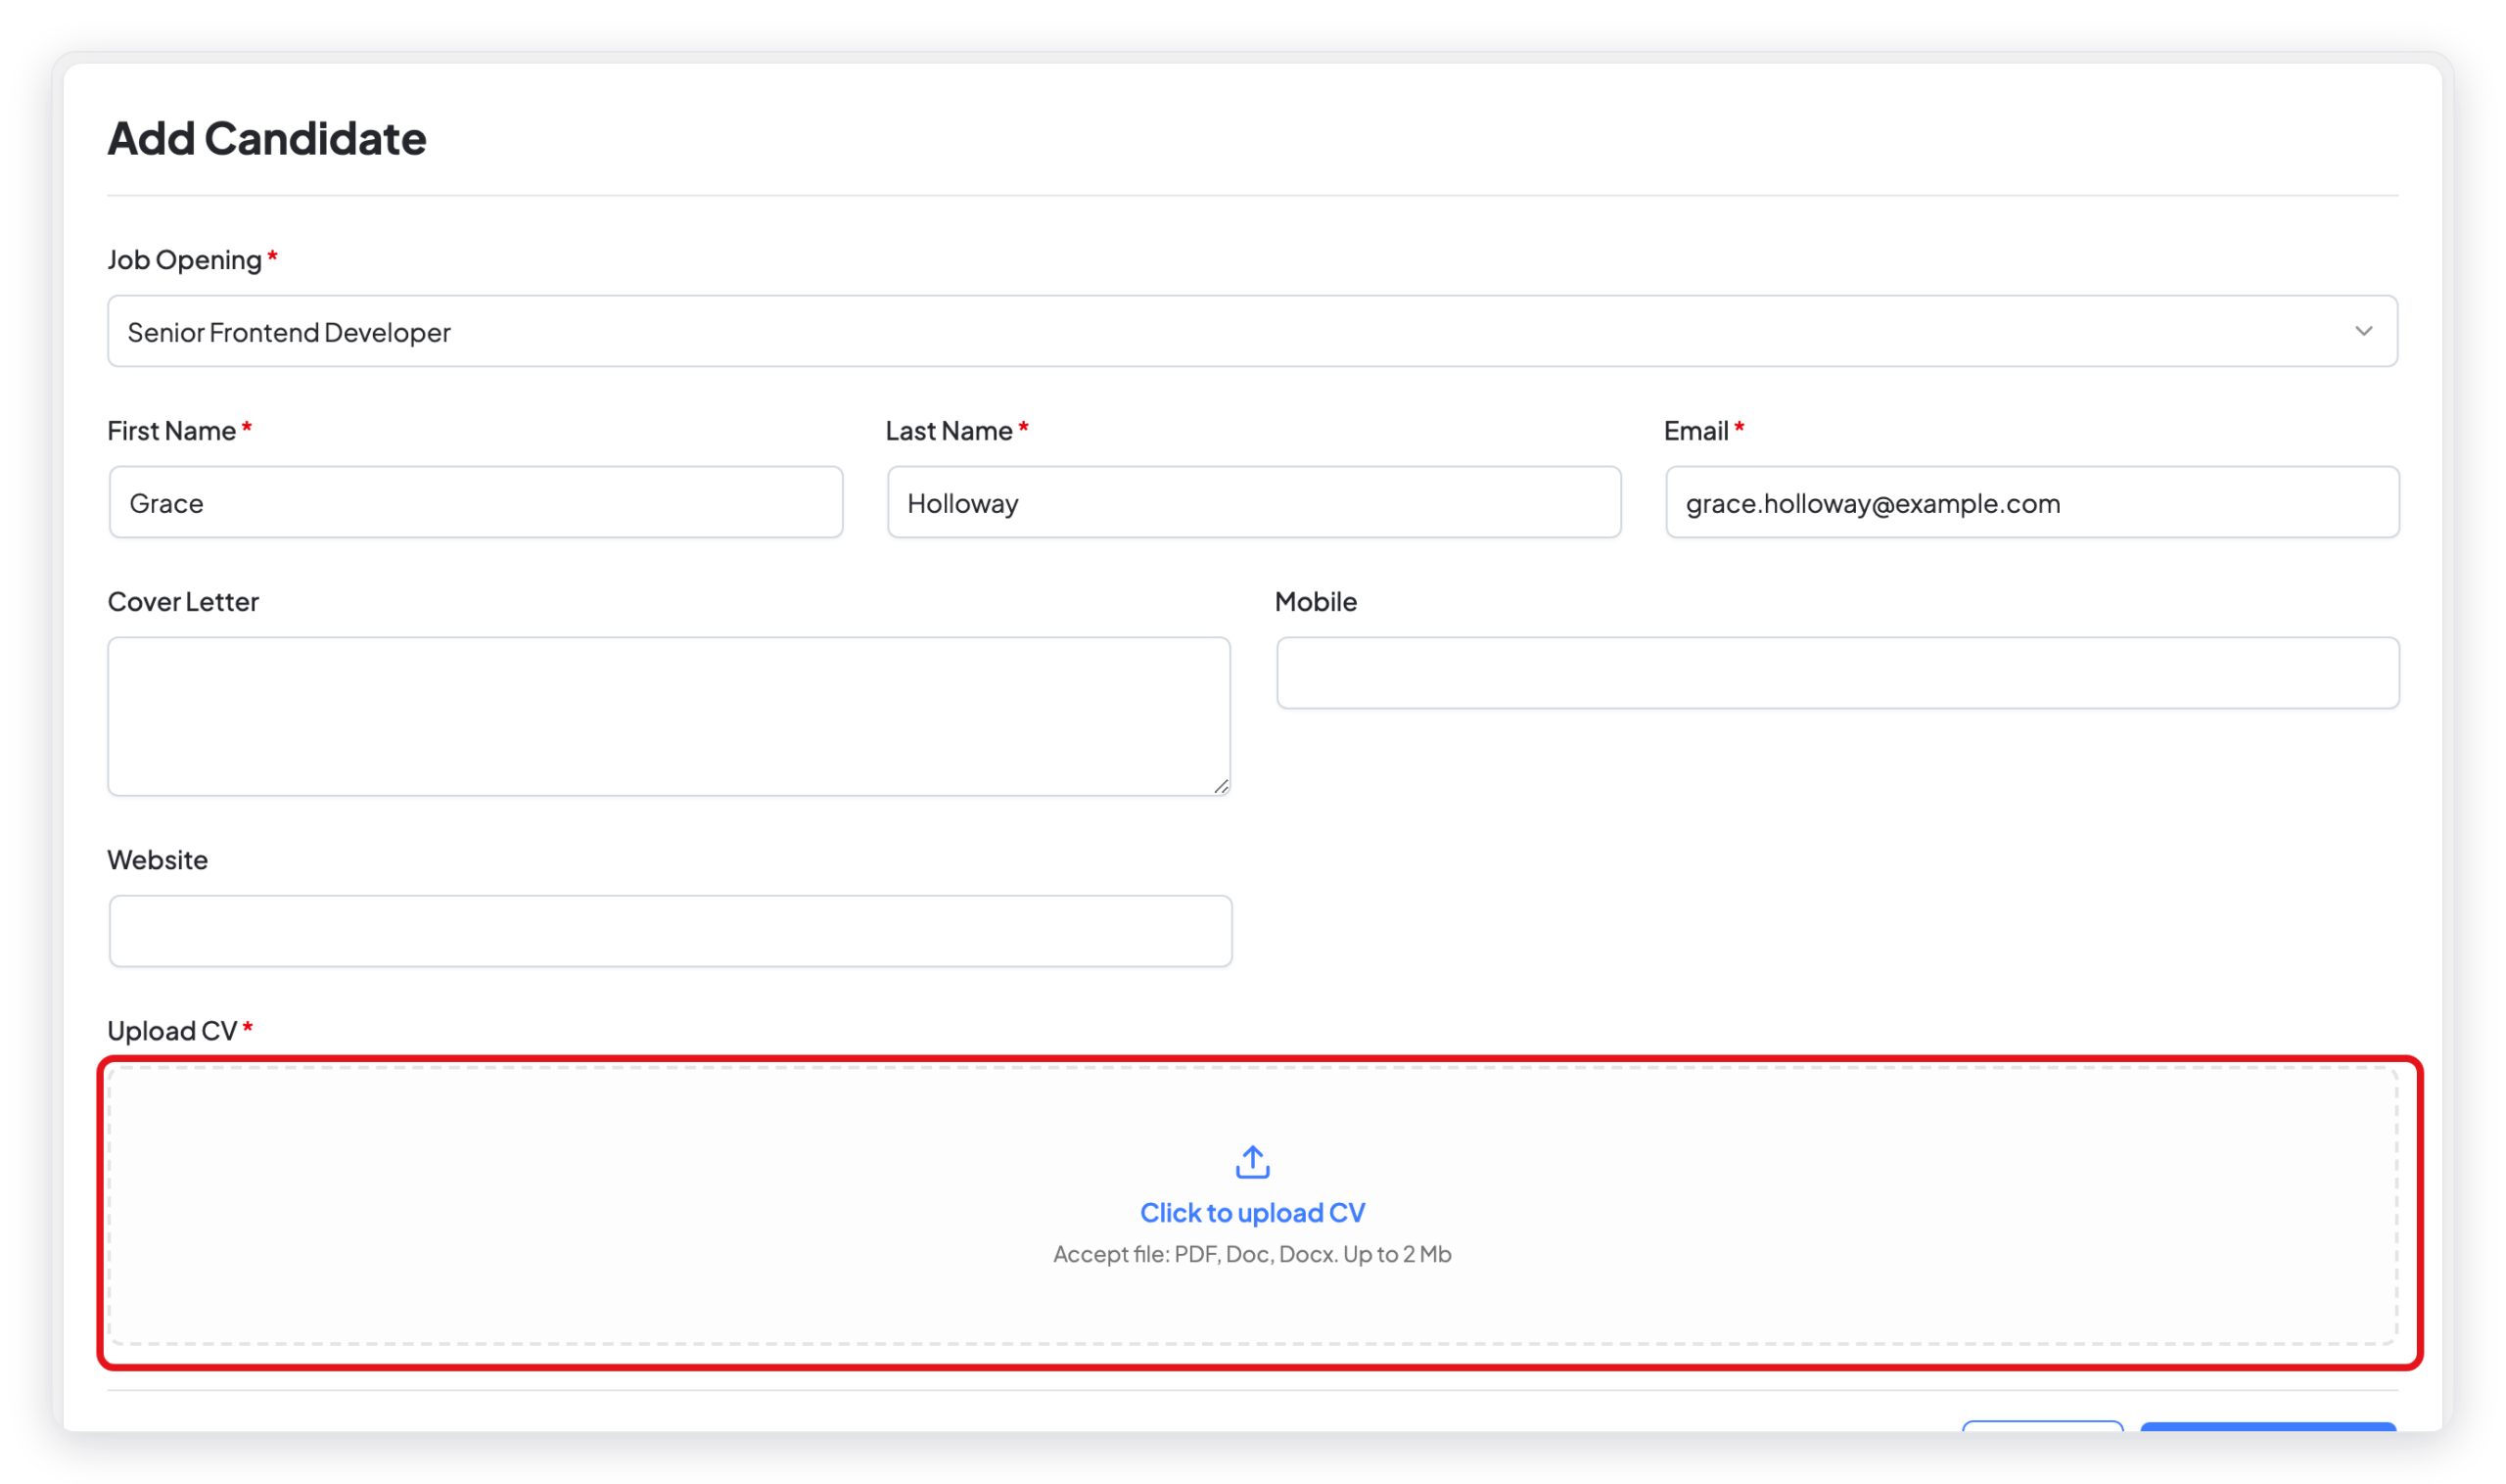
The CV must be a PDF, DOC, or DOCX file of 2 MB or less. The other fields of the form come from the application form of the job.
Step 2: Open a candidate
Click the name of a candidate. The candidate page opens.
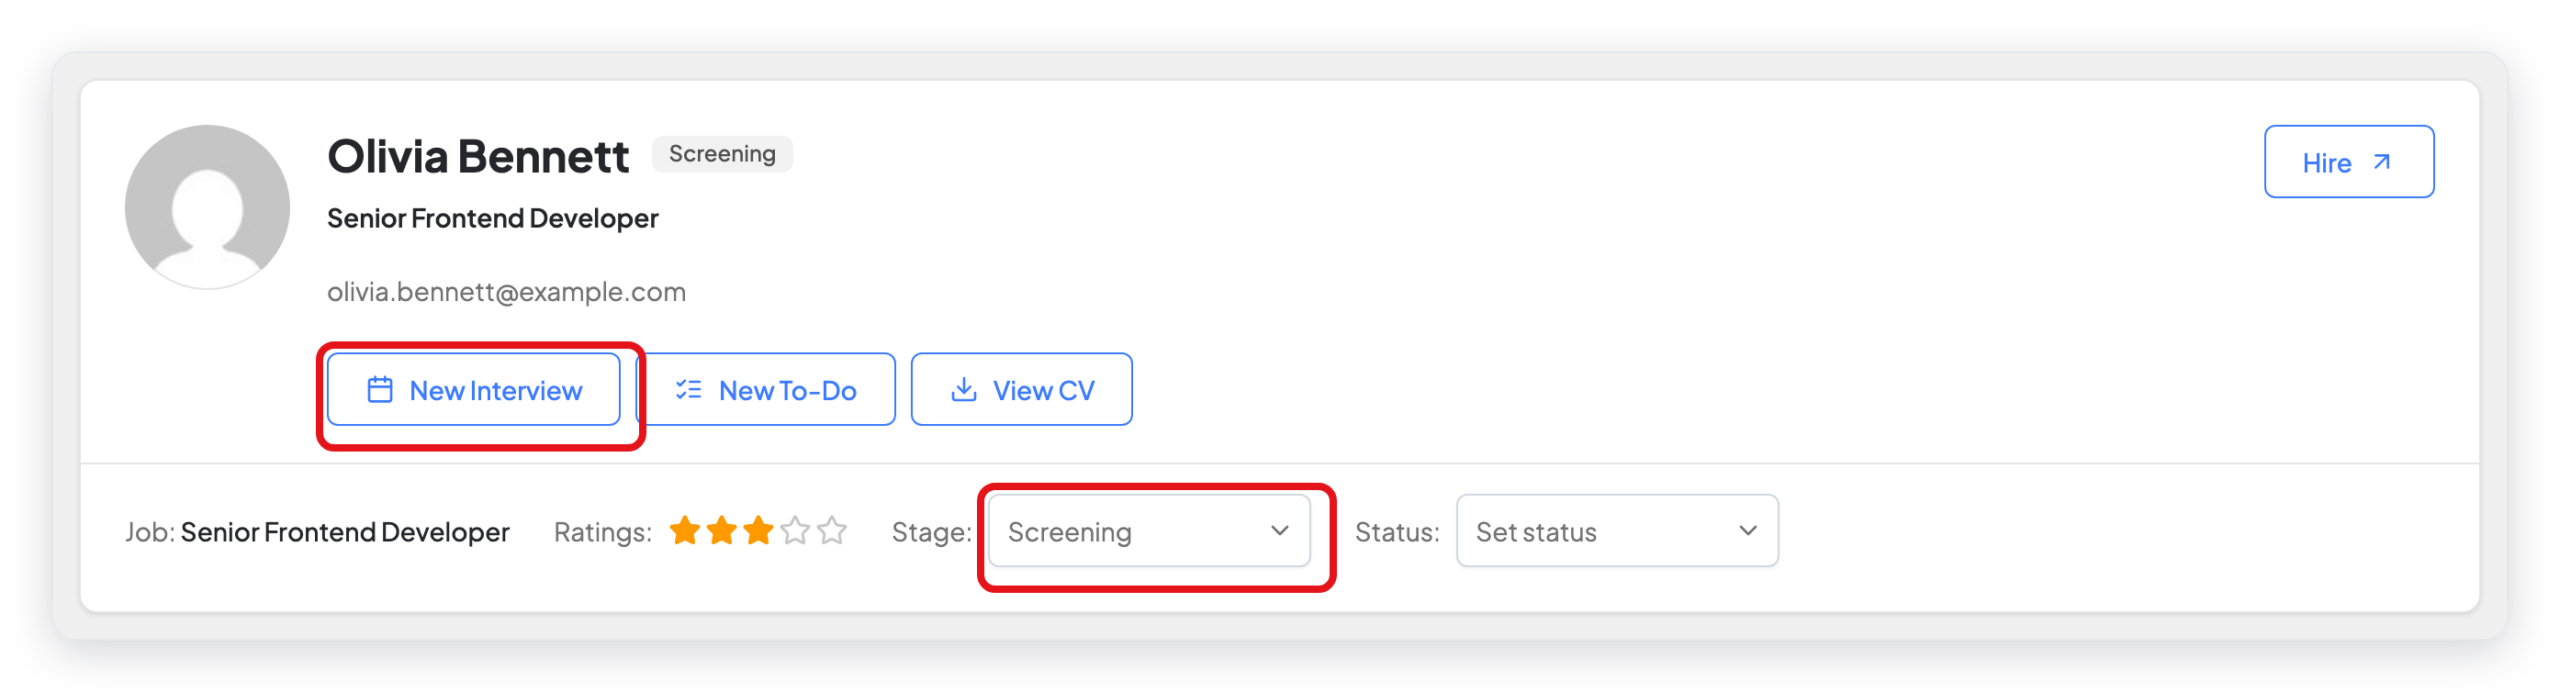
At the top of the page, you can:
- Change the hiring stage in Stage.
- Set a status in Status.
- Schedule an interview with New Interview.
- Add a task with New To-Do.
- Open the CV with View CV.
- Hire the candidate with Hire.
Step 3: Move the candidate to the next stage
Select the new stage in Stage. WP ERP saves the change immediately.
Step 4: Set a status (optional)
If the candidate leaves the process, select a status in Status:
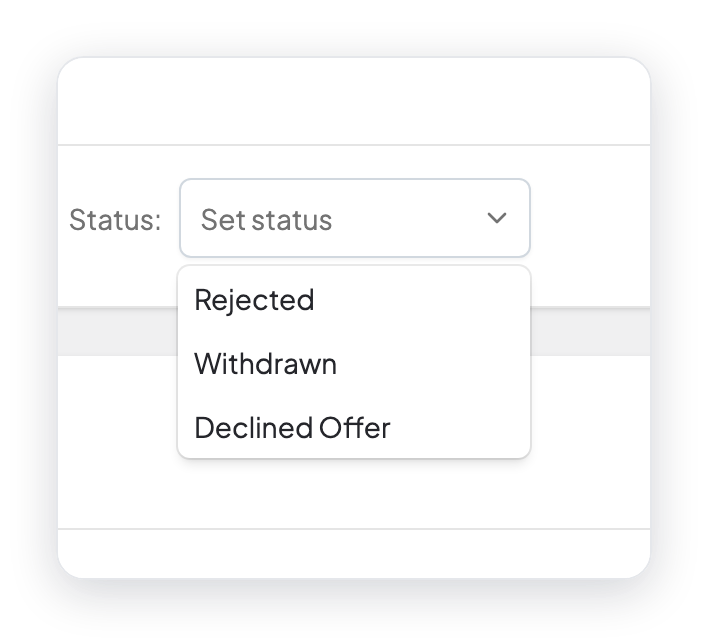
| Status | Use it when |
|---|---|
| Rejected | You do not want to continue with the candidate. |
| Withdrawn | The candidate stopped the application. |
| Declined Offer | The candidate said no to your job offer. |
The candidate then moves to the tab of that status on the Candidates page.
Step 5: Schedule an interview
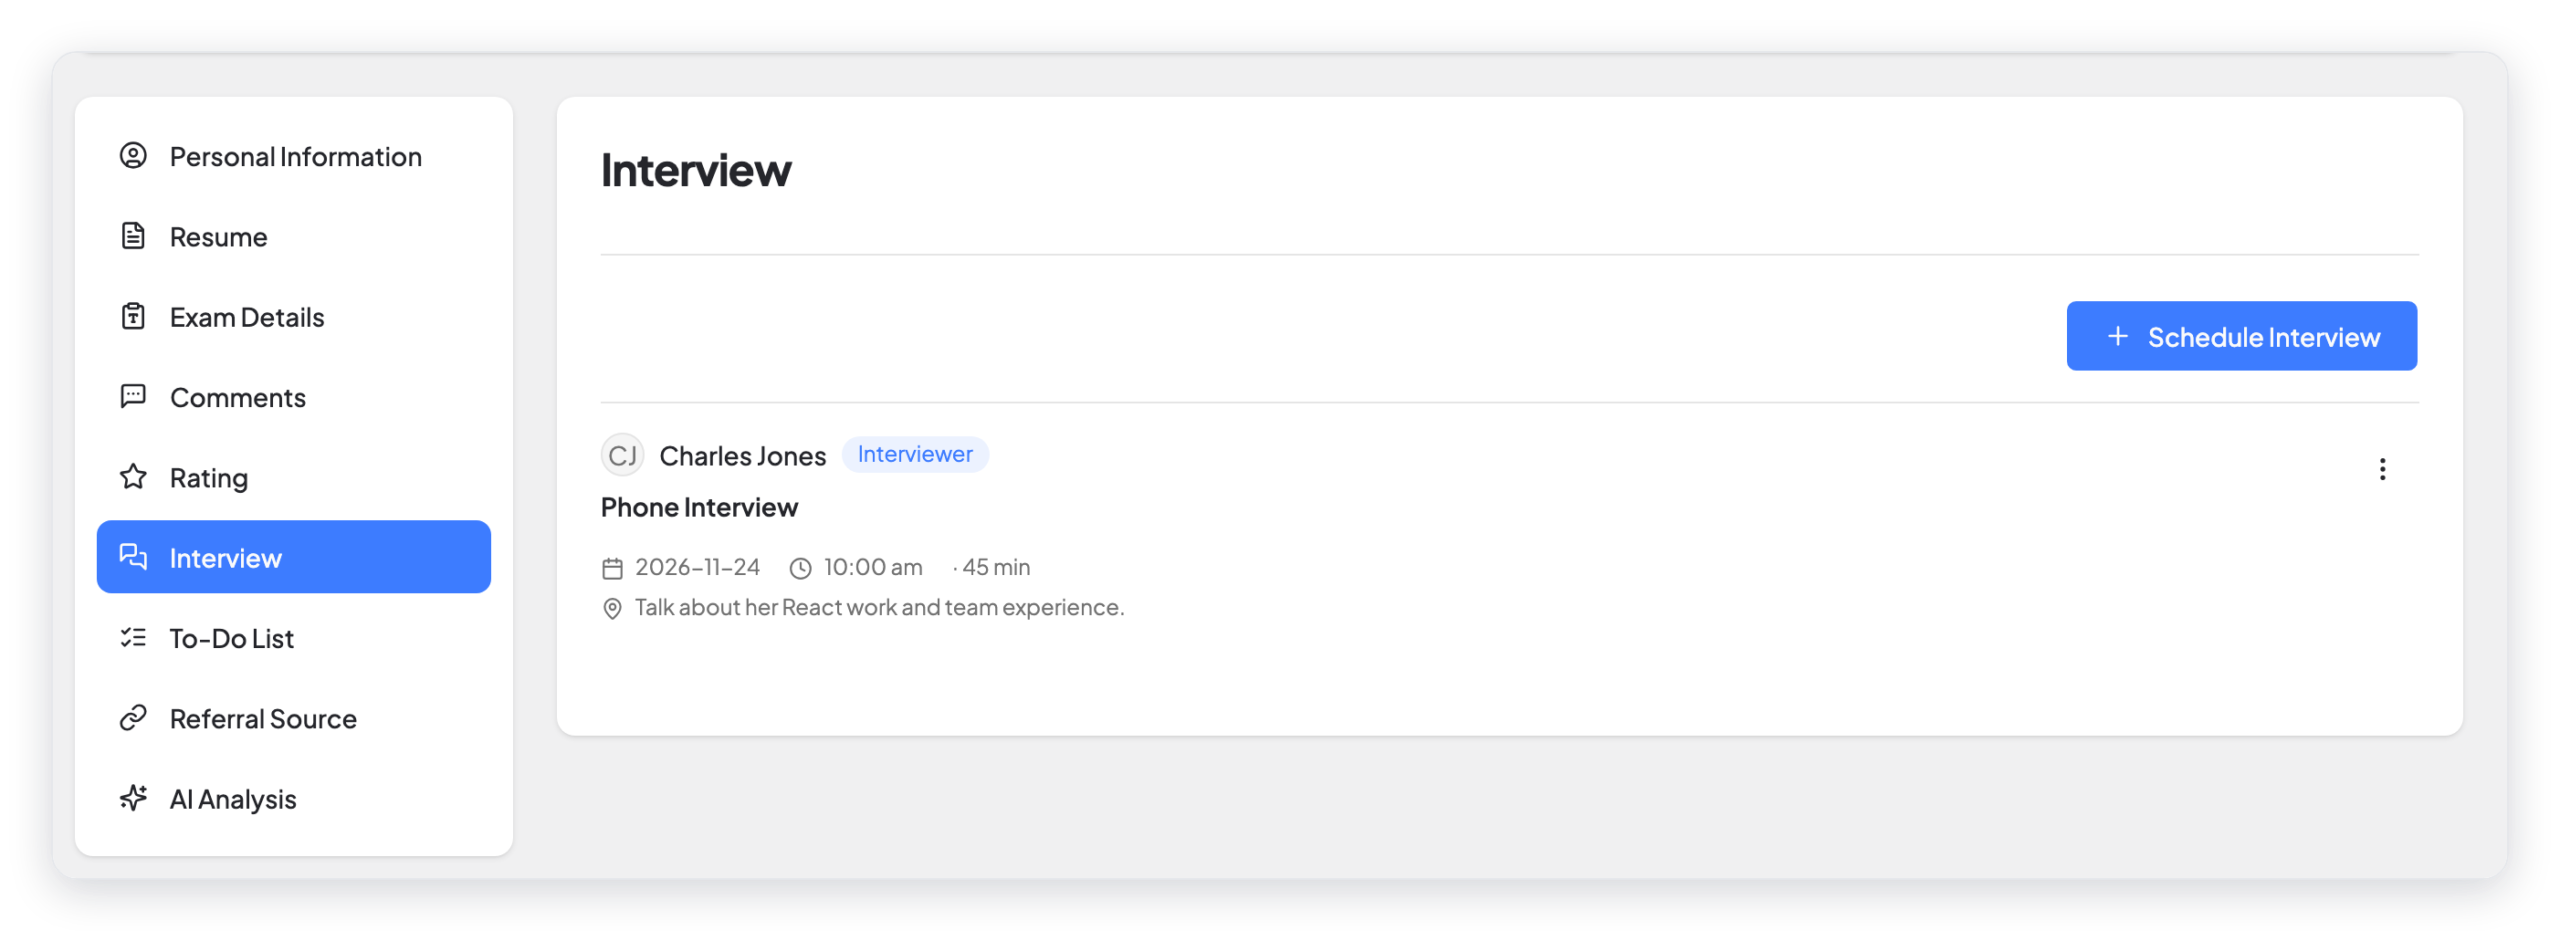
- Click New Interview. The Interview tab opens.
- Click Schedule Interview.
- Select the type of interview. The types are your hiring stages.
- Add one or more Interviewers. Interviewers must be active employees.
- Select the Duration, the Interview Date, and the Interview Time.
- Type the place or the phone number in Interview Detail.
- Click Save Interview.
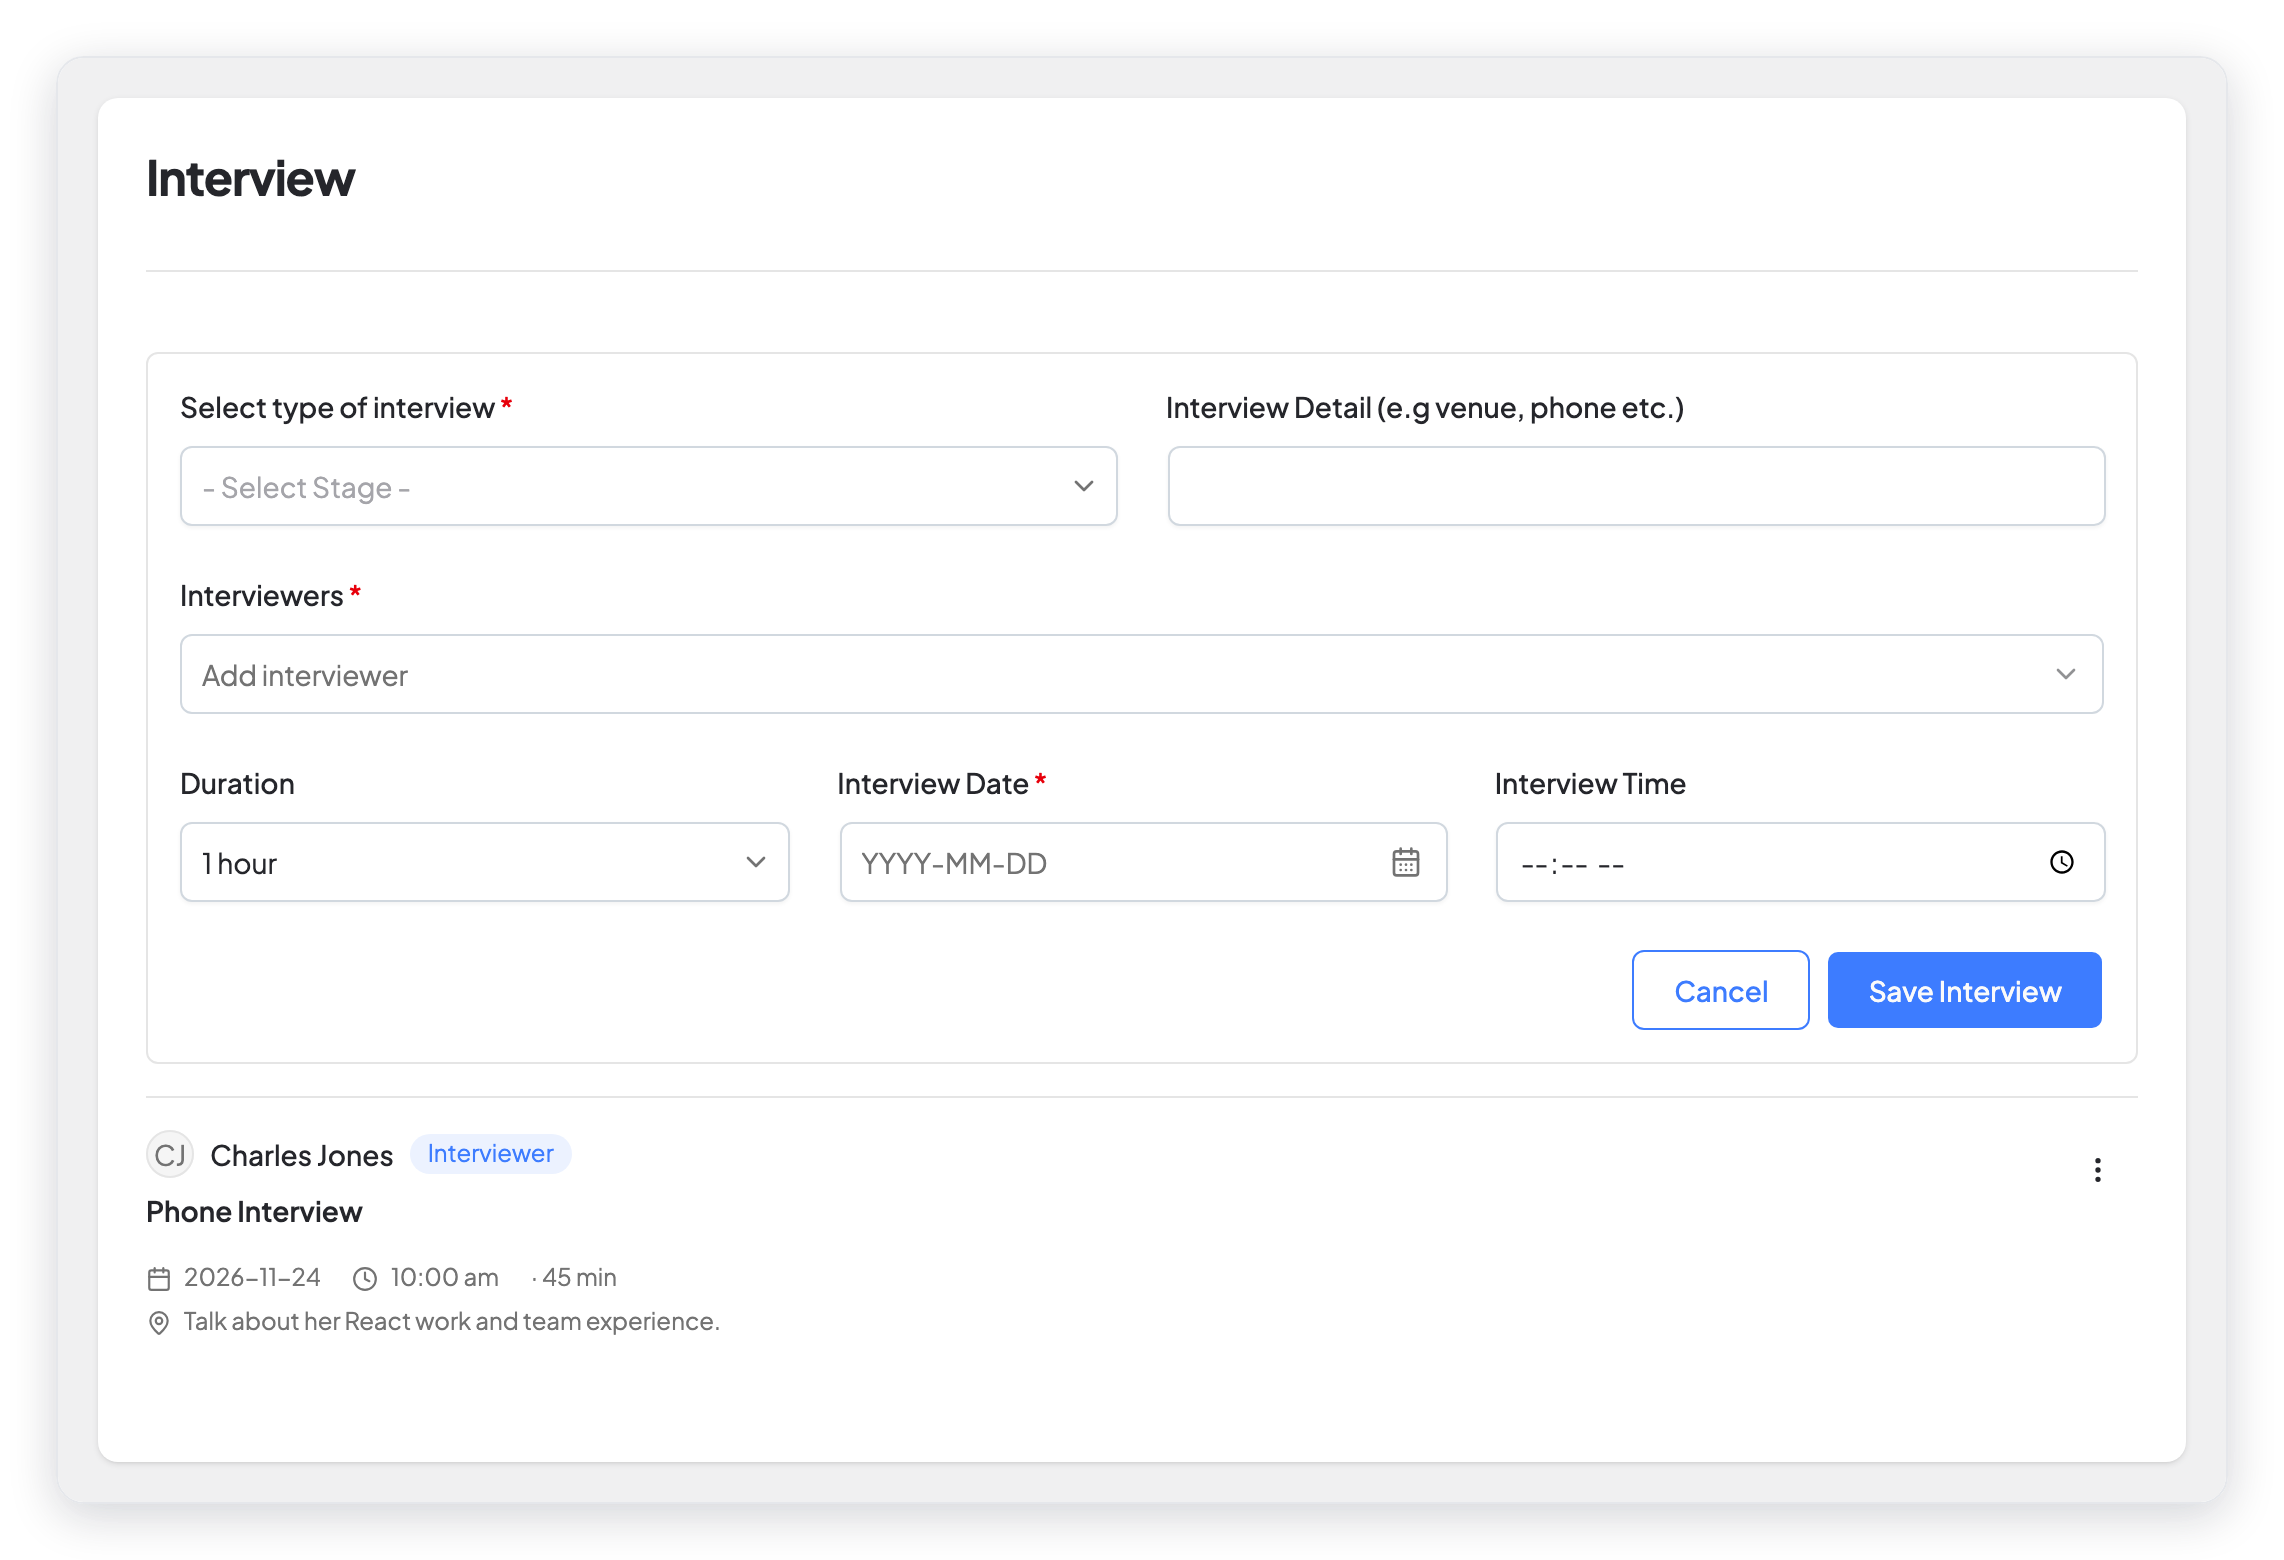
The interview then shows in the Interview tab. The interview date cannot be in the past.
Step 6: Add a to-do
Use a to-do for a task about the candidate, for example "Check references".
- Click New To-Do. The To-Do List tab opens.
- Click Add To-Do.
- Type the Title.
- Assign one or more employees.
- Select the deadline date and time.
- Click Save To-Do.
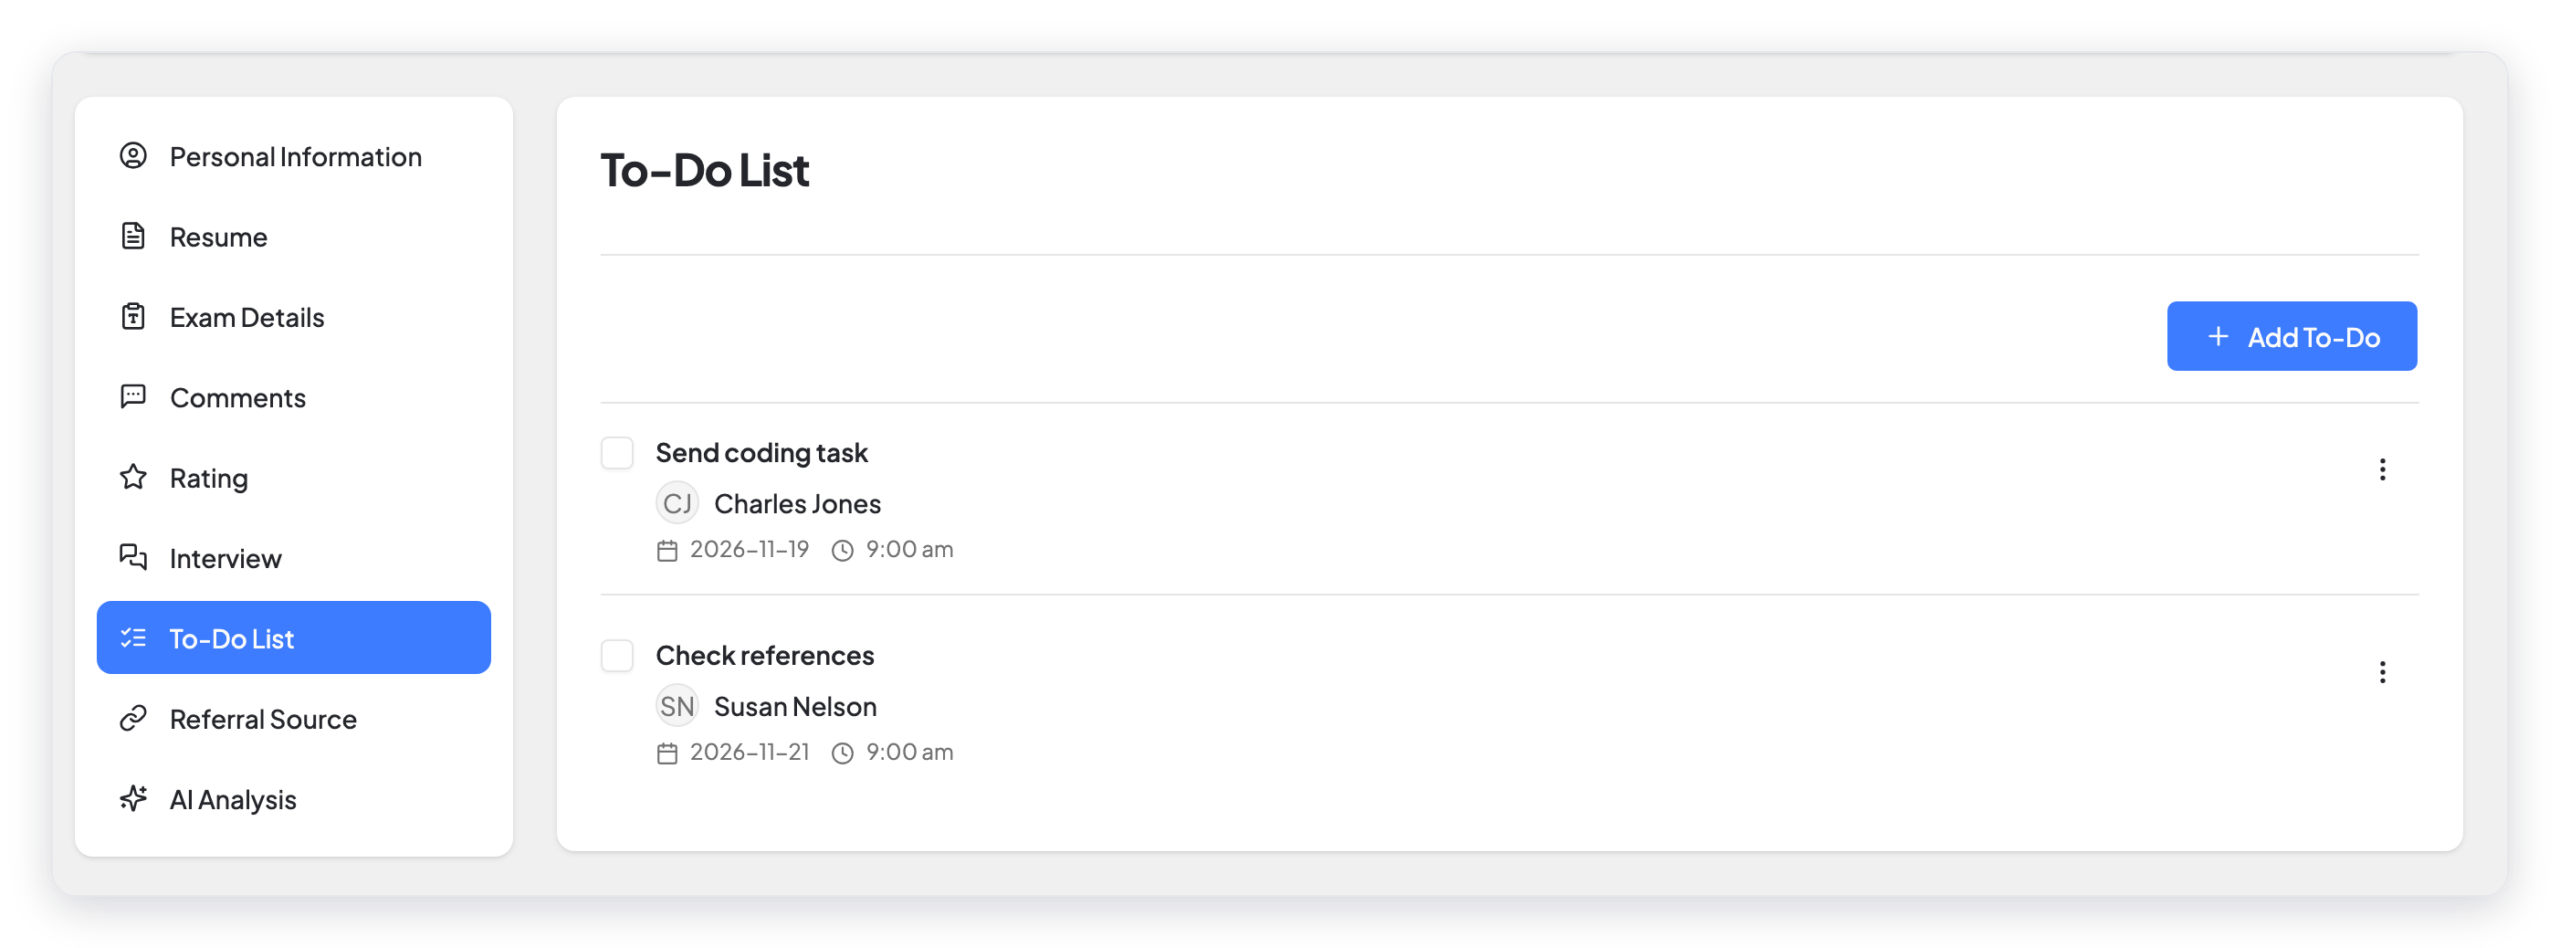
When the task is done, select the box next to it. All to-dos also show on the To-Do Calendar.
Step 7: Add comments and a rating
Your team can share their opinion of the candidate.
- In the Comments tab, click Add Comment, type the comment, and save it.
- In the Rating tab, give the candidate 1 to 5 stars.
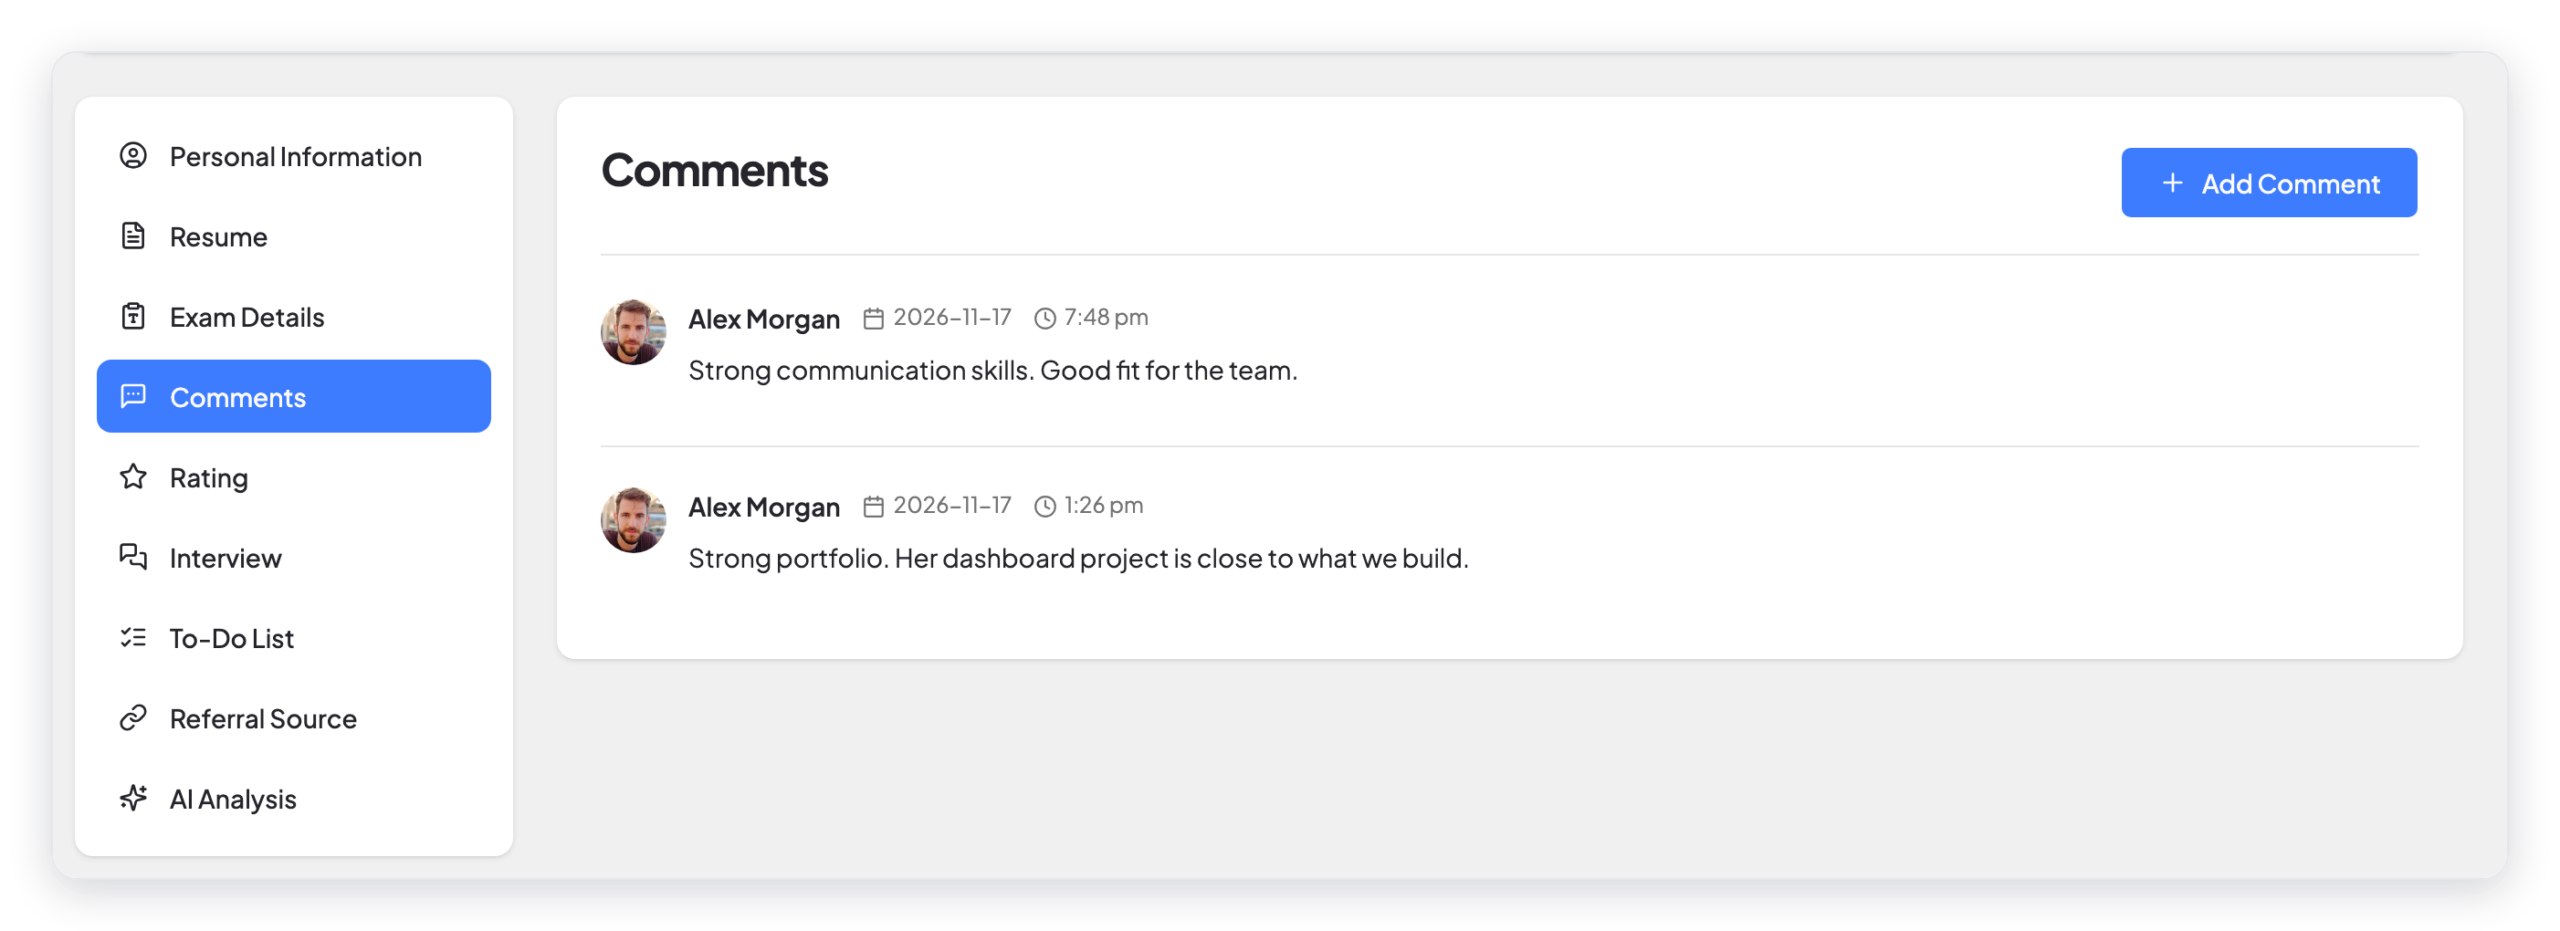
The Ratings stars at the top of the candidate page show the average rating.
The tabs of the candidate page
| Tab | What it shows |
|---|---|
| Personal Information | The name, email, and the other fields from the application form. |
| Resume | The CV. A PDF shows on the page. Other files show a Download button. |
| Exam Details | The answers to the screening questions. |
| Comments | The comments of your team. |
| Rating | The star ratings of your team. |
| Interview | The scheduled interviews. |
| To-Do List | The tasks about the candidate. |
| Referral Source | How the candidate found the job, for example the referrer website. |
| AI Analysis | The AI score of the CV, if AI is on. Read AI CV Screening and Analysis. |
Send an email to a candidate
- On the Candidates page, click the ⋮ button of the candidate.
- Click Send Email.
- Type the Subject and the Message, or select an email template.
- Click Send Email.
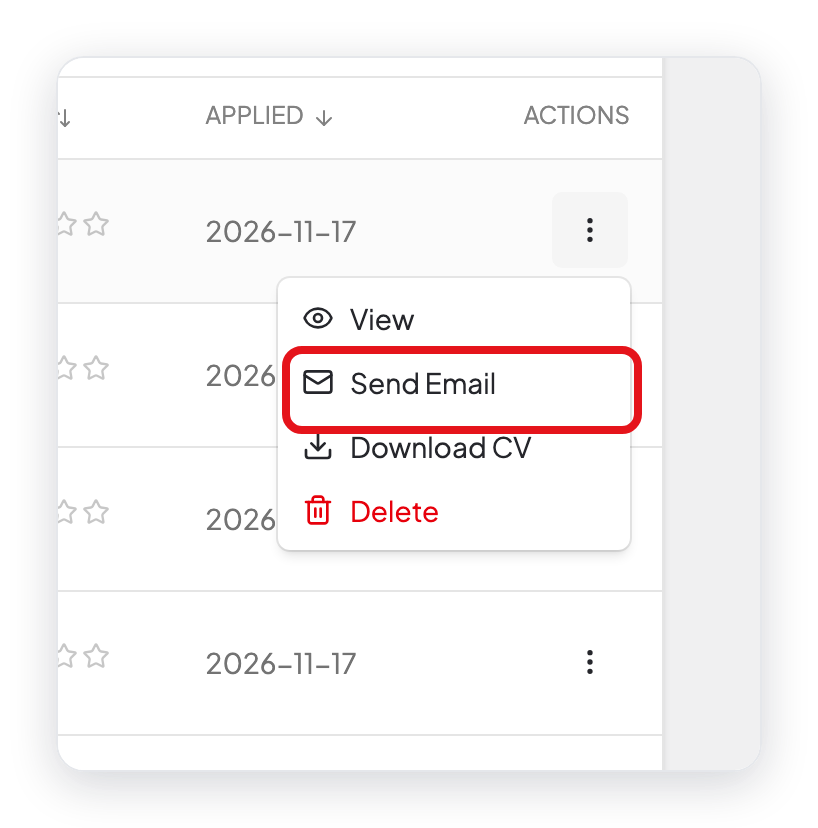
The same menu has View, Download CV, and Delete.
Hire a candidate
- Open the candidate page.
- Click Hire.
- Fill in the employee form. The form already has the name and email of the candidate.
- Select the Date of Hire, the Department, the Designation, and the other job details.
- Click Hire Employee.
WP ERP makes a new employee and a WordPress user from the candidate. The candidate moves to the Hired tab.
CAUTION: A hired candidate counts as an employee. Make sure that your WP ERP Pro license has a free employee place before you hire.
What changed in 2.0
- The candidate page has tabs on the left side. The old page showed all sections on one long page.
- You can change the Stage and the Status at the top of the candidate page.
- New: Referral Source and AI Analysis tabs.
- New: Download All CVs on the Candidates page.
- To schedule an interview, click New Interview and then Schedule Interview in the Interview tab.
- The old New To-do button is now New To-Do, and to-dos open in the To-Do List tab.
- The CV preview no longer uses Google Docs. A PDF shows directly on the page.