
Run Payroll
A pay run pays the employees of one pay calendar for one period. You make the pay run, check the amounts, and approve it. When you approve a pay run, WP ERP sends the salary cost to Accounting and makes a payslip for each employee.
Before you start
- You must have at least one pay calendar with employees. See Pay calendars.
- Each employee must have a basic pay. See Set the pay details of an employee.
- Set the payment method in Payroll → Settings. See Payroll.
Step 1: Start a new pay run
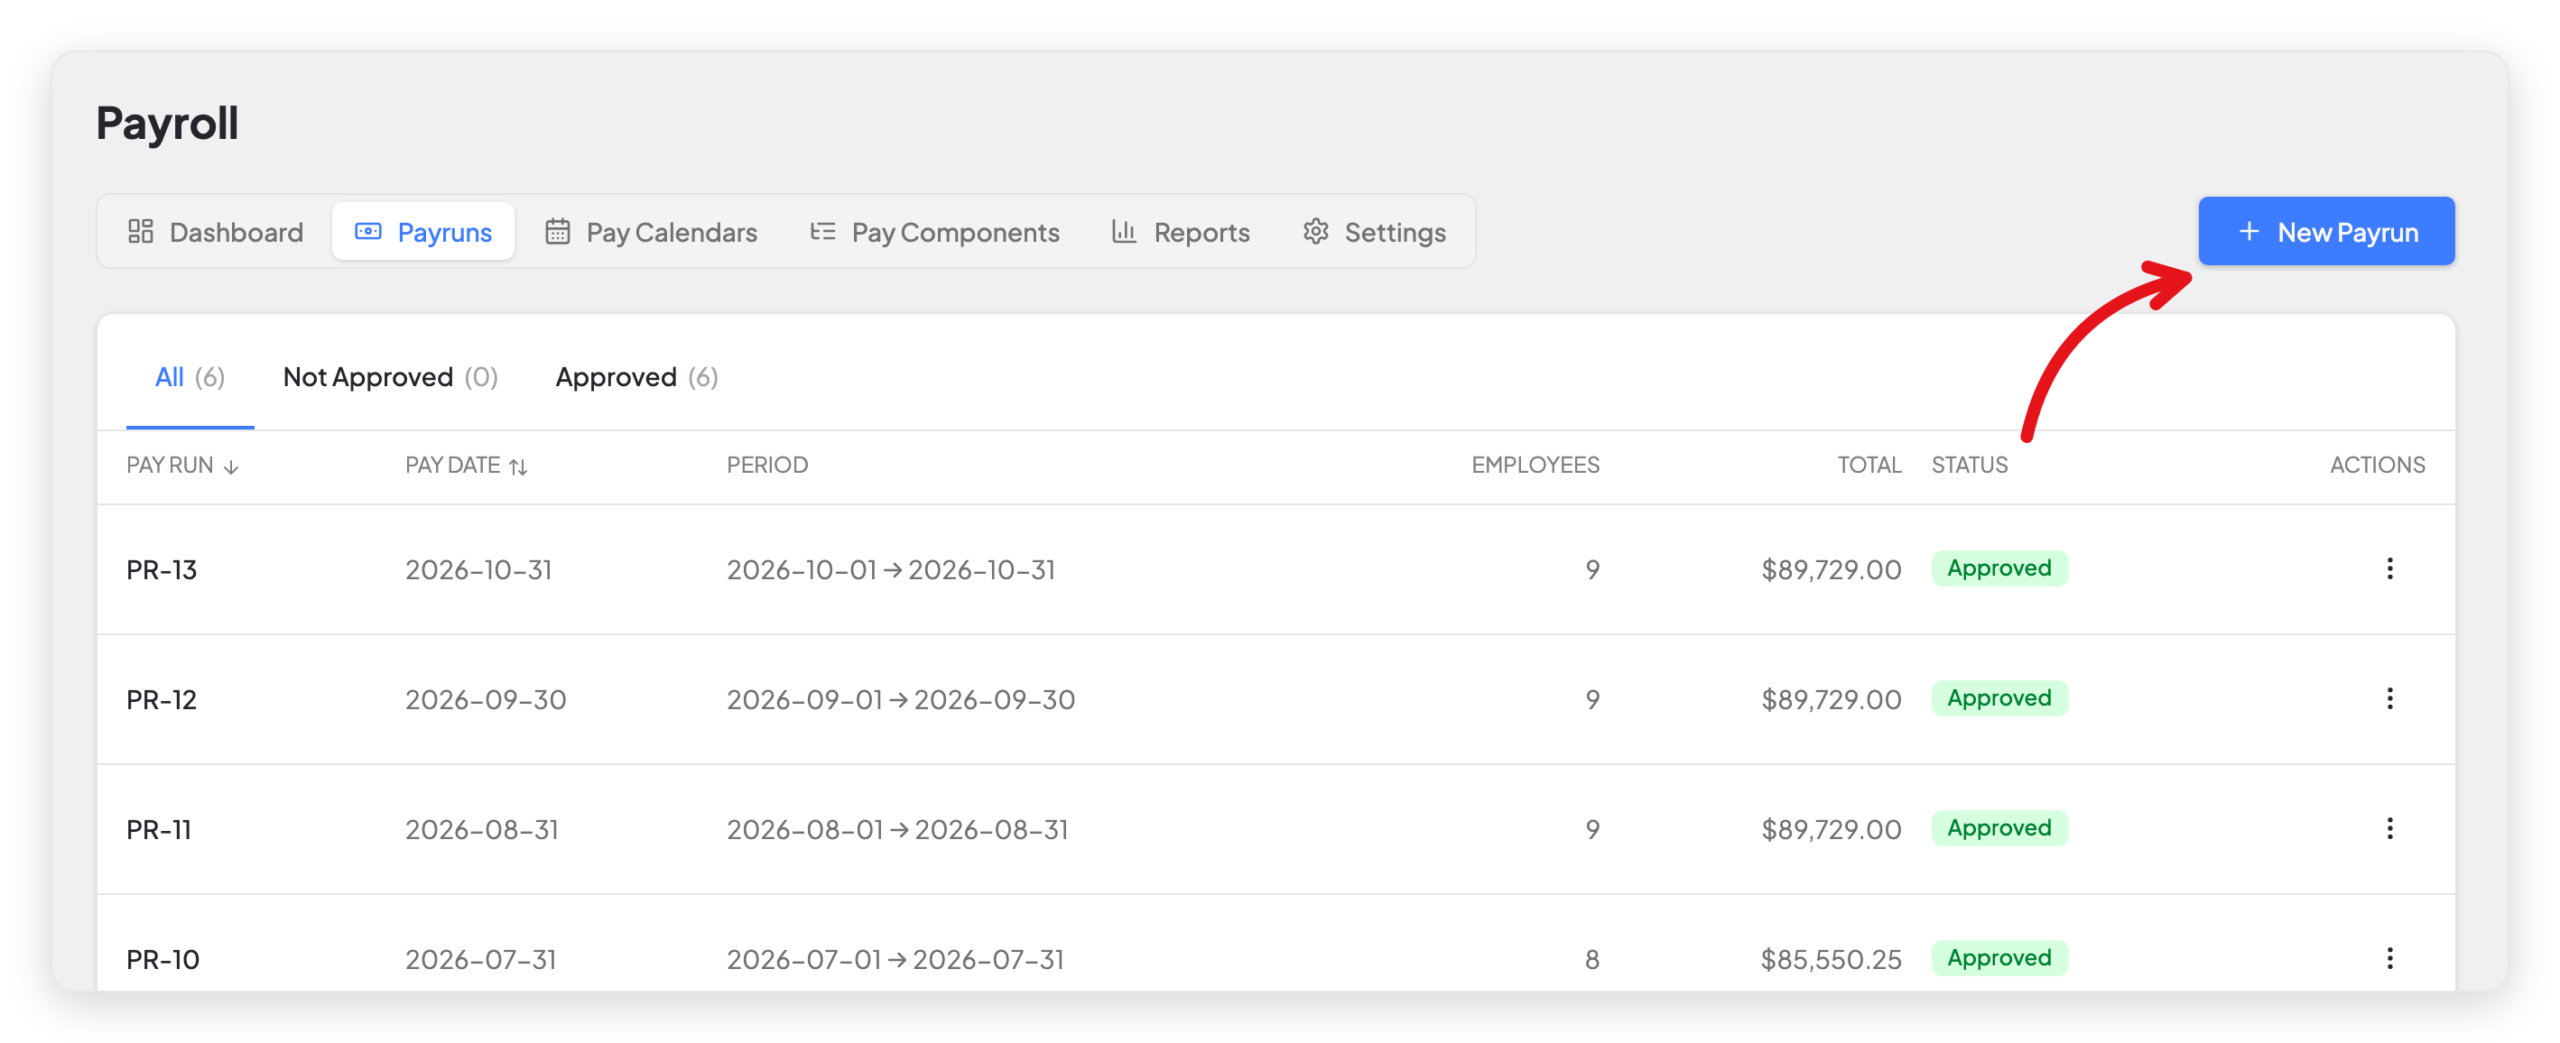
- Go to WP ERP → HR → Payroll.
- Click the Payruns tab.
- Click New Payrun.
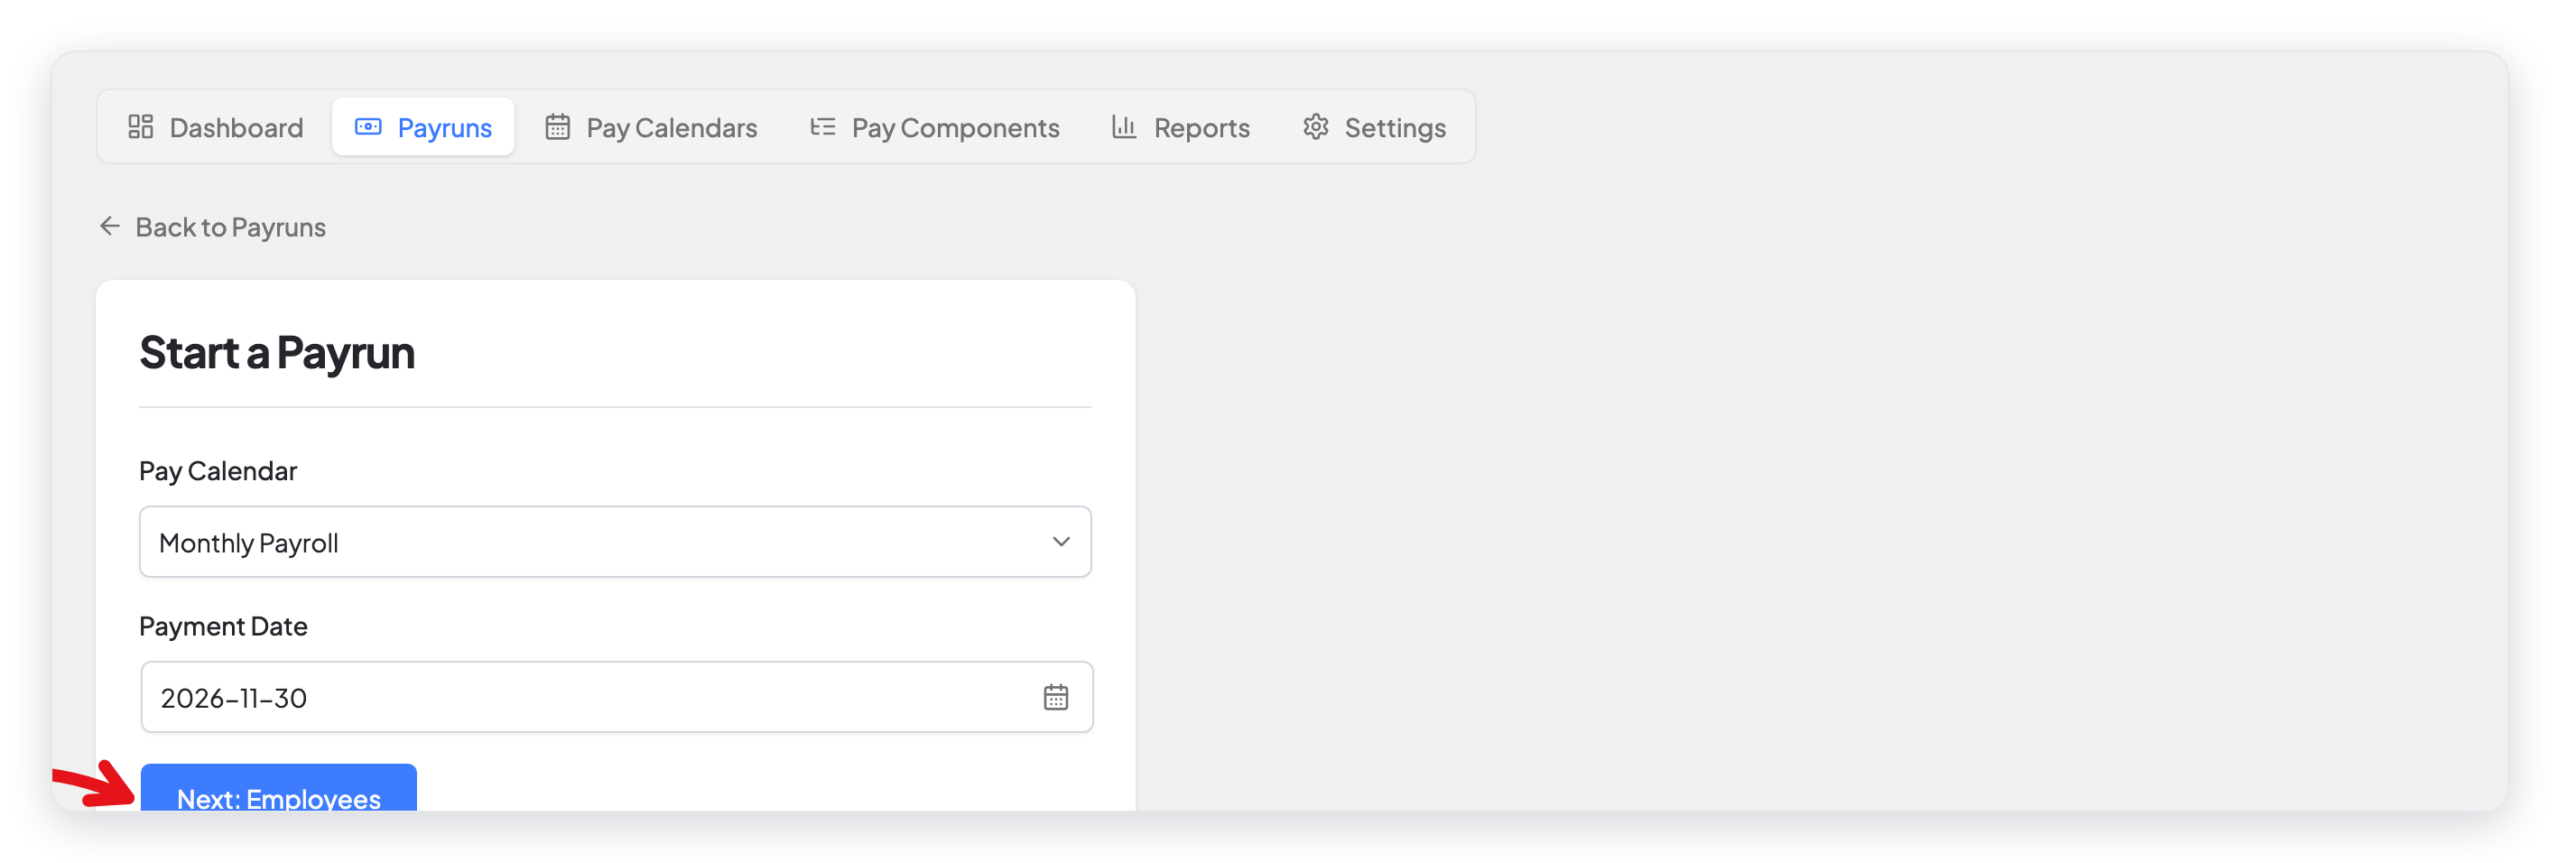
- Select the Pay Calendar.
- Look at the Payment Date. WP ERP fills in the next pay date of the calendar. Change it if necessary.
- Click Next: Employees.
You can also start a pay run from the ⋮ menu of a pay calendar. See Pay calendars.
Step 2: Check the employees
WP ERP shows the employees of the calendar, with the pay rate, the basic pay, and the totals of their fixed allowances and deductions.
Note: An employee who left the company stays in the pay run while they are on the pay calendar, so that their last pay can run. When Prorate partial-period salary is on, WP ERP leaves out employees who left before the period started, and pays leavers only for the days that they worked. To stop paying an employee who left, remove them from the pay calendar. See Pay calendars.
- If the basic pay of an employee is different for this period, type the new amount in Basic Pay.
- If you want this pay run to use only some pay items, turn on Specify pay items. Then click each pay item that you want to use.
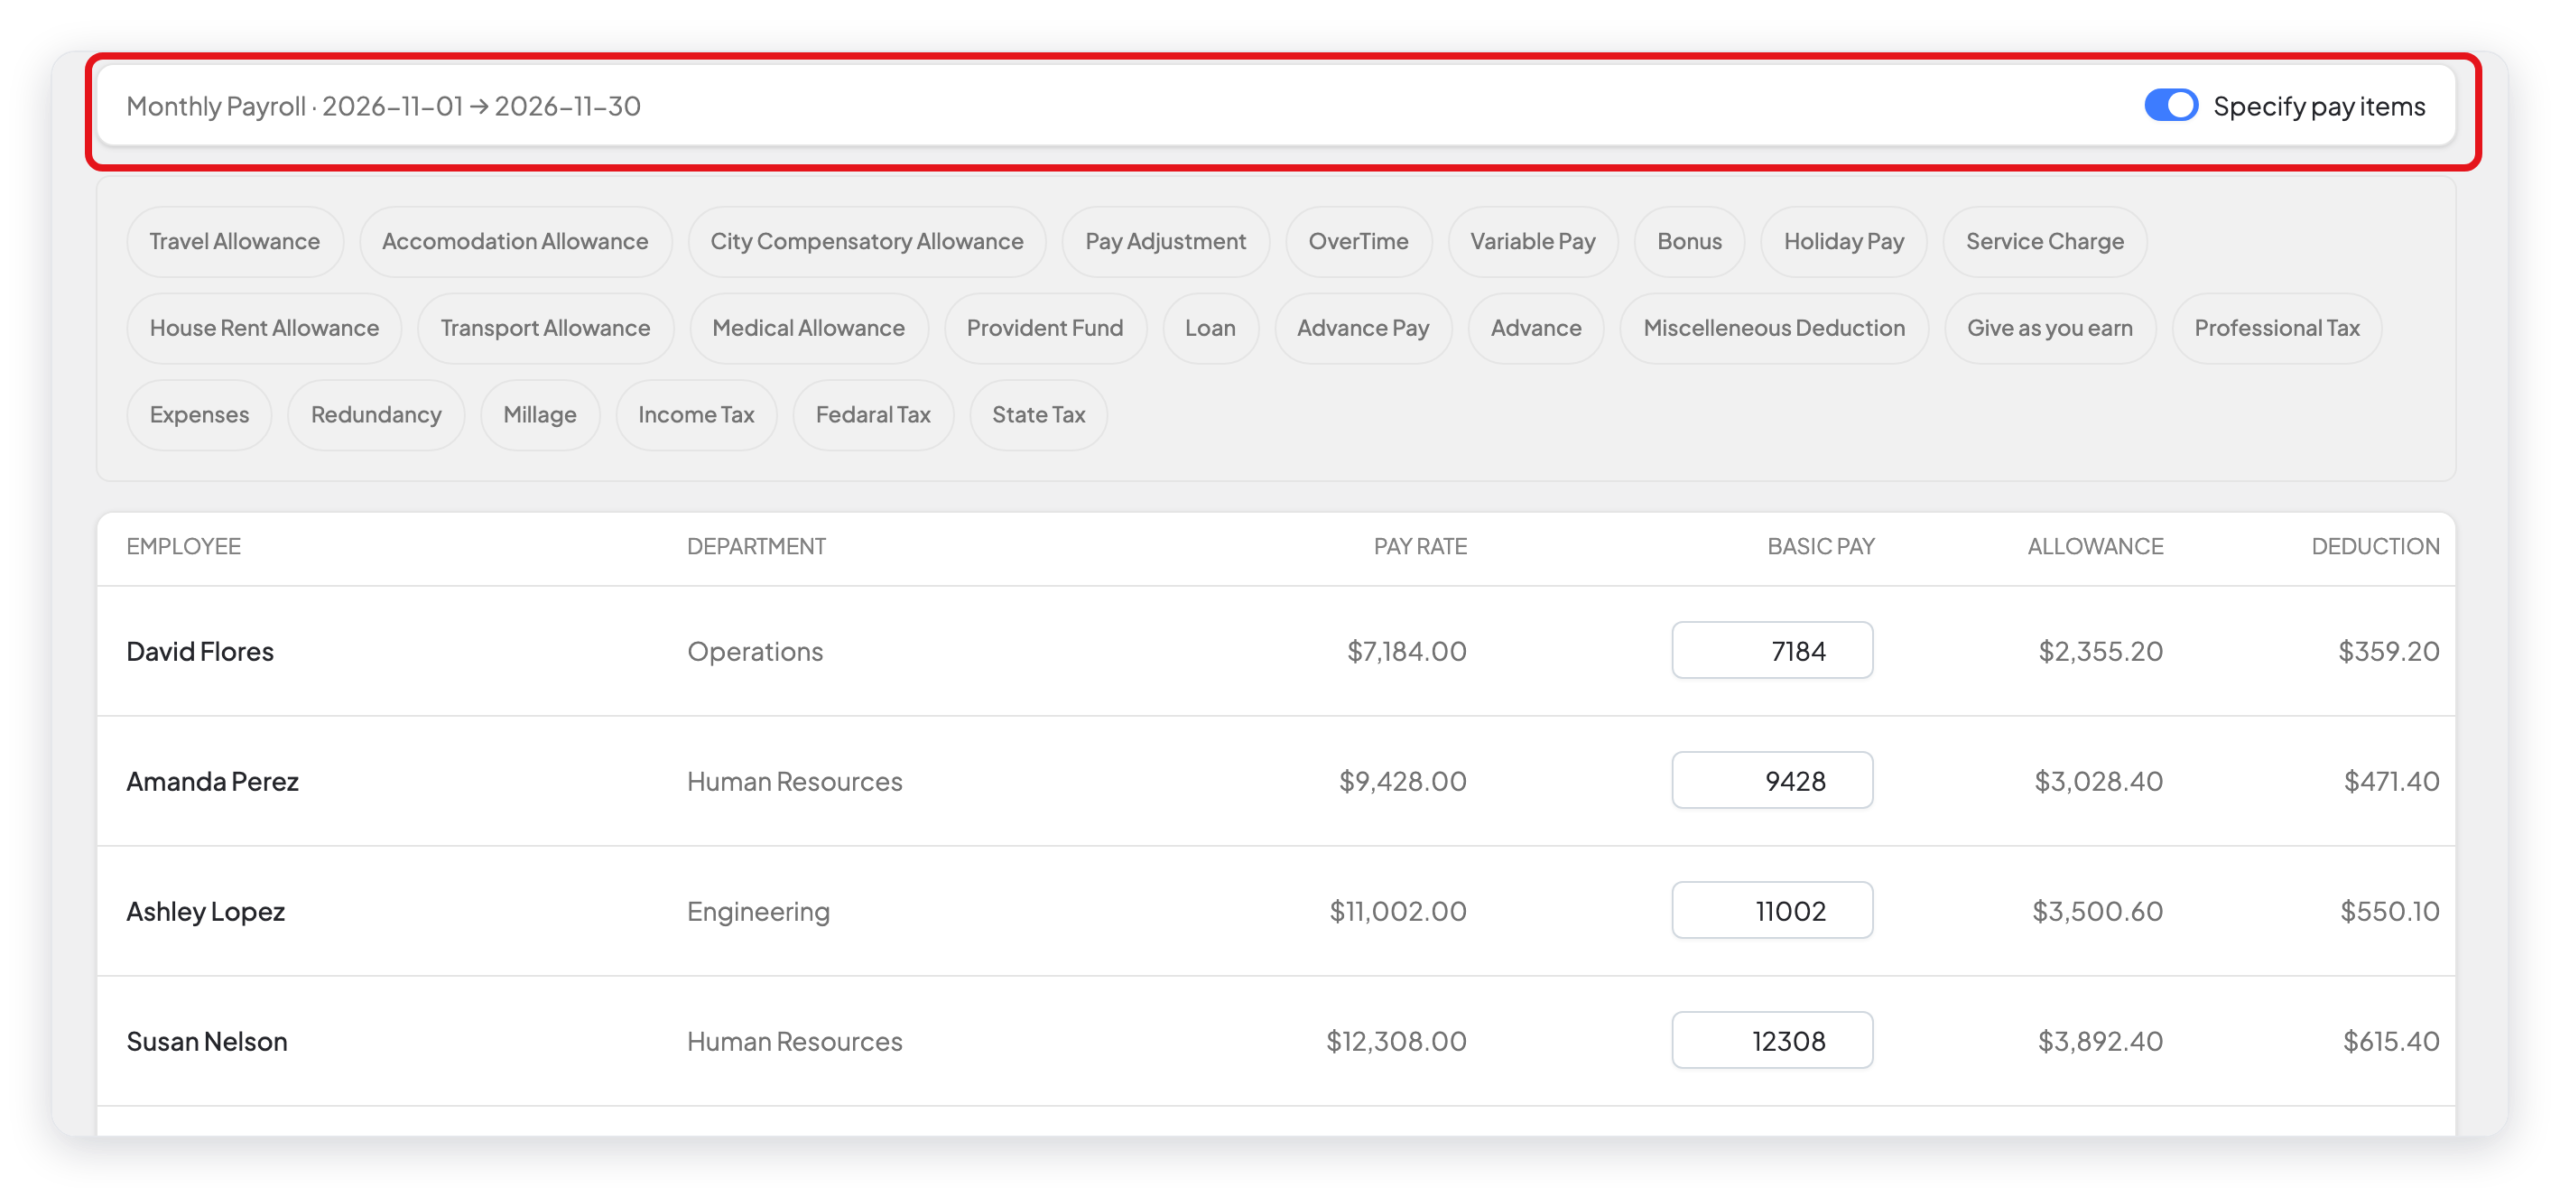
CAUTION: When Specify pay items is on, the pay run uses only the pay items that you select. The other fixed allowances and deductions of the employees are not paid in this pay run.
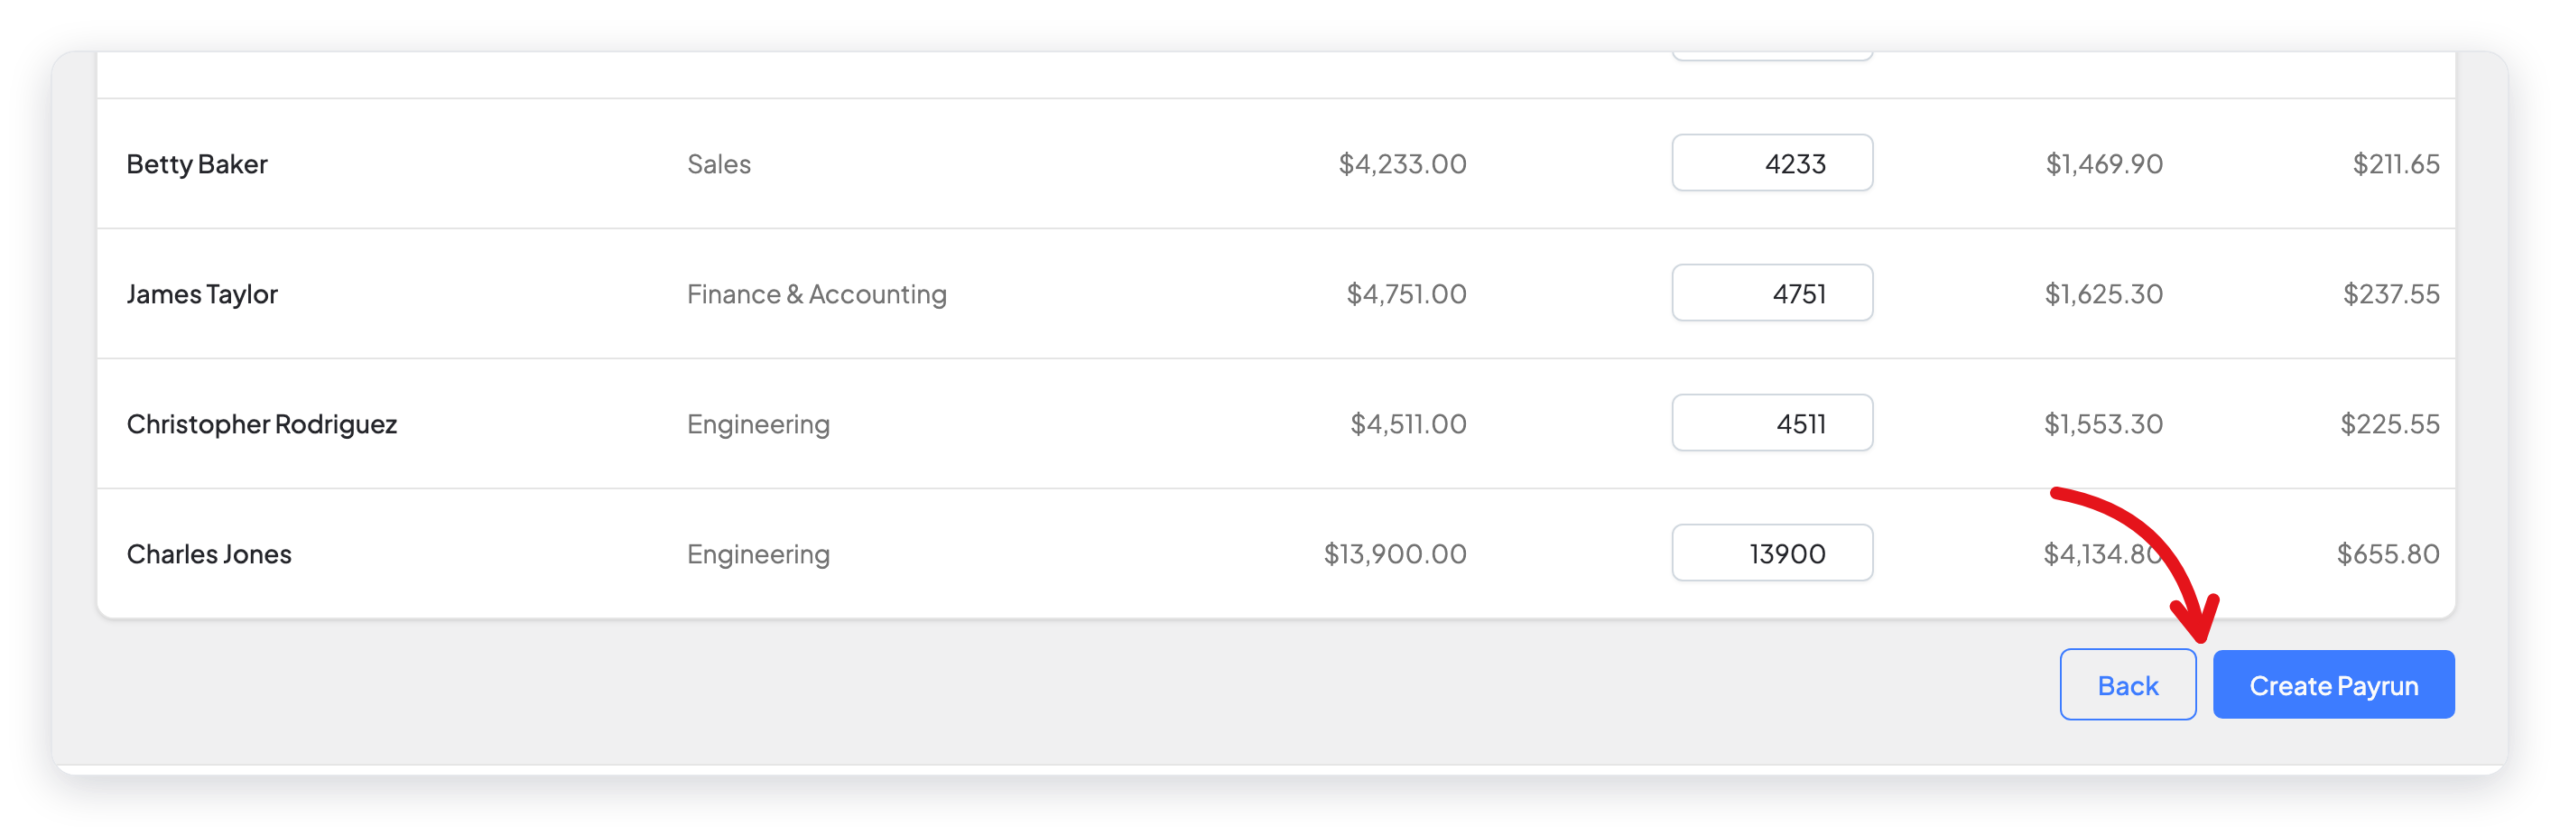
- Click Create Payrun.
Step 3: Check the pay run
WP ERP opens the pay run. Its status is Not Approved. The table shows each employee with the time worked, the basic pay, the allowances, the deductions, the tax, and the net pay. The last row shows the totals.
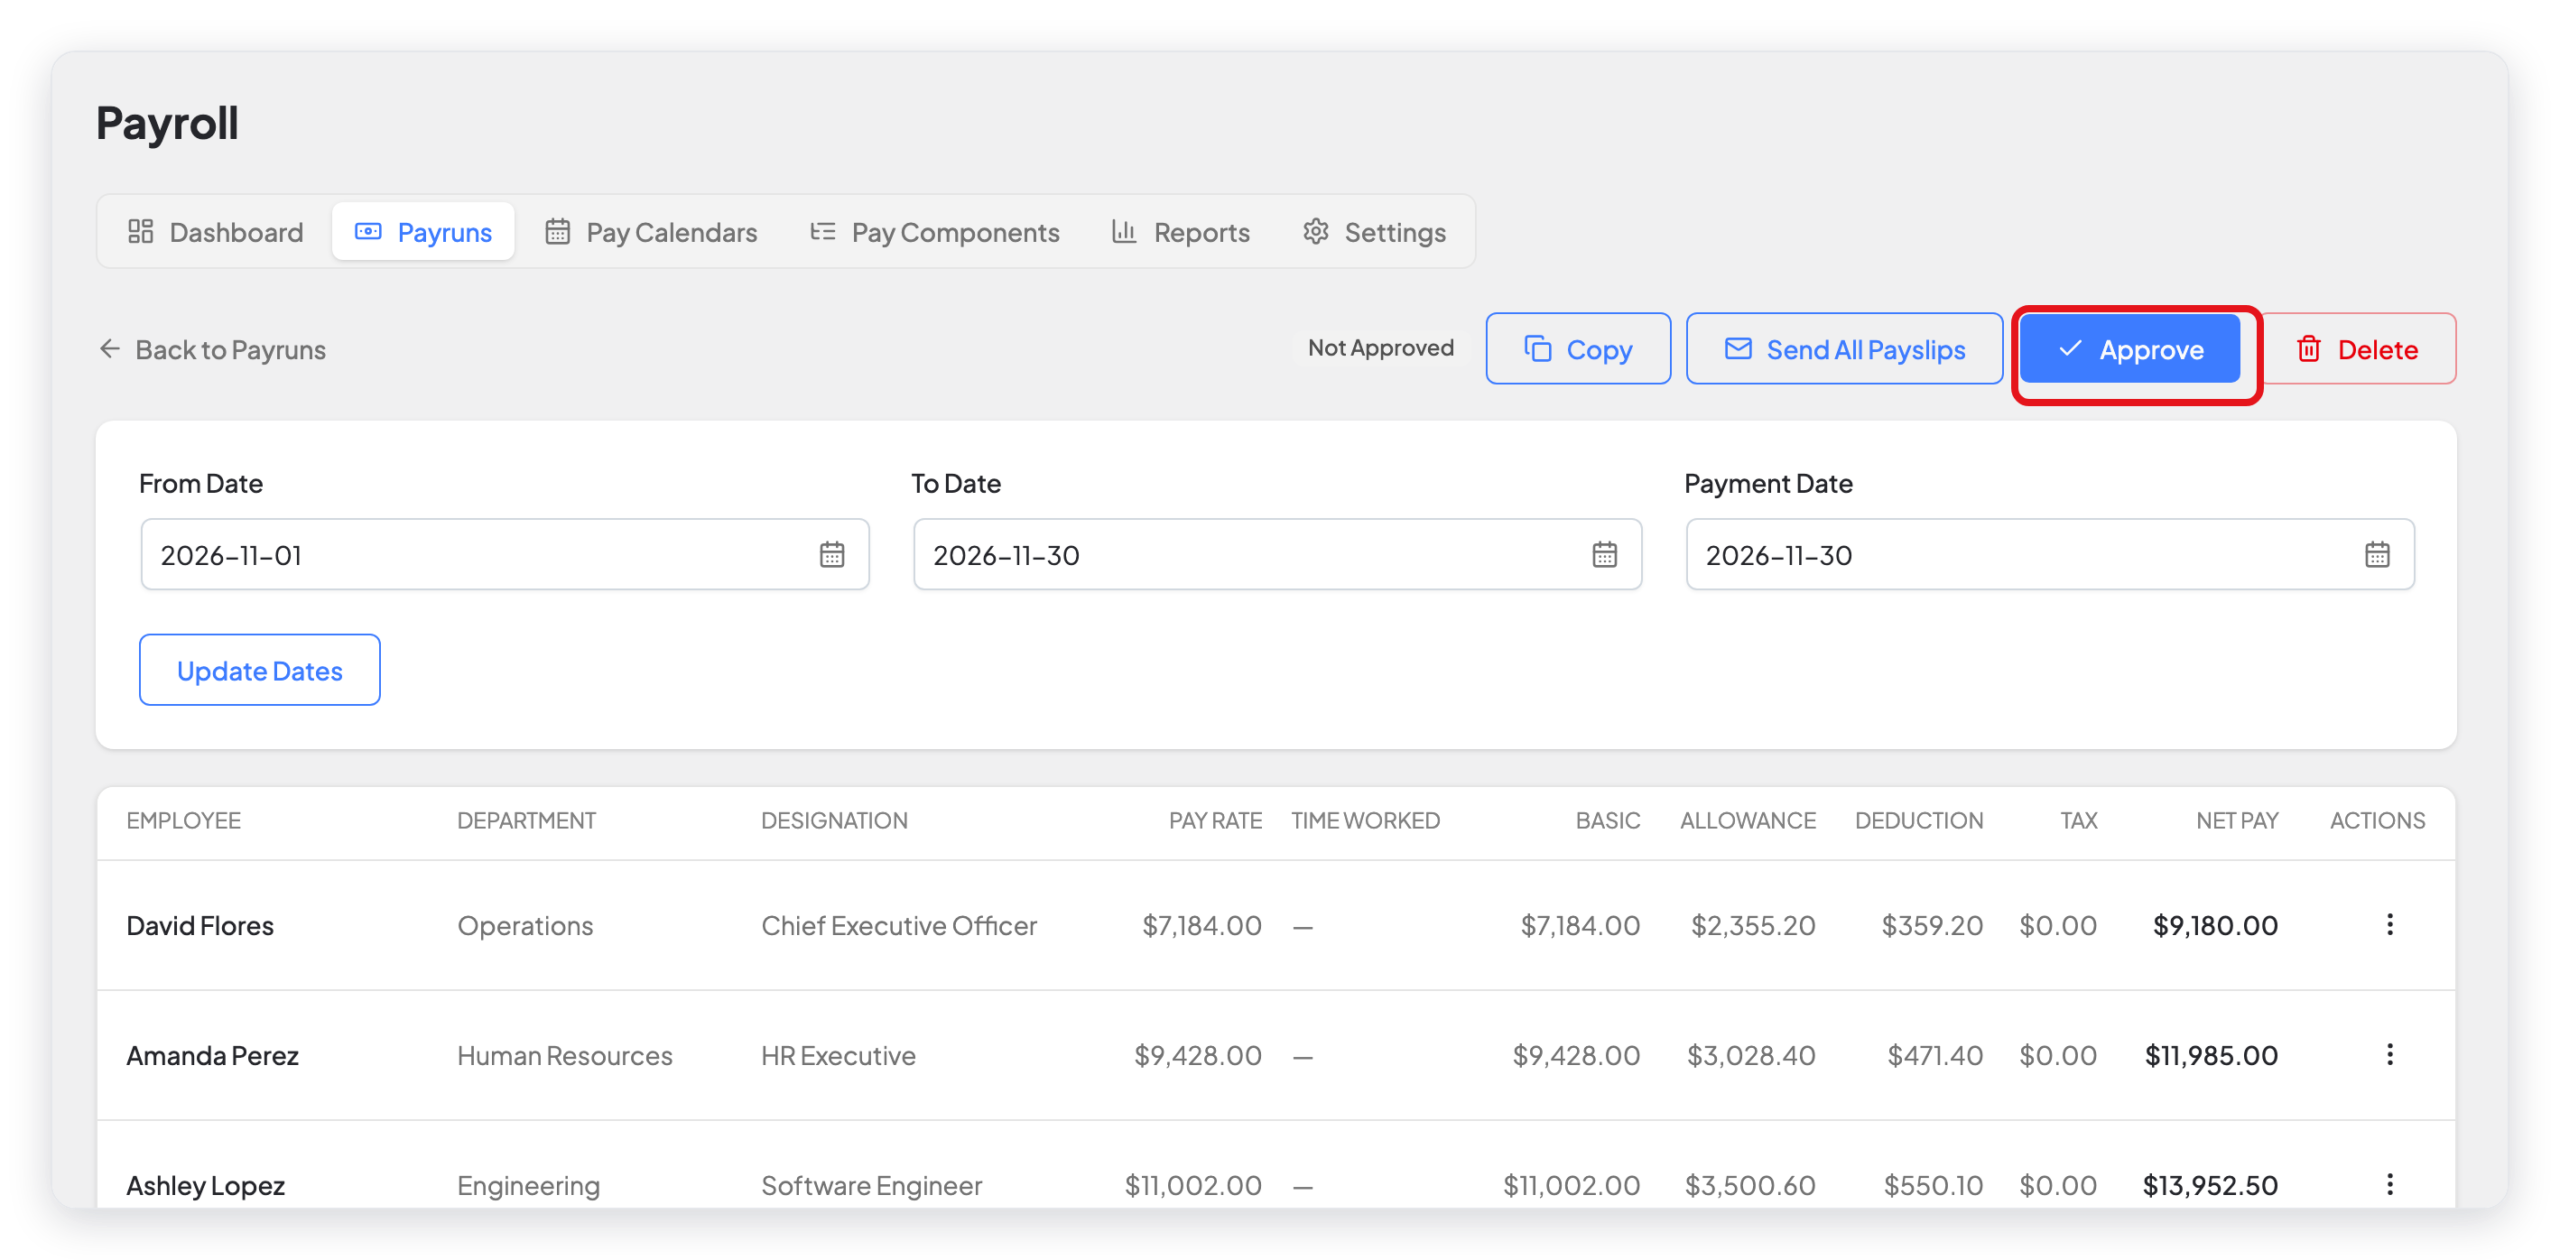
On this page you can:
- Change the From Date, the To Date, or the Payment Date, then click Update Dates.
- Click the ⋮ menu of an employee to see more actions.
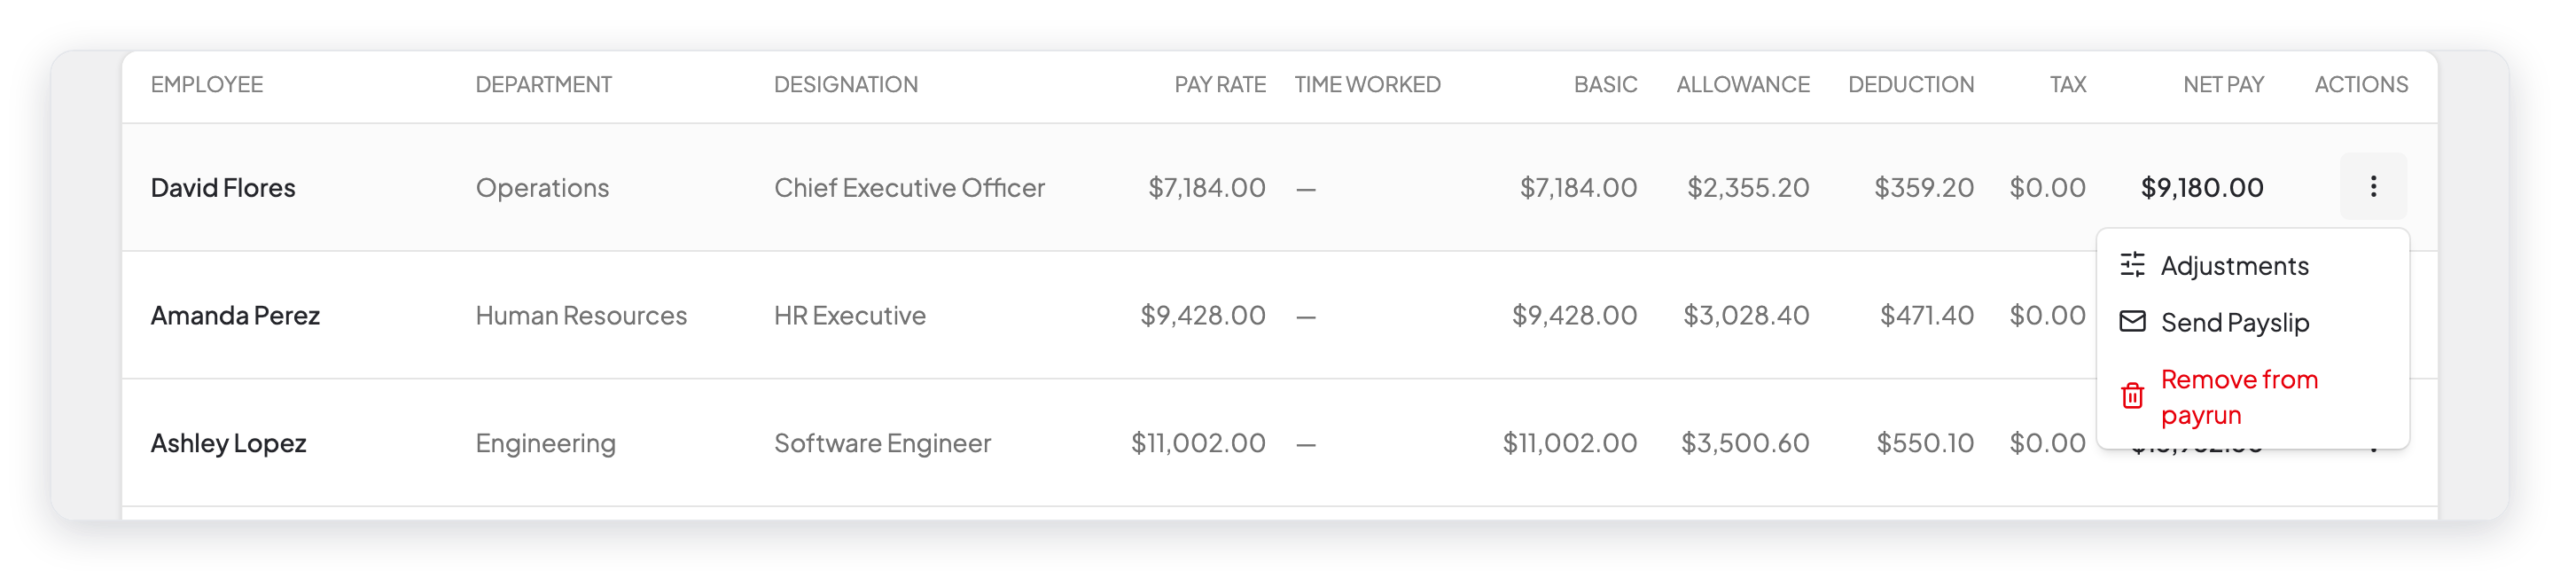
| Row action | What it does |
|---|---|
| Adjustments | Adds a one-time allowance or deduction to this employee, for this pay run only. For example, a bonus or overtime. |
| Send Payslip | Sends the payslip of this employee by email. |
| Remove from payrun | Takes the employee out of this pay run. |
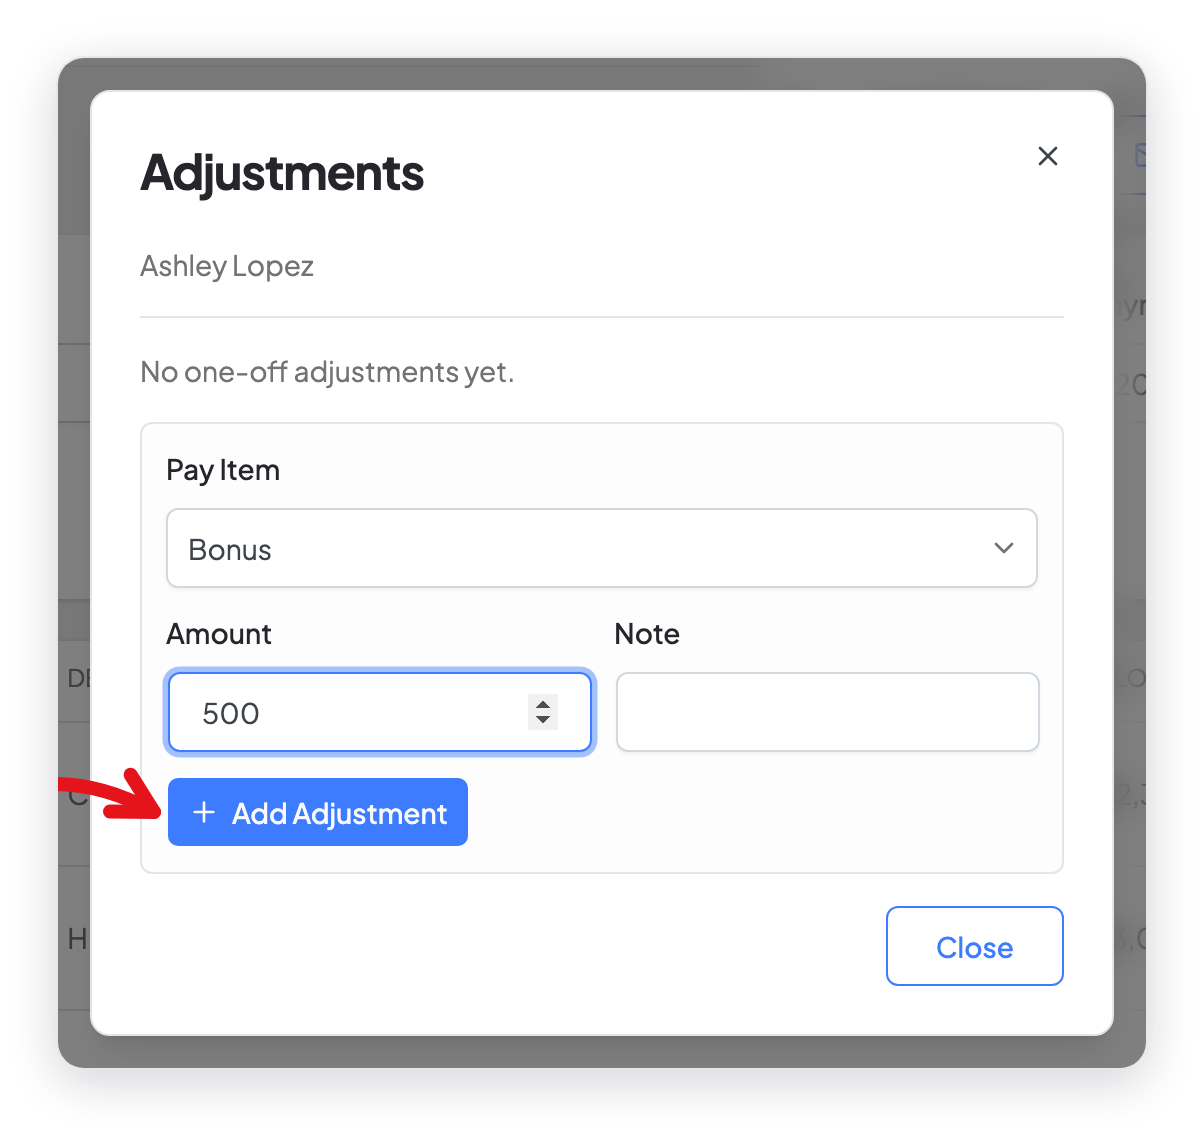
To add a one-time amount, click Adjustments. Select the Pay Item, type the Amount and a Note, then click Add Adjustment. Tax pay items are not in this list.
Step 4: Approve the pay run
- Click Approve.
- In the confirmation window, click Approve.
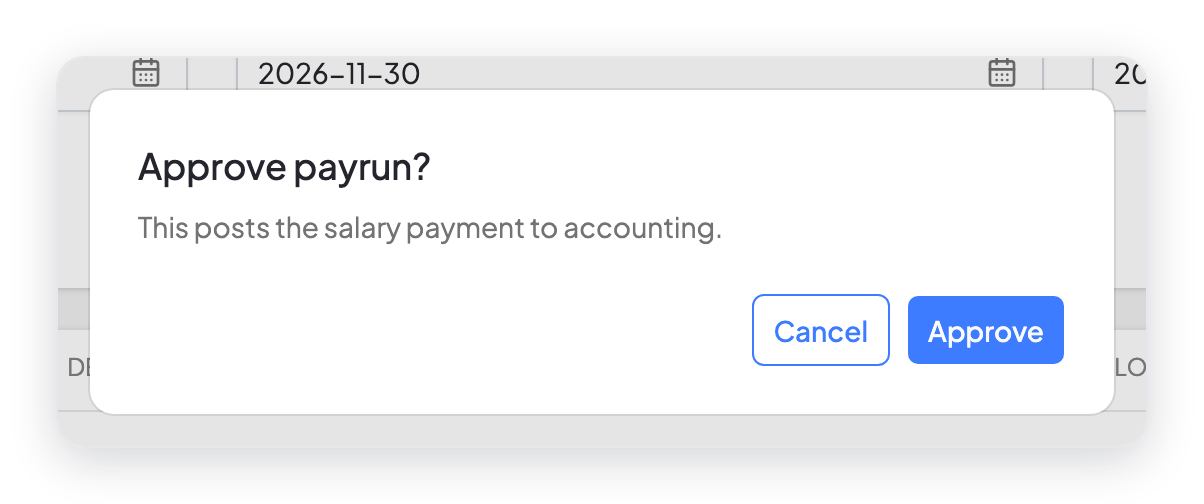
The status changes to Approved. WP ERP sends the salary payment to Accounting and makes the payslips.

Other actions on a pay run
| Button | What it does |
|---|---|
| Copy | Makes a new pay run that is not approved, with the same period, employees, and adjustments. Change the dates of the copy with Update Dates. |
| Send All Payslips | Sends a payslip by email to each employee in the pay run. |
| Undo Approval | Shows on an approved pay run. It changes the status back to Not Approved, so that you can change the pay run. |
| Delete | Shows on a pay run that is not approved. It removes the pay run for good. |
You can also click Copy in the ⋮ menu of a pay run on the Payruns tab.
What changed in 2.0
- The old four steps (employee list, variable input, payslips, approve) are now two steps and one pay run page. You add the one-time amounts with Adjustments in the row menu of each employee, not on a Variable Input step.
- The old Copy Approval button is now Copy. It makes a new pay run that you can change before you approve it.
- Specify pay items, Update Dates, Remove from payrun, and Undo Approval are new.
- You can send payslips from the pay run: one employee at a time, or all of them.